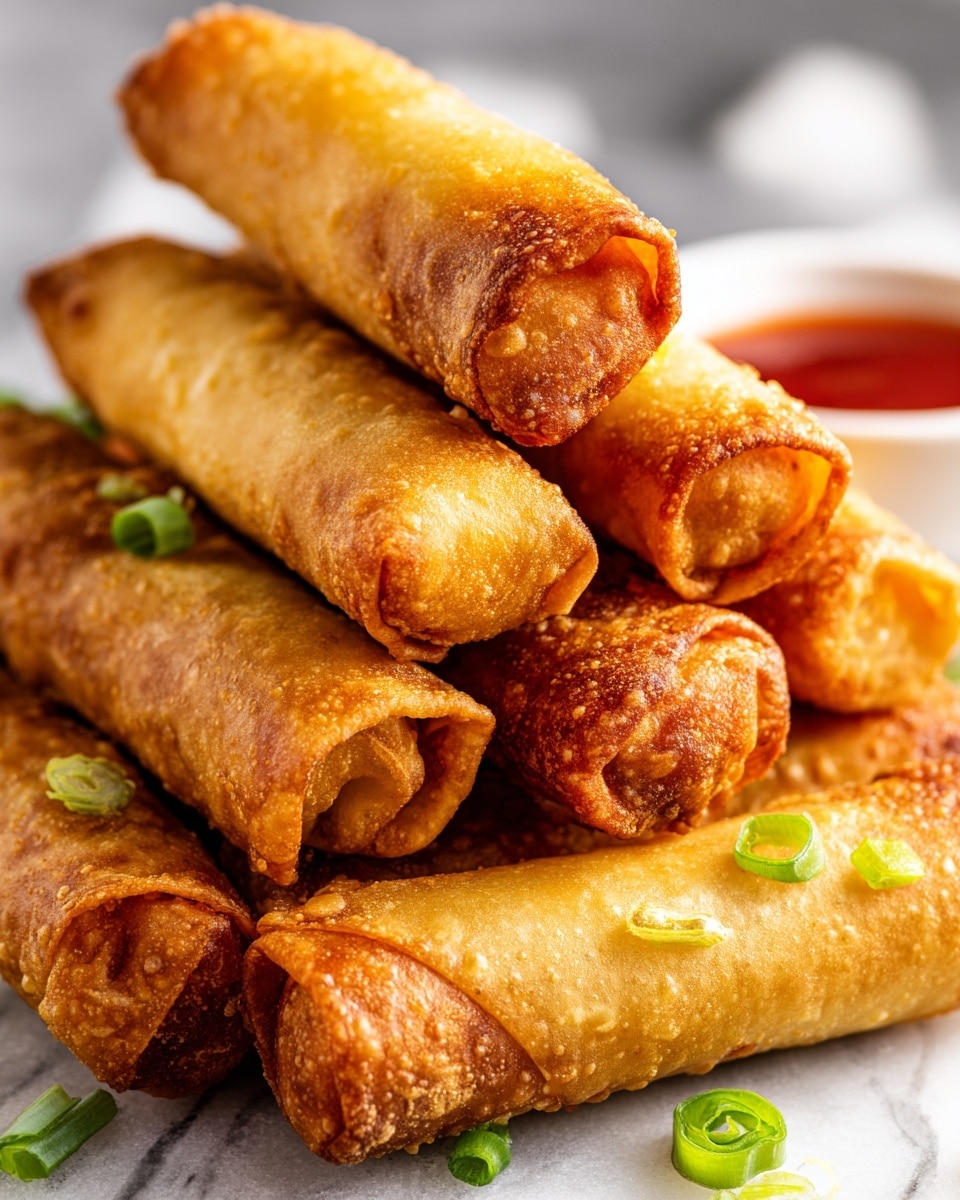
Perfectly Crispy Spring Rolls Recipe
If you’ve ever wished for a snack that combines an irresistible crunch with a savory, flavor-packed filling, then this Perfectly Crispy Spring Rolls Recipe is your new best friend in the kitchen. Each bite delivers a satisfying crunch on the outside while the inside reveals a delicious blend of ground meat, fresh vegetables, and aromatic seasonings that come together to create a truly mouthwatering experience. Whether you’re making these for a party, a weeknight dinner, or just because, these spring rolls are a crowd-pleaser that’s as fun to prepare as they are to devour.
Ingredients You’ll Need
This Perfectly Crispy Spring Rolls Recipe relies on simple, approachable ingredients that each play a crucial role in creating the perfect balance of flavors, textures, and colors. Don’t underestimate these basics — they’re the heart and soul of this tasty dish.
- 1 pound ground chicken or ground pork: Choose your favorite meat for a juicy, flavorful filling.
- 1 tablespoon sesame oil: Adds a subtle nutty aroma that infuses the filling.
- 1 tablespoon minced garlic: Provides a pungent, savory kick.
- 1 tablespoon grated ginger, minced: Offers a warm and slightly spicy undertone.
- 1 tablespoon oyster sauce: Boosts the umami flavor for a rich, savory depth.
- 2 cups shredded green cabbage: Brings crunch and freshness to the filling.
- 1/2 cup carrots, shredded: Adds a subtle sweetness and vibrant color.
- 1/4 cup green onions, sliced: Injects a mild oniony freshness.
- 15 spring roll wrappers: The crisp, golden envelope that holds all the deliciousness.
- 1 large egg, beaten: Acts as glue to seal the rolls tight.
- Vegetable oil for frying: Essential for achieving that perfect, crunch-worthy golden exterior.
How to Make Perfectly Crispy Spring Rolls Recipe
Step 1: Cook the Filling
Start by heating sesame oil in a large skillet over medium-high heat—this oily base layers flavor right from the start. Add your ground meat and break it apart into small pieces, letting it cook evenly for about 4-5 minutes. Once it starts to brown, stir in the minced garlic, grated ginger, and oyster sauce. These ingredients elevate the filling with aromatic depth and a savory punch. Continue cooking the mixture for another 3-4 minutes until the meat is fully cooked through and the flavors meld beautifully.
Step 2: Add the Vegetables
Next come the vegetables, which add essential texture and freshness. Toss in the shredded green cabbage and carrots, cooking them with the meat just long enough for them to soften slightly while still maintaining a bit of bite—about 2 to 3 minutes. This step ensures your spring rolls won’t become soggy but instead have that delightful contrast of crisp and tender in every bite. Once the filling is ready, transfer it to a container and chill it in the fridge; cooling helps the filling firm up, making your rolls easier to assemble.
Step 3: Heat the Oil
While the filling cools, start heating your vegetable oil in a wok or deep skillet. Aim for about 3 inches of oil heated to 375 degrees Fahrenheit. This temperature is perfect for frying the spring rolls quickly to a golden, crunchy perfection without soaking in too much oil. Be sure to keep an eye on the heat to maintain consistent frying temperature.
Step 4: Assemble the Spring Rolls
Place a spring roll wrapper flat on your work surface. Spoon roughly 2 tablespoons of the cooled filling lengthwise near the center to avoid overfilling and compromising the wrapper. Using a finger or small brush, apply the beaten egg around the edges of the wrapper to seal your roll properly. Fold the bottom edge upward over the filling, wrap in the sides snugly, and then roll tightly to close. Sealing neatly is key to keeping your spring rolls intact during frying. Repeat this for all the wrappers and filling.
Step 5: Fry the Spring Rolls
Carefully lower the wrapped spring rolls into the hot oil in small batches to avoid overcrowding, which can lower the temperature and cause sogginess. Fry each batch for 2-3 minutes, turning occasionally to promote even browning, until they’re a gorgeous golden brown color. Use a slotted spoon or tongs to transfer them to a plate lined with paper towels—this helps absorb any excess oil, keeping your spring rolls crispy and light.
Step 6: Serve and Enjoy!
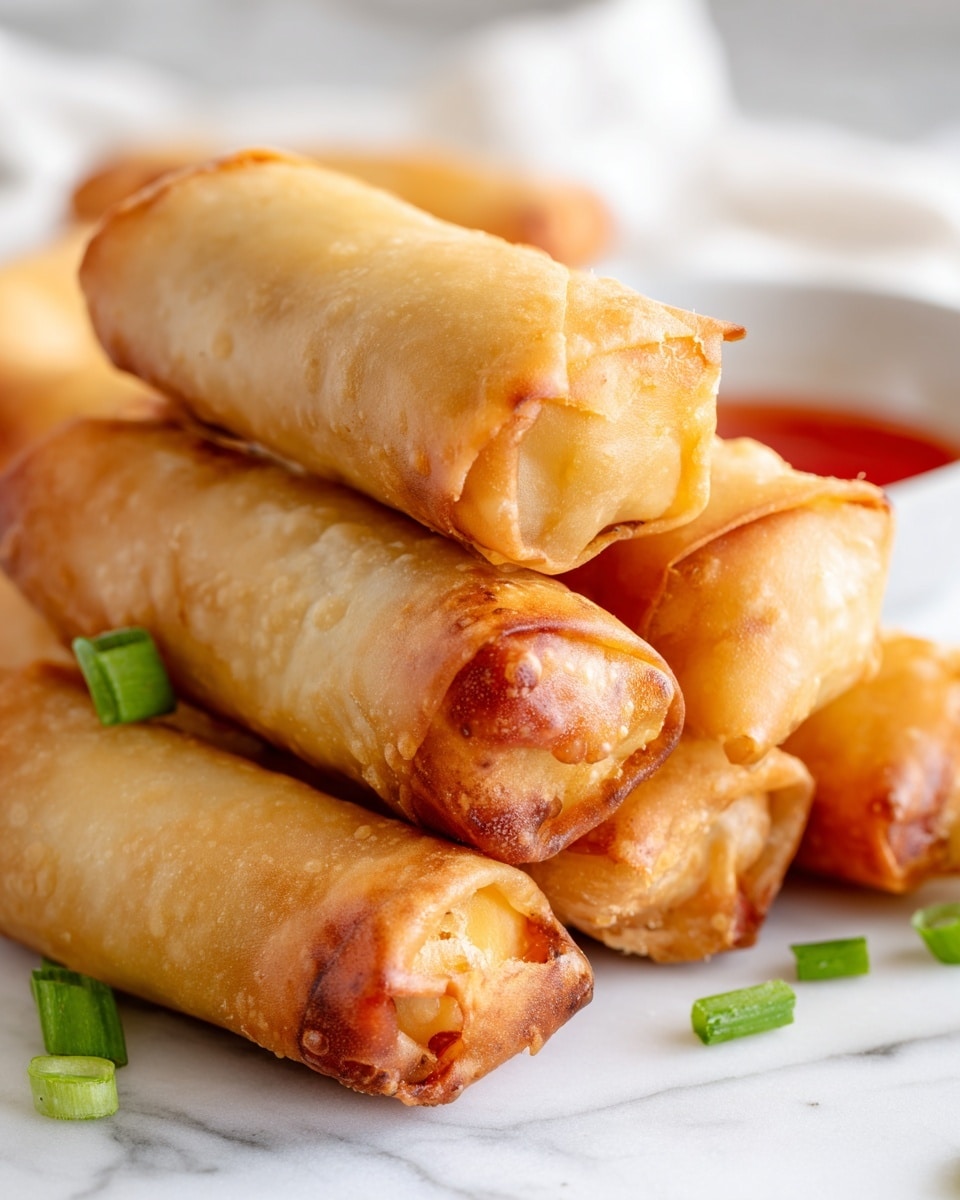
Serve these golden delights hot, ideally paired with a tangy sweet chili sauce for dipping. The combination of the crunchy wrapper with the juicy, savory filling will make this Perfectly Crispy Spring Rolls Recipe an instant favorite in your household.
How to Serve Perfectly Crispy Spring Rolls Recipe
Garnishes
A sprinkle of fresh herbs like cilantro or Thai basil can brighten up the dish beautifully, adding a fresh aroma that complements the warmth of the rolls. A few sliced red chilies or a squeeze of fresh lime also makes for vibrant, zesty accents that contrast wonderfully with the crispy fried exterior.
Side Dishes
These spring rolls shine when served alongside simple sides like steamed jasmine rice or a refreshing cucumber salad tossed with rice vinegar and a touch of sugar. They also go great with a light noodle dish or even as a fun appetizer before an Asian-inspired main course.
Creative Ways to Present
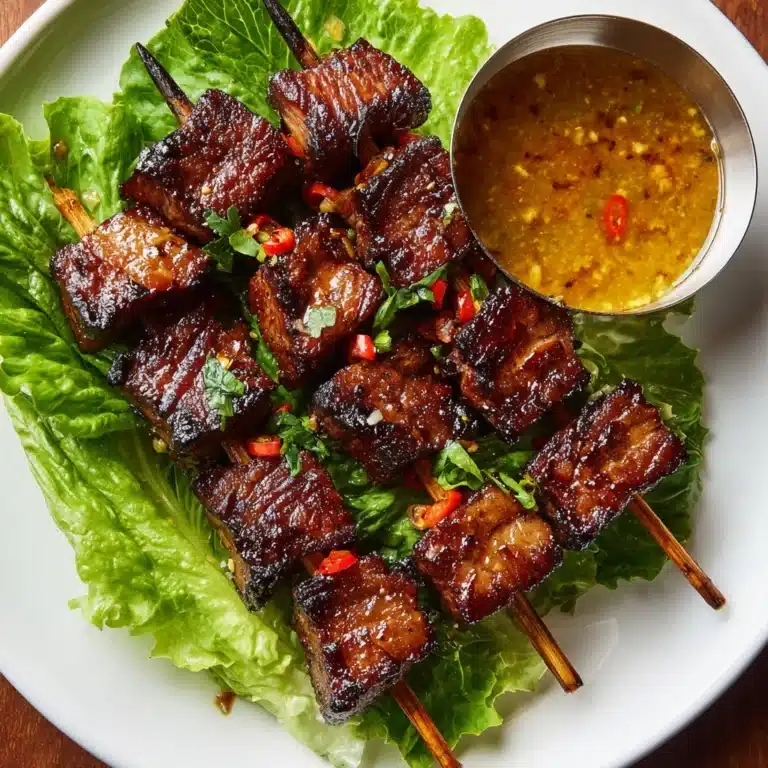
For a festive touch, arrange the spring rolls in a fan shape on a long platter with multiple dipping sauces in small bowls – think sweet chili, hoisin, or peanut sauce. Wrapping them individually in lettuce leaves or serving them on skewers can also add an interactive, party-friendly vibe to your presentation.
Make Ahead and Storage
Storing Leftovers
If you have any leftover spring rolls (though they usually disappear fast), store them in an airtight container in the refrigerator for up to 2 days. Lay them in a single layer to prevent sogginess, and avoid stacking to help keep the crust crisp.
Freezing
These spring rolls freeze beautifully when wrapped individually in plastic wrap or parchment paper and placed in a freezer-safe container or bag. Freeze them before frying for the best texture, and they can be stored for up to 1 month.
Reheating
To reheat, avoid microwaving as it softens the crispy shell. Instead, reheat in a preheated oven at 375 degrees Fahrenheit for about 10-12 minutes or until heated through and crispy again. Alternatively, you can quickly refry them in hot oil for a minute or two to restore that satisfying crunch.
FAQs
Can I use vegetables other than cabbage and carrots?
Absolutely! Feel free to experiment by adding bean sprouts, mushrooms, or even finely chopped bell peppers to customize the filling to your liking while retaining the perfect balance of texture and flavor.
Is it necessary to chill the filling before assembling?
Chilling the filling helps it firm up, making it much easier to handle while wrapping and preventing the spring roll wrappers from tearing or becoming soggy.
What’s the best way to ensure the spring rolls don’t fall apart during frying?
Using the beaten egg as glue for sealing and rolling the wrappers tightly will keep the fillings securely inside. Also, avoid overfilling the wrappers—less is more!
Can I bake these instead of frying to make them healthier?
Yes, you can bake spring rolls at 400 degrees Fahrenheit for about 15-20 minutes, turning halfway through, but frying is what really gives them that irresistible golden crispiness that makes this Perfectly Crispy Spring Rolls Recipe so special.
What dipping sauces work best with spring rolls?
Sweet chili sauce is a classic choice, but hoisin sauce, peanut sauce, or a simple soy sauce mixed with a splash of lime juice and chili flakes make fantastic companions to enhance the flavor experience.
Final Thoughts
There’s something truly magical about biting into a golden, perfectly crisp spring roll filled with a savory, tender mixture that instantly transports you to a world of satisfying comfort food. This Perfectly Crispy Spring Rolls Recipe is the perfect companion for gatherings or a fun cooking project that ends in deliciously crispy rewards. I can’t wait for you to try it—it’s sure to become a beloved staple in your recipe rotation.
Print
Perfectly Crispy Spring Rolls Recipe
- Total Time: 35 minutes
- Yield: 15 spring rolls 1x
Description
This Perfectly Crispy Spring Rolls recipe features a savory ground chicken or pork filling mixed with fresh vegetables, wrapped in delicate spring roll wrappers and fried to golden perfection. Crispy on the outside with a flavorful, juicy interior, these spring rolls are an irresistible appetizer or snack that pairs beautifully with sweet chili sauce.
Ingredients
Filling
- 1 pound ground chicken or ground pork
- 1 tablespoon sesame oil
- 1 tablespoon minced garlic
- 1 tablespoon grated ginger, minced
- 1 tablespoon oyster sauce
- 2 cups shredded green cabbage
- 1/2 cup carrots, shredded
- 1/4 cup green onions, sliced
Assembly
- 15 spring roll wrappers
- 1 large egg, beaten
For Frying
- Vegetable oil for frying (about 3 inches deep)
Instructions
- Cook the Filling: Heat sesame oil in a large skillet over medium-high heat. Add ground meat and break it into smaller pieces. Cook for 4-5 minutes until browned. Stir in minced garlic, grated ginger, and oyster sauce. Continue cooking for 3-4 more minutes until the meat is fully cooked and fragrant.
- Add the Vegetables: Add shredded cabbage, carrots, and sliced green onions to the skillet. Cook for 2-3 minutes, stirring frequently, until the vegetables soften slightly but retain some firmness. Avoid overcooking to prevent sogginess. Transfer the mixture to a container and refrigerate to cool completely.
- Heat the Oil: In a wok or deep skillet, heat about 3 inches of vegetable oil to 375°F (190°C). This high temperature is critical for achieving a crispy texture.
- Assemble the Spring Rolls: Lay one spring roll wrapper flat on a clean surface. Place about 2 tablespoons of the cooled filling lengthwise near the bottom center of the wrapper. Moisten the edges of the wrapper with beaten egg using a finger or brush. Fold the bottom edge over the filling, then fold in the sides tightly, and roll up firmly, sealing the edge with more egg wash. Repeat with remaining wrappers and filling.
- Fry the Spring Rolls: Carefully add the spring rolls in small batches to the hot oil to avoid crowding. Fry for 2-3 minutes or until they turn golden brown and crispy. Use tongs to turn as needed for even frying. Remove with a slotted spoon and drain on paper towels to remove excess oil.
- Serve and Enjoy: Serve the hot spring rolls immediately with sweet chili sauce or your favorite dipping sauce. Enjoy these crispy, flavorful appetizers fresh for the best texture.
Notes
- Make sure the filling is cool before assembly to prevent wrappers from becoming soggy and tearing.
- Do not overfill spring roll wrappers to ensure easy rolling and sealing.
- Maintain the oil temperature at 375°F for crispiness; lower heat may cause greasy rolls.
- Spring rolls can be frozen before frying; freeze on a tray and then transfer to a bag for up to 1 month. Fry directly from frozen, adding extra time.
- For variations, substitute ground pork with chicken, shrimp, or tofu for different flavors or dietary preferences.
- Prep Time: 15 minutes
- Cook Time: 20 minutes
- Category: Appetizer
- Method: Frying
- Cuisine: Asian
