No-Bake Peanut Butter Bars Recipe
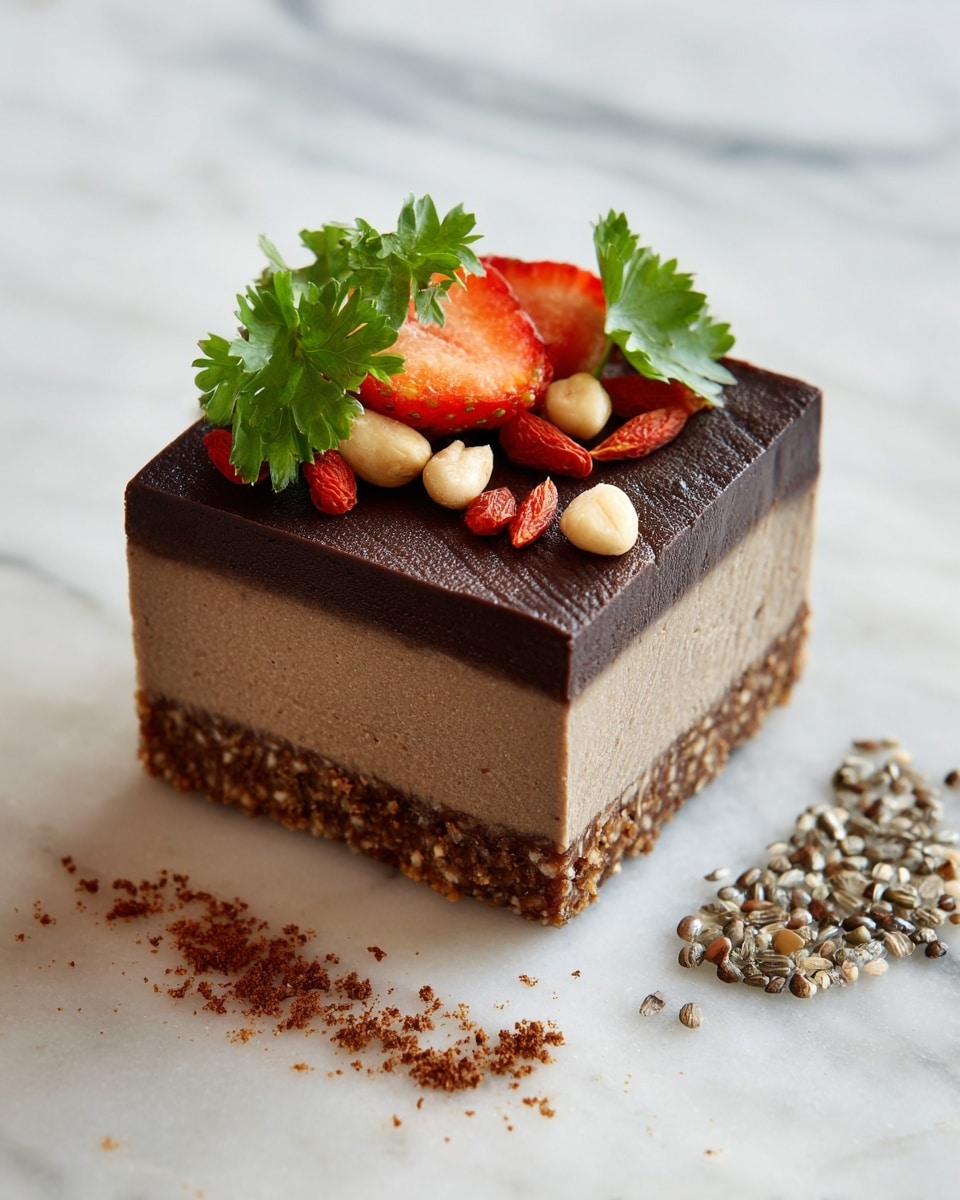
If you have a sweet tooth but want something quick, easy, and irresistibly creamy, then you are in for a treat with this No-Bake Peanut Butter Bars Recipe. These bars combine the rich, velvety taste of peanut butter with a smooth chocolate topping, creating a perfect harmony of flavors and textures that will have you coming back for more. The best part? They require no oven time, and you can whip them up in just 15 minutes, making them an ideal dessert when you’re short on time but big on cravings.
Ingredients You’ll Need
This recipe keeps it simple with ingredients you probably already have on hand, but don’t let their simplicity fool you—each one plays a vital role in creating the perfect balance of taste, texture, and color in your No-Bake Peanut Butter Bars Recipe.
- Creamy peanut butter: Provides that classic nutty flavor and creamy base that makes these bars so comforting.
- Unsalted butter: Adds richness and helps bind everything together while keeping flavors balanced.
- Vanilla extract: A little touch of sweetness that elevates the nutty components beautifully.
- Salt: Enhances the peanut butter’s flavor and balances the sweetness.
- Powdered sugar: Gives the bars their sweetness and helps form that wonderfully soft yet firm texture.
- Chocolate chips: Melts into a silky, decadent topping that complements the base perfectly.
- Coconut oil: Ensures a smooth, glossy finish on the chocolate layer for an irresistible look.
- Festive sprinkles (optional): Adds a pop of color and fun, especially great for celebrations or gifting.
How to Make No-Bake Peanut Butter Bars Recipe
Step 1: Prepare Your Pan
Start by lining your 8×8” or 9×9” dish with parchment paper. This simple step ensures your bars won’t stick, making it much easier to lift them out once they’re ready.
Step 2: Mix the Peanut Butter and Butter
In a large bowl, combine the creamy peanut butter with softened unsalted butter. Using either an electric hand mixer or a stand mixer fitted with the paddle attachment, beat on medium speed until the mixture is perfectly smooth and creamy. This is the luscious base of your bars, so take a moment to enjoy the aroma!
Step 3: Add Vanilla and Salt
Next, stir in the vanilla extract and a pinch of salt. These simple additions bring out the depth in the peanut butter while balancing the sweetness from the powdered sugar.
Step 4: Incorporate the Powdered Sugar
Gradually add the powdered sugar one cup at a time, mixing on low speed to avoid a powdery cloud. Scrape down the sides of the bowl as you go to ensure everything blends evenly. Start with 4 cups and keep adding if the mixture feels too wet — the end goal is a thick, crumbly dough that holds together.
Step 5: Form the Base
Transfer the dough to your prepared pan and press it down evenly. For an extra smooth finish, place parchment or wax paper over the top and gently press it flat with your hands or a spatula. Getting this layer just right sets the stage for the beautiful chocolate topping.
Step 6: Melt the Chocolate
In a microwave-safe bowl, melt the chocolate chips together with the coconut oil in 30-second bursts, stirring each time until silky smooth. The coconut oil gives the chocolate that gorgeous shine and helps it set nicely without cracking.
Step 7: Top with Chocolate
Pour the melted chocolate evenly over the peanut butter base. Use a spatula to spread it gently into a smooth layer that covers the entire surface.
Step 8: Add the Sprinkles
While the chocolate is still soft, sprinkle your festive sprinkles over the top. Not only does this add a fun burst of color, it makes these bars even more inviting for parties or special occasions.
Step 9: Chill and Set
Pop the pan into the refrigerator for about 20 minutes so the chocolate topping can firm up and your bars will hold their shape perfectly when sliced.
Step 10: Serve and Enjoy
Your delicious, no-fuss peanut butter bars are now ready! Cut into squares and enjoy them chilled or at room temperature for the ultimate treat.
How to Serve No-Bake Peanut Butter Bars Recipe
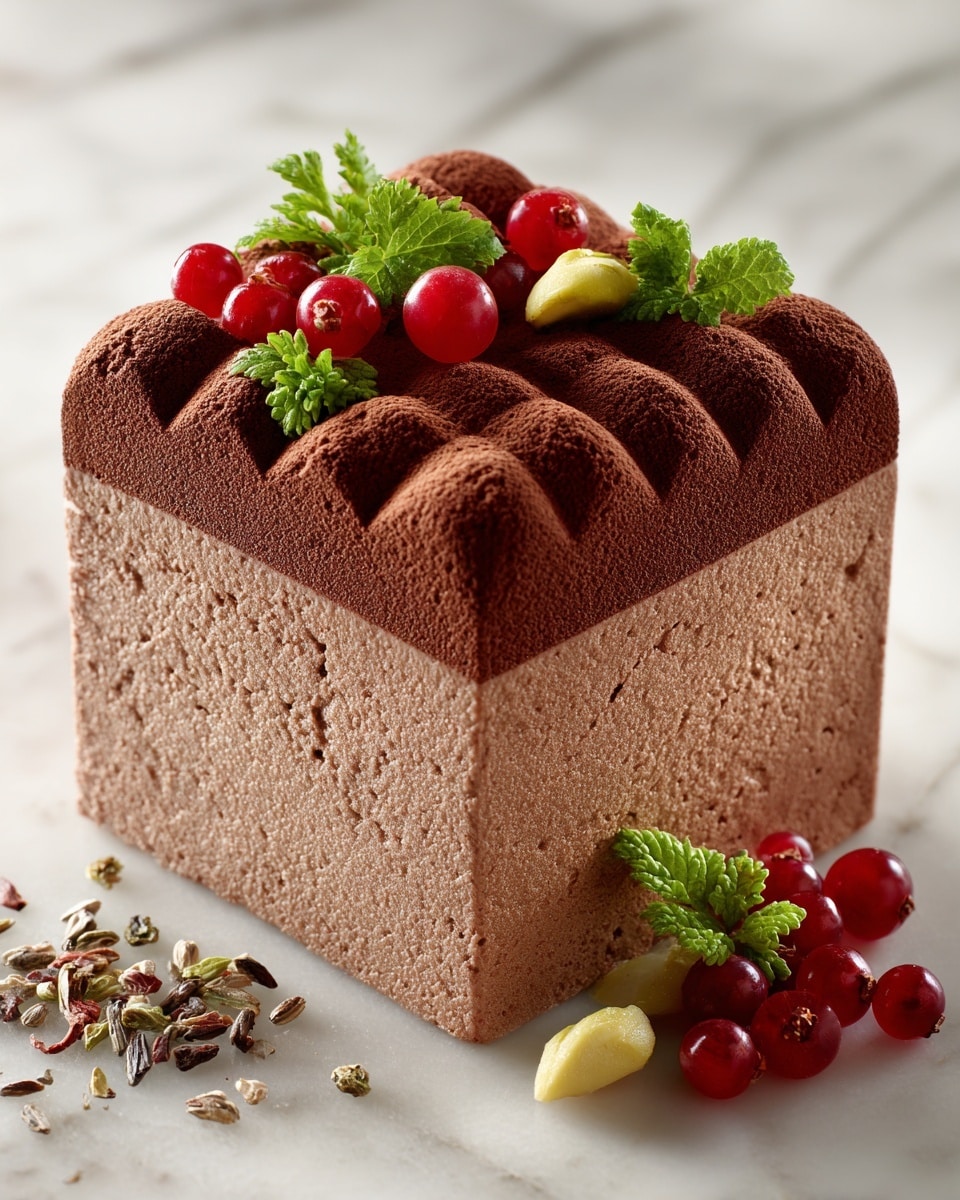
Garnishes
Consider sprinkling a tiny pinch of flaky sea salt on top right before serving to highlight the sweet and salty flavors. Chopped roasted peanuts or a drizzle of melted caramel also make fantastic garnishes that add crunch and extra flavor dimension.
Side Dishes
These bars stand beautifully on their own as a snack or dessert, but they also pair wonderfully with a glass of cold milk, a cup of coffee, or a warm chai latte. If serving during a gathering, fresh fruit like sliced strawberries or banana makes a bright and fresh complement.
Creative Ways to Present
Slice the bars into bite-sized squares and arrange them on a pretty platter with colorful napkins for parties. For gifting, layer them in a decorative tin lined with wax paper, tied with a ribbon. You can even customize the sprinkles to match holidays or special events for a festive touch.
Make Ahead and Storage
Storing Leftovers
Store leftover bars in an airtight container in the refrigerator for up to one week. Keeping them chilled helps the texture stay firm and the flavors fresh, so they remain just as delightful as the day you made them.
Freezing
If you want to keep these treats around longer, freezing is a great option. Wrap individual bars tightly in plastic wrap and place them in a freezer-safe container. Frozen peanut butter bars last up to two months and thaw quickly at room temperature or in the fridge.
Reheating
No need to reheat these bars since they taste fantastic straight from the fridge or at room temperature. However, if you prefer them a bit softer, simply let them sit out for a few minutes before enjoying.
FAQs
Can I use crunchy peanut butter instead of creamy?
Absolutely! Using crunchy peanut butter will add some delightful texture to the bars, making each bite even more interesting. Just keep in mind it might affect the smoothness of the mixture slightly.
What if I don’t have coconut oil for melting the chocolate?
You can substitute coconut oil with vegetable oil or butter. The oil helps to keep the chocolate smooth and shiny, but if you skip it, the chocolate topping will still be delicious, just a bit less glossy.
How do I know if the powdered sugar amount is right?
Start with 4 cups of powdered sugar as directed, mixing well. If the dough feels too wet and sticky, add more sugar gradually until you get a crumbly but hold-together consistency. The right texture is key to perfect bars.
Can these bars be made gluten-free?
Yes! This No-Bake Peanut Butter Bars Recipe is naturally gluten-free as long as you use gluten-free powdered sugar and check that your chocolate chips don’t contain any gluten ingredients or cross-contamination.
What’s the best way to cut these bars without making a mess?
Use a sharp knife warmed under hot water and wiped dry before slicing. This method helps the knife glide through the chocolate smoothly creating clean edges. Wiping the knife between cuts also keeps things neat.
Final Thoughts
This No-Bake Peanut Butter Bars Recipe is one of those comfort desserts that feels like a warm hug in every bite. With easy ingredients and minimal effort, you get a yummy treat that’s perfect for anytime cravings, parties, or just a sweet pick-me-up. I promise, once you try it, these bars will become a beloved favorite in your recipe collection. So go ahead, make a batch today and enjoy every delightful bite!
Print
No-Bake Peanut Butter Bars Recipe
- Total Time: 15 minutes
- Yield: 16 servings 1x
- Diet: Vegetarian
Description
These No-Bake Peanut Butter Bars are a quick and easy treat that combines creamy peanut butter with sweet powdered sugar, topped with a smooth layer of chocolate and festive sprinkles. Perfect for a fast dessert or snack without the need for baking, they come together in just 15 minutes and set in the refrigerator.
Ingredients
Peanut Butter Base
- 2 cups creamy peanut butter
- ½ cup unsalted butter, softened (1 stick)
- 2 teaspoons vanilla extract
- ½ teaspoon salt
- 4–5 cups powdered sugar (start with 4 cups and add more if too wet)
Chocolate Topping
- 1½ cups chocolate chips
- 1 teaspoon coconut oil
- 2 tablespoons festive sprinkles (optional)
Instructions
- Prepare Your Pan: Line an 8×8” or 9×9” dish with parchment paper and set aside for easy removal of bars.
- Mix the Peanut Butter and Butter: In a large bowl, blend the creamy peanut butter and softened butter on medium speed using an electric hand mixer or stand mixer with paddle attachment until smooth.
- Add Vanilla and Salt: Incorporate the vanilla extract and salt into the peanut butter mixture, mixing well to combine.
- Incorporate the Powdered Sugar: Gradually add powdered sugar, mixing on low speed between additions. Scrape down the sides of the bowl as needed. Start with 4 cups and add more if the mixture feels too wet.
- Form the Base: Continue mixing until the mixture resembles large crumbs. Press the dough evenly into the prepared pan. For a smooth surface, place parchment or wax paper over the mixture and press down firmly.
- Melt the Chocolate: In a microwave-safe bowl, combine chocolate chips and coconut oil. Microwave in 30-second increments, stirring after each, until chocolate is melted and smooth.
- Top with Chocolate: Pour the melted chocolate over the peanut butter base and spread evenly across the surface.
- Add the Sprinkles: Sprinkle festive sprinkles over the chocolate while it is still wet to decorate.
- Chill and Set: Refrigerate the bars for 20 minutes to allow the chocolate topping to set firmly.
- Serve and Enjoy: Once set, cut into bars and enjoy chilled or at room temperature.
Notes
- Use creamy peanut butter for the best texture and flavor.
- If the mixture is too sticky, add more powdered sugar gradually until it firms up.
- For a dairy-free version, substitute butter with a plant-based alternative.
- Store leftovers in an airtight container in the refrigerator for up to one week.
- You can substitute chocolate chips with your favorite melting chocolate, such as dark or milk chocolate.
- Sprinkles are optional but add a festive touch for celebrations.
- Prep Time: 10 minutes
- Cook Time: 5 minutes
- Category: Dessert
- Method: No-Cook
- Cuisine: American
