Homemade Syrup Recipe
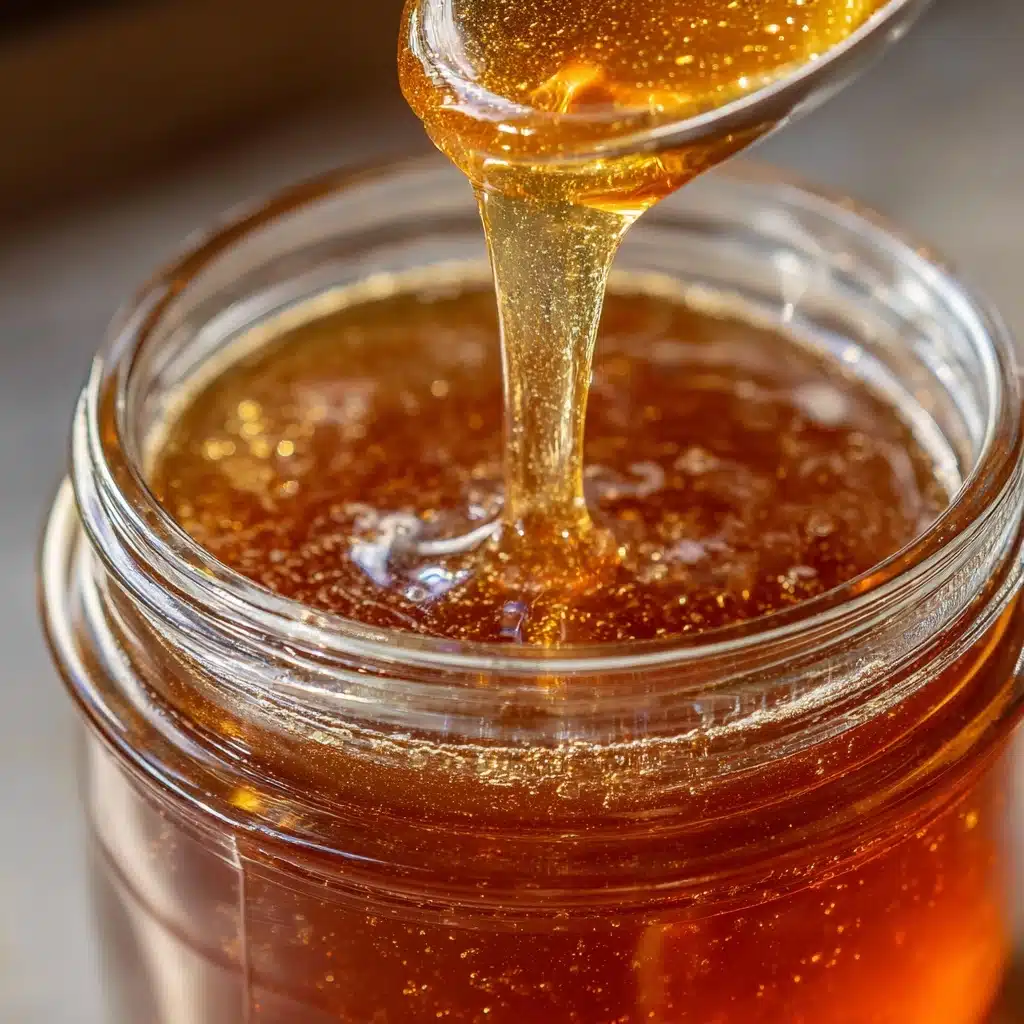
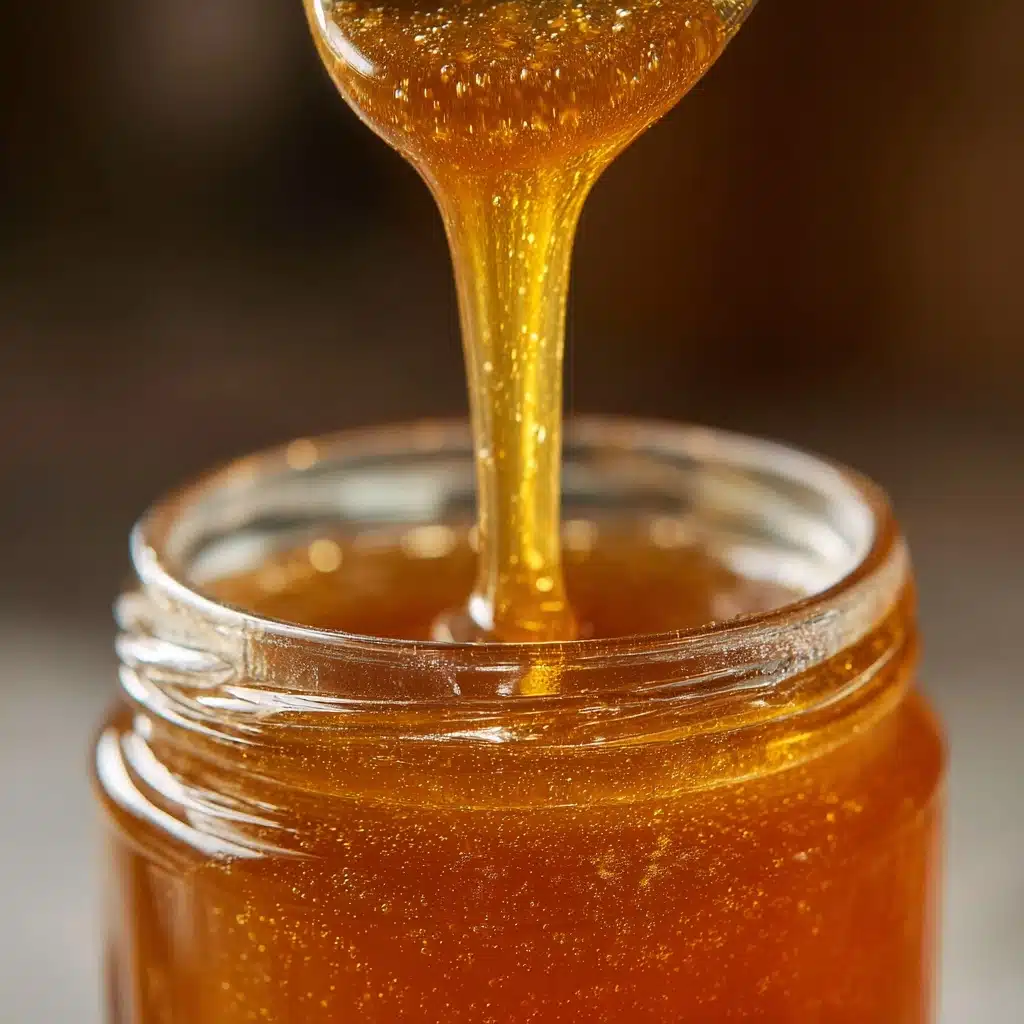
If you’ve ever been tempted by the glossy, golden streams atop your pancakes at a café, making your own Homemade Syrup is an absolute treat that brings the magic right to your kitchen. It’s shockingly simple to whip up, with just a handful of pantry staples, and yet delivers pure, customizable sweetness exactly the way you like it. Whether you plan to drizzle it over morning waffles, swirl it into lattes, or shake up a fun cocktail, this Homemade Syrup is destined to become your new kitchen staple you’ll reach for all year long.
Ingredients You’ll Need
Making Homemade Syrup truly puts the magic in simplicity. Each ingredient plays its part in creating a smooth, glossy syrup full of flavor and appeal. Let’s break down why each one matters—and a little tip to get the best results!
- Granulated sugar: The backbone of our syrup, sugar gives body, sweetness, and shine. A good-quality white sugar will yield the clearest results for this classic base.
- Water: It’s the medium that dissolves the sugar and helps manage the syrup’s consistency. Using filtered water keeps flavors pure and clean.
- Vanilla extract (optional): Add a splash for a hint of cozy warmth; pure vanilla offers the deepest, most fragrant aroma.
- Pinch of salt: Just a dash makes all the flavors pop and balances the sweetness beautifully—don’t skip it!
How to Make Homemade Syrup
Step 1: Combine Sugar and Water
Start by pouring the granulated sugar and water into a small saucepan. This straightforward step is what sets the magic in motion. Give it a gentle stir to blend everything together before turning up the heat—doing so prevents sugar from sticking and crystallizing on the bottom.
Step 2: Bring to a Boil
Place the pan over medium heat and slowly bring the mixture to a boil. Stir occasionally and keep a watchful eye; boiling ensures the sugar dissolves thoroughly, yielding a crystal-clear syrup every time. The aroma will already start to warm your kitchen!
Step 3: Simmer
Once you’ve got a steady boil and the sugar looks completely dissolved, lower the heat and let the syrup simmer for 2–3 minutes. This quick simmer slightly thickens your Homemade Syrup and lets any flavored additions mingle beautifully, should you choose to add them.
Step 4: Add Flavors and Cool
Remove the saucepan from the heat and stir in your vanilla extract and a tiny pinch of salt if you’re using them. These finishing touches add depth and subtlety. Allow the syrup to cool completely in the pan; this helps it thicken to perfect pouring consistency.
Step 5: Store
Once cooled, carefully transfer your Homemade Syrup into a clean jar or bottle. Seal tightly and store in the fridge where it’ll stay fresh, glossy, and delicious for up to a month—just waiting for its time to shine!
How to Serve Homemade Syrup
Garnishes
The real fun begins when it’s time to serve. Try tossing in a quick twist of citrus zest, a sprinkle of cinnamon, or even a sprig of fresh mint for a beautiful burst of flavor and color. These simple additions turn your basic
syrup into a personalized showstopper every time—effortless, but oh so impressive.
Side Dishes
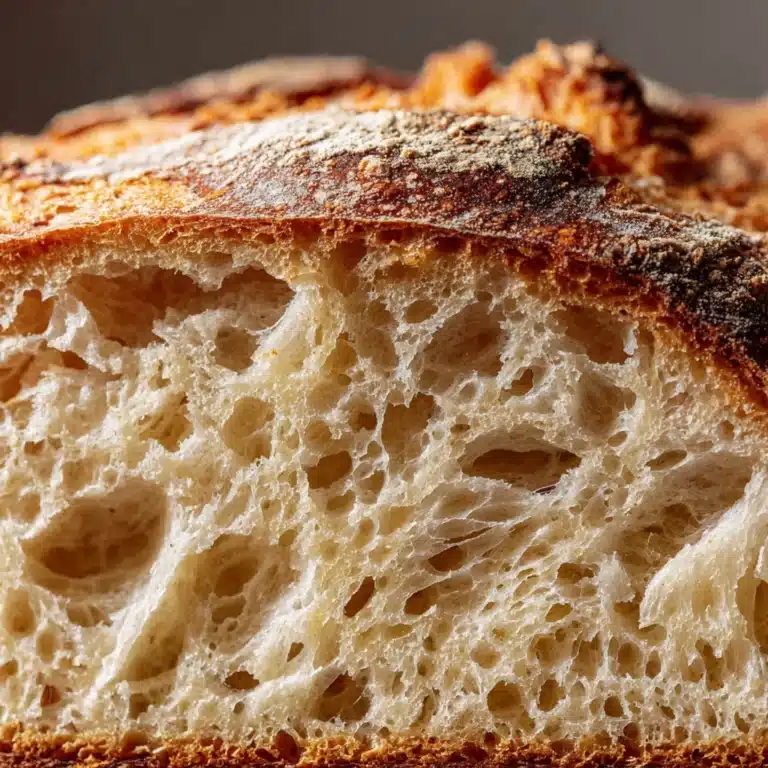
Homemade Syrup is a dream pairing with classics like pancakes, waffles, French toast, or crepes. But don’t stop there! Use it to sweeten your morning oatmeal, as a lovely drizzle over yogurt or vanilla ice cream, or even to dress up roasted fruit for brunch or dessert.
Creative Ways to Present
Hosting friends? Pour your Homemade Syrup into a pretty glass bottle or vintage jar, and tie it with a ribbon for a charming table accent (or a memorable homemade gift). You can also offer tiny pourers or dipping dishes on a breakfast spread, letting everyone help themselves for a make-it-your-own experience.
Make Ahead and Storage
Storing Leftovers
Your Homemade Syrup should cool to room temperature before sealing and tucking it away in the refrigerator. A tight lid keeps flavors fresh and prevents unwanted odors from sneaking in. Stored properly, it’ll keep well for up to one month—plenty of time to sweeten countless recipes!
Freezing
While this syrup keeps so nicely in the fridge, you can freeze it in an airtight container if you want to make a large batch ahead of time. Just be sure to leave a little room at the top for expansion, and thaw it overnight in the refrigerator before using. Give it a quick shake or stir when it’s fully liquid again.
Reheating
If you prefer your Homemade Syrup warm (especially on chilly mornings), heat only the portion you’ll use. Simply microwave it in a heatproof container for 10–15 seconds, or gently warm in a small saucepan. Warm syrup pours more easily and soaks into pancakes and waffles like a dream.
FAQs
Can I use brown sugar instead of white for Homemade Syrup?
Absolutely! Brown sugar will give your syrup a deeper color and a lovely hint of molasses, making it perfect for oatmeal, spiced cakes, or fall-inspired breakfasts.
What’s the best way to infuse flavors into Homemade Syrup?
Add citrus zest, cinnamon sticks, vanilla beans, or fresh herbs directly to the saucepan while simmering. After straining them out, you’re left with a flavored syrup that’s vibrant and unique every time.
Is Homemade Syrup suitable for vegans?
Definitely! With just sugar, water, and plant-based flavorings, this recipe is naturally vegan-friendly and perfect for those avoiding animal products.
How do I make a thicker syrup?
Let your syrup simmer for a couple of extra minutes, but keep a close eye—it thickens as it cools, so don’t overdo it or it might end up too sticky. For an ultra-thick version, try increasing the sugar-to-water ratio slightly.
Can I use Homemade Syrup in cold drinks or cocktails?
Yes, and you absolutely should! It dissolves effortlessly into iced coffees, lemonades, teas, and cocktails—much better than regular sugar. Homemade Syrup is a bartender’s secret weapon for silky-smooth sips.
Final Thoughts
There’s something so satisfying about whipping up your own Homemade Syrup—it’s quick, easy, and the results add a special touch to so many meals and drinks. If you’ve never tried making your own before, give it a go and see how this simple treat can transform your breakfasts, desserts, and coffees. You may never reach for store-bought again!
Print
Homemade Syrup Recipe
- Total Time: 7 minutes
- Yield: 1 cup 1x
- Diet: Vegan
Description
Learn how to make your own Homemade Syrup with just a few basic ingredients. This versatile syrup can be used on pancakes, waffles, in drinks, and more!
Ingredients
Syrup:
- 1 cup granulated sugar
- 1 cup water
- ½ teaspoon vanilla extract (optional)
- pinch of salt
Instructions
- Combine Sugar and Water: In a small saucepan, combine the sugar and water. Bring to a boil over medium heat, stirring occasionally until the sugar fully dissolves.
- Simmer: Reduce heat and let it simmer for 2–3 minutes.
- Add Flavor: Remove from heat and stir in vanilla extract and a pinch of salt if using.
- Cool and Store: Allow the syrup to cool completely, then transfer to a clean jar or bottle. Store in the refrigerator for up to 1 month.
Notes
- For flavored syrup, try adding citrus zest, cinnamon sticks, or fresh herbs like mint while simmering, then strain before storing.
- This syrup is perfect for pancakes, waffles, coffee, cocktails, or as a base for homemade sodas.
- Prep Time: 2 minutes
- Cook Time: 5 minutes
- Category: Condiment
- Method: Stovetop
- Cuisine: American
Nutrition
- Serving Size: 1 tablespoon
- Calories: 50
- Sugar: 13g
- Sodium: 1mg
- Fat: 0g
- Saturated Fat: 0g
- Unsaturated Fat: 0g
- Trans Fat: 0g
- Carbohydrates: 13g
- Fiber: 0g
- Protein: 0g
- Cholesterol: 0mg


