Homemade Salted Caramel Ice Cream Recipe
If you’ve never experienced the magic of Homemade Salted Caramel Ice Cream, prepare yourself for a frozen treat that will absolutely steal the show at your next gathering—or make any weeknight feel extra special. This dreamy dessert brings together the rich, buttery depth of caramel, the pop of sea salt, and the creamy smoothness only homemade ice cream can deliver. It’s the perfect balance of sweet and salty, with a luxurious texture that rivals any scoop shop favorite. Whether you’re new to making ice cream or a seasoned churner, this recipe is sure to become a go-to in your dessert repertoire.
Ingredients You’ll Need
The beauty of Homemade Salted Caramel Ice Cream is in its simplicity: just a handful of classic ingredients combine for a showstopping result. Each one plays a crucial role, from creating that luscious caramel base to building the silkiest, most decadent texture imaginable.
- Granulated Sugar: The foundation of your caramel, this brings sweetness and that irresistible amber color.
- Unsalted Butter: Adds richness and a velvety texture to the caramel, making it truly luxurious.
- Sea Salt: Enhances the caramel flavor and balances the sweetness—don’t be shy, it’s what gives this ice cream its signature kick!
- Heavy Cream: The key to ultra-creamy ice cream; using two additions creates both the caramel and the custard base.
- Whole Milk: Lightens the texture just enough, blending perfectly with the cream for smoothness.
- Egg Yolks: Essential for a custard base, these give the ice cream body and that unforgettable scoopable texture.
- Vanilla Extract: Rounds out the flavors and adds a warm, inviting aroma to every bite.
How to Make Homemade Salted Caramel Ice Cream
Step 1: Make the Salted Caramel Sauce
Start by melting the granulated sugar in a heavy-bottomed saucepan over medium heat, stirring constantly with a heatproof spatula. Watch as it transforms from white crystals to a deep amber liquid—this is where the caramel magic happens! Once you reach that gorgeous color, add the butter (careful, it will bubble), stir until melted, then mix in the sea salt. Pour in 1 cup of heavy cream slowly while stirring—the mixture will bubble up fiercely, but that’s exactly what you want! Let it cook for a minute until smooth, remove from heat, and set aside to cool slightly.
Step 2: Prepare the Custard Base
In a separate bowl, whisk the egg yolks until they’re smooth and slightly thickened. In another saucepan, combine the whole milk and the remaining 1 cup of heavy cream. Heat this mixture over medium just until it’s steaming—not boiling. This gentle heat helps prevent the eggs from scrambling later on.
Step 3: Temper the Egg Yolks
Now it’s time to temper! Slowly pour the hot milk and cream mixture into the egg yolks while whisking constantly. This step ensures the eggs heat gradually and don’t curdle. Once combined, pour everything back into the saucepan and cook over low heat, stirring constantly, until the custard thickens enough to coat the back of a spoon—this usually takes about 5 minutes.
Step 4: Combine and Chill
Remove the thickened custard from the heat and immediately stir in your homemade caramel sauce and vanilla extract. To guarantee a perfectly smooth texture, strain the mixture through a fine mesh sieve into a clean bowl. Let it cool to room temperature, then cover and refrigerate for at least 4 hours, or overnight if you can.
Step 5: Churn and Freeze
Once your custard base is thoroughly chilled, pour it into your ice cream maker and churn according to the manufacturer’s instructions. This usually takes about 20 to 25 minutes. When it looks like soft serve, transfer the ice cream to a freezer-safe container, press a piece of parchment or plastic wrap directly onto the surface, and freeze for at least 4 hours until firm. Now you’re ready to dig into the ultimate Homemade Salted Caramel Ice Cream experience!
How to Serve Homemade Salted Caramel Ice Cream

Garnishes
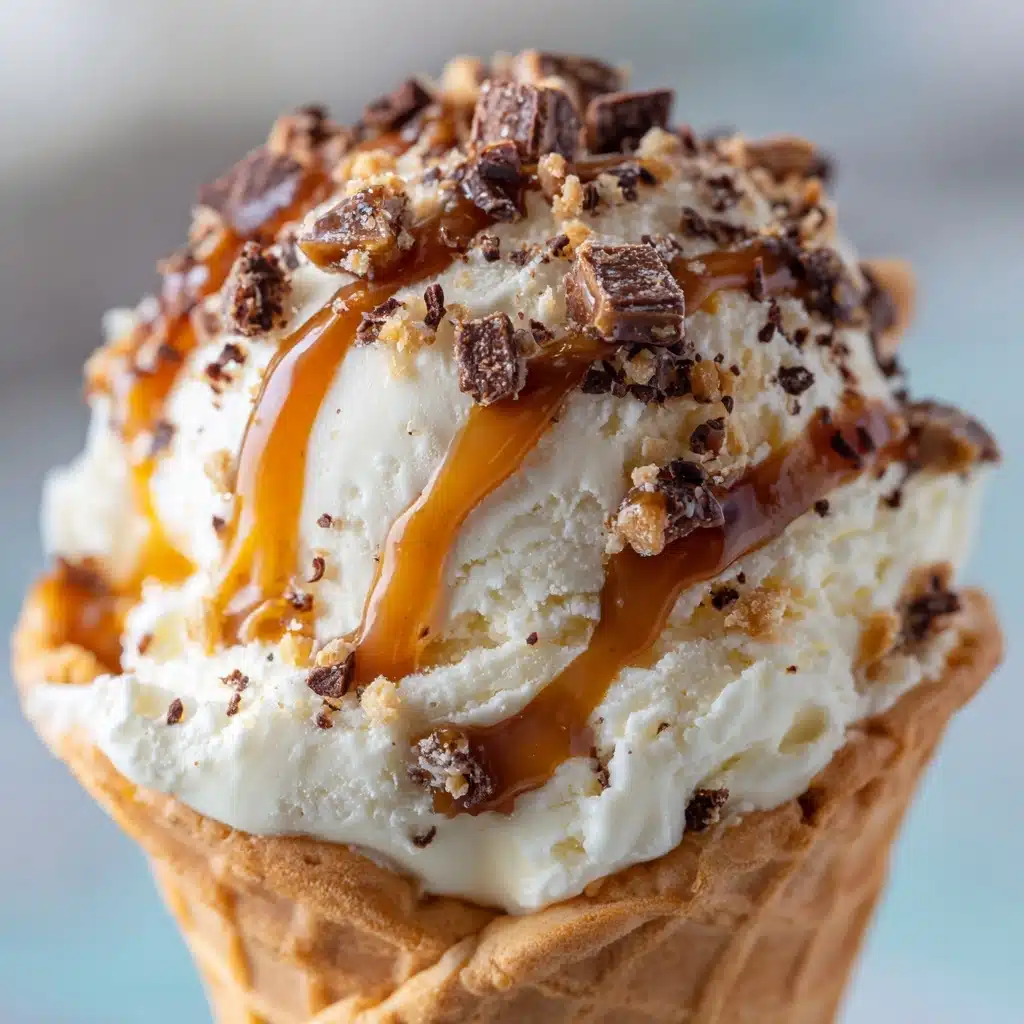
For a truly showstopping finish, sprinkle a pinch of flaky sea salt right before serving—this amplifies all those deep caramel notes. A drizzle of extra caramel sauce or a scattering of toasted nuts adds crunch and a touch of elegance. If you’re feeling playful, crumble a little shortbread or chocolate cookie on top for extra texture.
Side Dishes
Homemade Salted Caramel Ice Cream is absolutely dreamy on its own, but it transforms into pure decadence alongside fudgy brownies, warm apple pie, or even sandwiched between two chewy cookies. Pair it with seasonal fruits like roasted pears or baked apples for a delightful contrast.
Creative Ways to Present
Try serving your ice cream in elegant glass bowls, waffle cones, or even as a float with cold brew coffee for a grown-up twist. For parties, set up a build-your-own sundae bar with a range of toppings and sauces—let everyone personalize their scoop of Homemade Salted Caramel Ice Cream!
Make Ahead and Storage
Storing Leftovers
Keep any extra ice cream in an airtight container in your freezer. Pressing a layer of plastic wrap or parchment directly onto the surface will help prevent ice crystals from forming and keep your dessert as creamy as possible.
Freezing
Homemade Salted Caramel Ice Cream keeps well for up to two weeks in the freezer. For best texture, let it sit at room temperature for five minutes before scooping—this little wait is worth every second for that creamy consistency.
Reheating
While you certainly won’t be reheating your ice cream, if you find it’s too hard to scoop straight from the freezer, let the container rest on the counter for a few minutes. The edges will soften first, making it easier to serve perfect scoops every time.
FAQs
Can I make this ice cream without an ice cream maker?
Yes! After chilling your custard base, pour it into a freezer-safe dish and freeze. Every 30 minutes, stir vigorously with a fork to break up ice crystals, repeating until the ice cream is smooth and scoopable. The texture won’t be quite as creamy as with a churn, but the flavor will still wow you.
What type Dessert
Use a good quality flaky or coarse sea salt for the caramel and as a finishing touch. Fine salt can dissolve too quickly and miss that signature burst of salty flavor, so opt for flakes if you can.
Can I use store-bought caramel sauce?
If you’re pressed for time, a high-quality store-bought salted caramel sauce can be used in a pinch. However, making your own caramel gives the ice cream its truly unforgettable depth and homemade charm.
How do I know when the custard is thick enough?
The classic test: dip a spoon into your custard, then run your finger across the back. If the line holds, your custard is thickened perfectly and ready for the next step.
Is it possible to make this recipe dairy-free?
Absolutely! Substitute coconut cream and a rich, unsweetened plant-based milk for the dairy, and use a vegan butter alternative. The result will be slightly different in flavor, but still deliciously creamy and satisfying.
Final Thoughts
Whether you’re looking to impress guests or simply treat yourself, this Homemade Salted Caramel Ice Cream is everything a dessert lover dreams of—rich, creamy, perfectly balanced, and utterly irresistible. Give it a try, and I promise it’ll become a star in your homemade dessert collection!
Print
Homemade Salted Caramel Ice Cream Recipe
- Total Time: 50 minutes (plus 4+ hours chilling and freezing time)
- Yield: 1 quart (about 8 servings) 1x
- Diet: Vegetarian
Description
This Homemade Salted Caramel Ice Cream features a rich, creamy custard base infused with deep amber caramel and a touch of sea salt, creating a perfect balance of sweet and salty flavors. Ideal for summer treats or pairing with desserts like brownies and apple pie, this classic American frozen dessert is churned to creamy perfection, delivering an indulgent, velvety texture in every scoop.
Ingredients
Caramel Sauce
- 1 cup granulated sugar
- 6 tablespoons unsalted butter, cut into pieces
- 1/2 teaspoon sea salt
- 1 cup heavy cream (divided)
Ice Cream Base
- 1 cup whole milk
- 1 cup heavy cream
- 5 large egg yolks
- 1 teaspoon vanilla extract
Instructions
- Make the caramel sauce: In a heavy-bottomed saucepan over medium heat, melt the granulated sugar while stirring constantly using a heatproof spatula. Continue stirring until the sugar turns a deep amber color, ensuring it doesn’t burn. Carefully add the butter and stir until it is fully melted and incorporated. Mix in the sea salt to enhance the flavor.
- Add cream to the caramel: Slowly pour in 1 cup of the heavy cream while stirring continuously. The mixture will bubble vigorously; continue stirring and cook for an additional minute until the sauce is smooth and well combined. Remove from the heat and set aside.
- Prepare the egg yolks: In a separate bowl, whisk the large egg yolks until they are smooth and slightly pale in color, preparing them for tempering.
- Heat the milk and cream: In another saucepan, combine the remaining 1 cup heavy cream with 1 cup whole milk. Heat this mixture over medium heat until it starts to steam but does not boil, preparing it for tempering the eggs.
- Temper the egg yolks: Gradually and slowly whisk the hot milk and cream mixture into the egg yolks to gently raise their temperature. This step prevents the eggs from scrambling when cooked.
- Cook the custard: Pour the tempered egg yolk mixture back into the saucepan. Cook over low heat, stirring constantly with a wooden spoon or spatula. Continue stirring until the custard thickens enough to coat the back of a spoon, about 5-7 minutes. Do not let it boil.
- Combine custard with caramel: Remove the custard from heat and stir in the prepared caramel sauce along with the vanilla extract until fully incorporated.
- Strain the base: Pour the custard through a fine mesh sieve into a clean bowl to remove any cooked egg bits, ensuring a silky smooth texture.
- Chill the custard: Allow the custard to cool to room temperature, then cover and refrigerate for at least 4 hours or overnight. This chilling step is crucial for the ice cream to churn properly.
- Churn the ice cream: Pour the chilled custard into your ice cream maker and churn according to the manufacturer’s instructions until it reaches a soft-serve consistency.
- Freeze until firm: Transfer the churned ice cream into a freezer-safe container. Freeze for about 4 hours or until firm before serving to achieve the perfect scoopable texture.
Notes
- For a deeper flavor and enhanced texture, sprinkle a bit of flaky sea salt on top of the ice cream just before serving.
- This salted caramel ice cream pairs beautifully with rich desserts such as brownies or classic apple pie for an indulgent treat.
- Prep Time: 30 minutes
- Cook Time: 20 minutes
- Category: Dessert
- Method: Churning
- Cuisine: American
Nutrition
- Serving Size: 1/2 cup
- Calories: 310
- Sugar: 28g
- Sodium: 170mg
- Fat: 22g
- Saturated Fat: 13g
- Unsaturated Fat: 7g
- Trans Fat: 0g
- Carbohydrates: 29g
- Fiber: 0g
- Protein: 4g
- Cholesterol: 135mg


