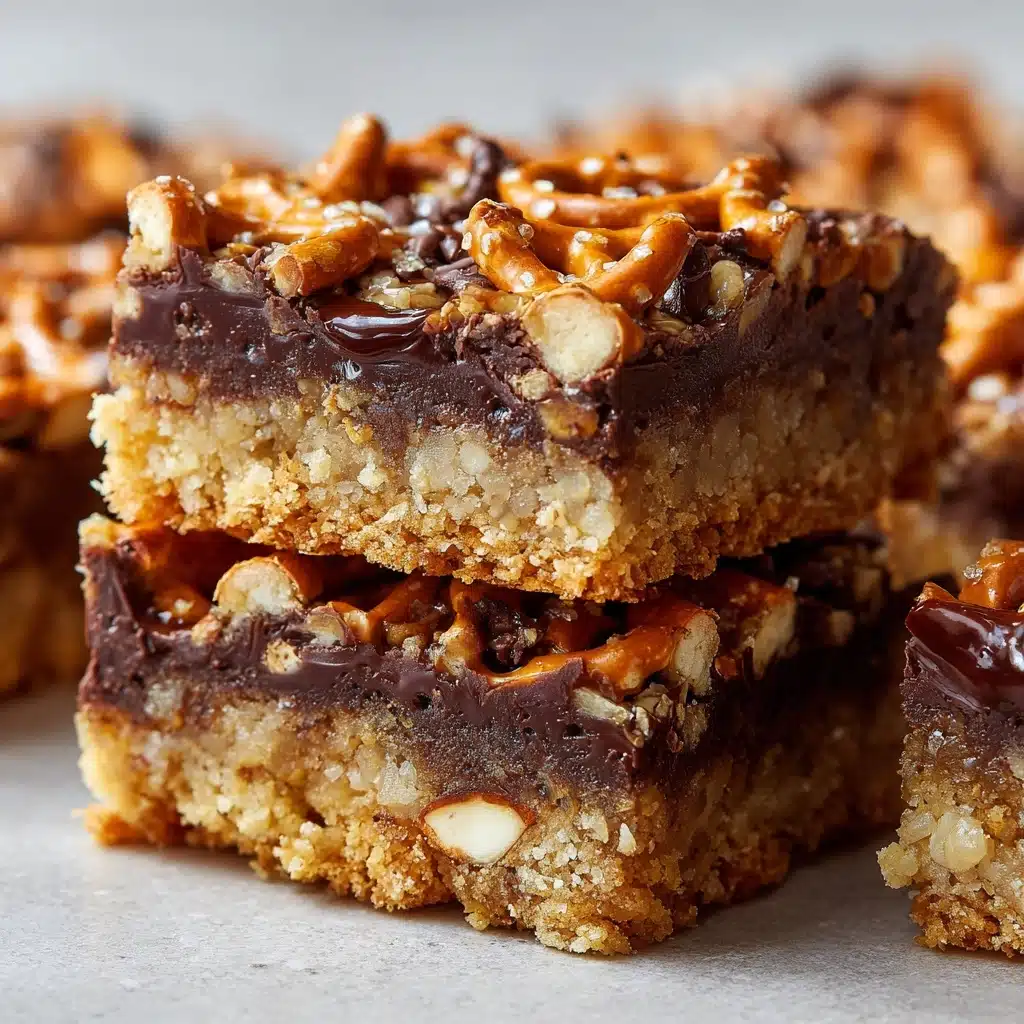
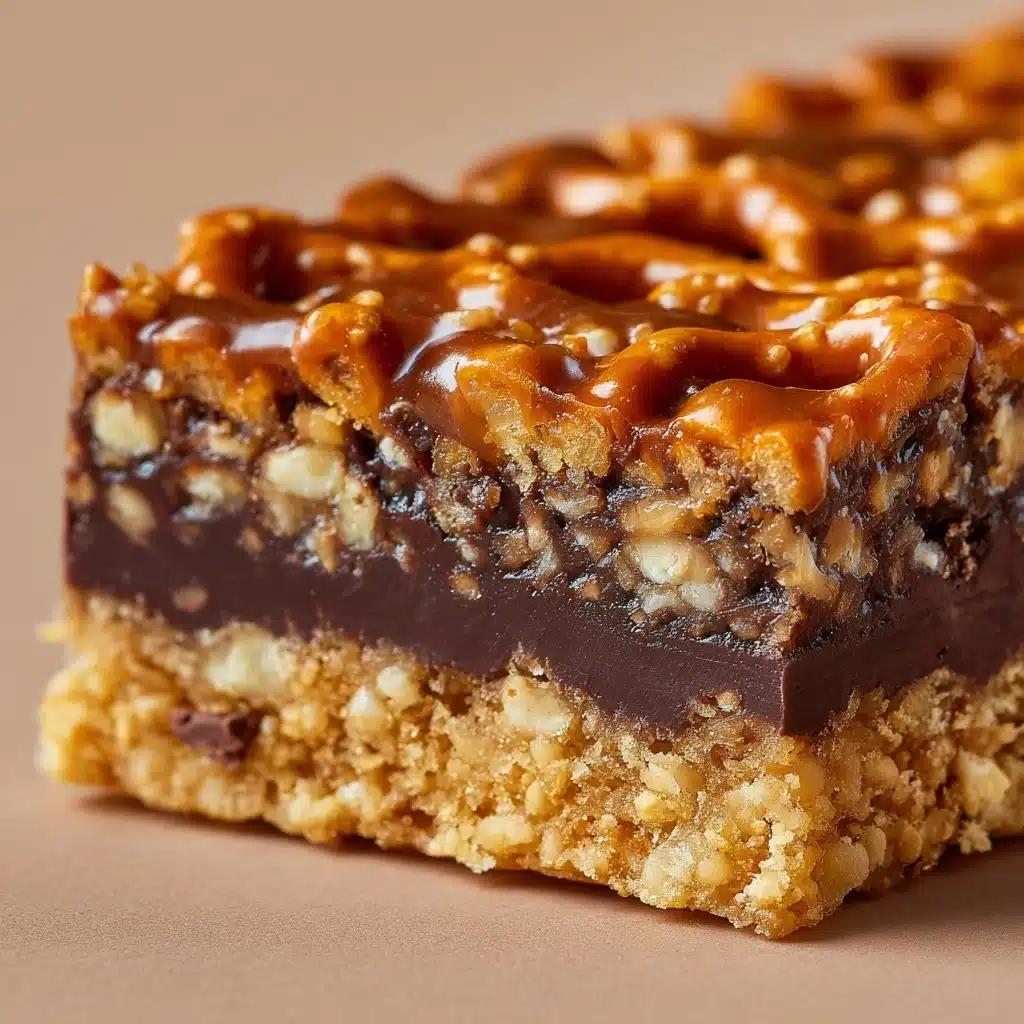
Homemade Crunch Bars Recipe
Get ready to fall in love with a treat that’s equal parts nostalgia and pure chocolate bliss: the Homemade Crunch Bars Recipe! These bars are a surefire way to satisfy any sweet tooth, combining creamy peanut butter, rich chocolate, and crispy rice cereal for that irresistible snap and melt-in-your-mouth indulgence. With just a few pantry staples and absolutely no baking involved, this is one of those magical desserts you’ll want to whip up again and again, whether it’s for an after-school snack, a late-night craving, or sharing at a gathering. If you love easy, crowd-pleasing treats that taste like childhood joy, this recipe will quickly become a staple in your kitchen.
Ingredients You’ll Need
Simple yet powerful—the best recipes start and end with just the right ingredients, and the Homemade Crunch Bars Recipe is no exception. Each component brings something special to the table, from texture and creaminess to that glorious chocolatey finish.
- Semi-sweet chocolate chips (2 cups): The backbone of our bars; they provide the deep chocolate flavor and gorgeous, glossy finish.
- Creamy peanut butter (1/2 cup): Adds a richness that balances the sweetness while ensuring the bars remain tender and craveable.
- Crispy rice cereal (2 cups): Gives the bars their signature crunch and light texture—look for a gluten-free option if needed.
- Vanilla extract (1/2 teaspoon, optional): Enhances all the flavors with a subtle warmth that rounds everything out.
- Pinch of salt: Just a hint brings out all the other flavors, making the chocolate sing.
How to Make Homemade Crunch Bars Recipe
Step 1: Melt the Chocolate and Peanut Butter
Start by grabbing a large microwave-safe bowl (make sure it’s roomy—you need space to stir). Add the chocolate chips and peanut butter, then microwave in 30-second bursts. After each interval, stir well; this prevents scorching and ensures everything gets silky smooth. It usually takes about 1 to 1.5 minutes for the mixture to melt completely, and watching the chocolate and peanut butter swirl together is one of life’s small joys!
Step 2: Add Flavor Enhancers
Once your chocolate and peanut butter are perfectly melted, stir in the vanilla extract and a pinch of salt if you like. This step, though quick, makes a surprising difference: vanilla deepens the overall flavor while salt brightens up the sweetness. Don’t skip if you want that bakery-level taste in your Homemade Crunch Bars Recipe.
Step 3: Mix in the Crispy Rice Cereal
Now comes the fun part! Gently fold the crispy rice cereal into the hot chocolate mixture, making sure every last puff gets coated. Stir gently so the cereal doesn’t break down too much—you want each bar to have those picture-perfect, satisfying pockets of crunch in every bite.
Step 4: Press and Chill
Line an 8×8-inch baking pan with parchment paper for quick and easy lift-out later. Pour the delicious mixture into the pan, spreading it evenly. Grab a spatula or the back of a spoon, and press down firmly to help the bars hold together once set. Pop the pan in the refrigerator for at least 1 hour; the wait is the hardest part, but it lets everything firm up for neat, crisp bars.
Step 5: Slice and Enjoy
Once chilled and set, lift the slab out of the pan using the parchment. Place it on a cutting board and slice into 16 squares (or triangles or rectangles—your call!). Now comes the best part: dig in and watch them disappear. The Homemade Crunch Bars Recipe truly delivers on both taste and texture.
How to Serve Homemade Crunch Bars Recipe
Garnishes
Take your crunch bars to the next level by drizzling with extra melted chocolate or sprinkling with a pinch of flaky sea salt just before serving. You can also add a light dusting of powdered sugar or scatter some finely chopped nuts for a beautiful (and tasty) finish.
Side Dishes
These bars are splendid with a cold glass of milk or a chilled latte. For a dessert platter, serve them alongside fresh strawberries, sliced banana, or a bowl of vanilla ice cream for a crowd-pleasing treat. The balance of creamy, sweet, and crunchy will impress any guest.
Creative Ways to Present
Stack the bars in rustic piles on a wooden board for casual gatherings, wrap each square individually in wax paper for lunchbox treats, or display them in a pretty jar as a homemade edible gift. For parties, try cutting them into tiny squares and serving with colorful toothpicks for bite-sized fun!
Make Ahead and Storage
Storing Leftovers
Homemade Crunch Bars Recipe leftovers are the ultimate snack to keep on hand. Store any extras in an airtight container in the fridge to preserve their crispiness and fresh flavor for up to a week. The cool temperature ensures they stay nice and snappy.
Freezing
These bars freeze beautifully! Simply layer them between sheets of parchment in an airtight container or freezer bag. They can be frozen for up to two months—just let them sit at room temperature for a few minutes before enjoying for best texture.
Reheating
No reheating required here! If you prefer a softer bar or are pulling them from the freezer, allow the bars to warm on the counter for 10-15 minutes. Enjoying them straight from the fridge keeps the crunch at its peak, but room temperature is still delicious in a pinch.
FAQs
Can I make the Homemade Crunch Bars Recipe nut-free?
Absolutely! Simply swap out the peanut butter for almond butter, sunflower seed butter, or any other nut or seed spread you prefer. Always check ingredient labels if you have allergies, and the result will be just as tasty.
Do I have to use semi-sweet chocolate chips?
Nope! Milk chocolate or dark chocolate chips work just as well, depending on your preference for sweetness and depth of flavor. Feel free to mix and match to make your signature Homemade Crunch Bars Recipe.
Is there a vegan version of the Homemade Crunch Bars Recipe?
Yes! Use dairy-free chocolate chips and your preferred plant-based nut or seed butter. Many crispy rice cereals are also vegan, but double-check the label to be sure.
Can I add mix-ins to this recipe?
Absolutely—chopped nuts, dried fruit, or even a handful of mini marshmallows can all be stirred in with the rice cereal. This adds new flavors and textures and lets you put your own spin on the classic Homemade Crunch Bars Recipe.
What size pan should I use?
An 8×8-inch baking pan is ideal for getting nice thick bars, but you can use a 9-inch square or even a loaf pan—just keep in mind the bars will be thinner or thicker depending on pan size. Lining the pan with parchment paper is key for easy removal.
Final Thoughts
If you’re searching for a quick, utterly satisfying chocolate treat, you can’t go wrong with the Homemade Crunch Bars Recipe. With minimal effort and maximum flavor, these bars are always a hit whether you’re sharing or sneaking a bite yourself. Give them a try, and let the chocolatey crunch win you (and your loved ones) over!
Print
Homemade Crunch Bars Recipe
- Total Time: 1 hour 10 minutes
- Yield: 16 bars 1x
- Diet: Vegetarian, Gluten-Free
Description
Indulge in the irresistible combination of chocolate and peanut butter with these Homemade Crunch Bars. Easy to make and no baking required, these bars are perfect for satisfying your sweet cravings.
Ingredients
Chocolate Peanut Butter Mixture:
- 2 cups semi-sweet chocolate chips
- 1/2 cup creamy peanut butter
Crispy Rice Cereal Mix:
- 2 cups crispy rice cereal (like Rice Krispies)
- 1/2 teaspoon vanilla extract (optional)
- pinch of salt
Instructions
- Combine Chocolate and Peanut Butter: In a large microwave-safe bowl, melt chocolate chips and peanut butter in 30-second intervals until smooth.
- Mix in Remaining Ingredients: Stir in vanilla extract and salt. Fold in crispy rice cereal until coated.
- Set in Pan: Spread mixture in a lined pan, press down, and refrigerate for 1 hour.
- Cut and Serve: Once firm, cut into bars and store in the fridge.
Notes
- Substitute almond or sunflower seed butter for a nut-free version.
- Use dairy-free chocolate chips for a vegan option.
- Add nuts or dried fruit for extra texture and flavor.
- Prep Time: 10 minutes
- Cook Time: 0 minutes
- Category: Dessert, Snack
- Method: No-Bake
- Cuisine: American
Nutrition
- Serving Size: 1 bar
- Calories: 180
- Sugar: 13 g
- Sodium: 60 mg
- Fat: 10 g
- Saturated Fat: 4 g
- Unsaturated Fat: 5 g
- Trans Fat: 0 g
- Carbohydrates: 21 g
- Fiber: 2 g
- Protein: 3 g
- Cholesterol: 0 mg


