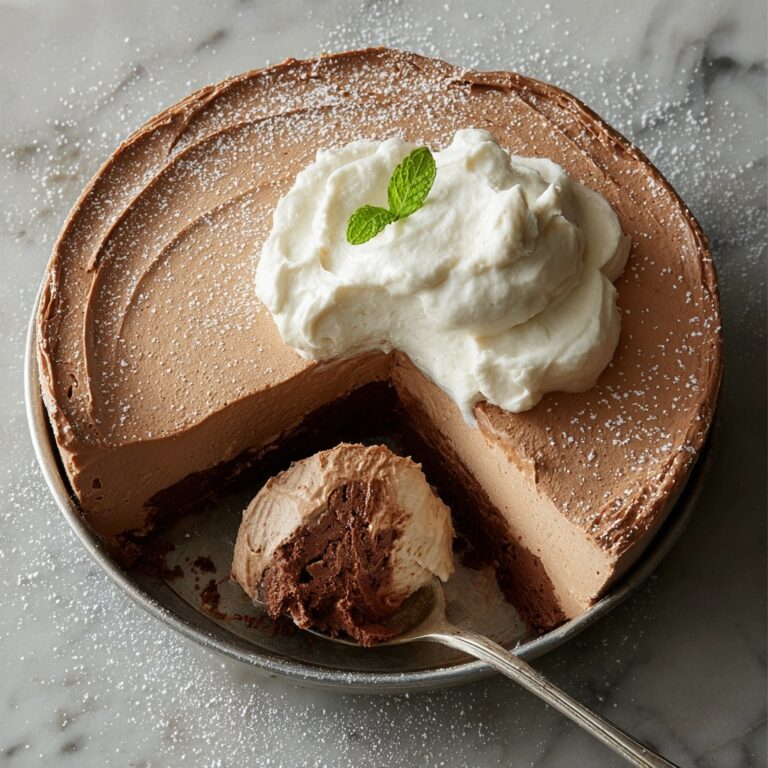
Homemade Chocolate Bars Recipe
If you have a sweet tooth and love the idea of crafting your own treats from scratch, this Homemade Chocolate Bars Recipe is an absolute game changer. Imagine smooth, rich chocolate made with simple, wholesome ingredients you can trust, customized just the way you like it. Whether you prefer a subtle sweetness or want to add crunchy nuts or tangy dried fruit, these homemade bars bring a personal touch that store-bought options just can’t match. It’s an indulgence you can feel good about sharing with friends and family or savoring all on your own.

Ingredients You’ll Need
Each ingredient in this recipe plays an important role, from the silky richness of cocoa butter to the deep chocolate flavor of cocoa powder. Choosing quality components is simple yet essential for getting that perfect texture and taste in your Homemade Chocolate Bars Recipe.
- 1 cup cocoa butter, chopped: This is the luscious fat base that gives your bars a smooth, melt-in-your-mouth feel.
- 3/4 cup unsweetened cocoa powder (or cacao powder for raw chocolate): Delivers that intense chocolate flavor we all crave, with options depending on your preference.
- 1/4 cup powdered sugar or maple syrup: Adds just the right amount of sweetness, letting you control how sweet or natural your bars turn out.
- 1/2 teaspoon vanilla extract: Enhances and rounds out the chocolate flavor with warm, comforting notes.
- Pinch of salt: Balances the sweetness and intensifies the chocolate’s depth.
- Optional add-ins: Chopped nuts, dried fruit, shredded coconut, or sea salt add texture, flavor, and a touch of personality to each bar.
How to Make Homemade Chocolate Bars Recipe
Step 1: Melt the Cocoa Butter
Start by gently melting the cocoa butter in a double boiler or a heatproof bowl set over simmering water. Stir continuously to help it reach a smooth, fully melted state without overheating, which keeps all the buttery goodness intact.
Step 2: Mix in Cocoa Powder and Sweetener
Once your cocoa butter is melted, remove the bowl from heat. It’s time to whisk in the unsweetened cocoa powder and your chosen sweetener—whether it’s powdered sugar or maple syrup. Stir until every last bit is blended into a glossy, velvety mixture that smells like pure chocolate heaven.
Step 3: Add Vanilla and Salt
Vanilla extract and a pinch of salt elevate the flavors, deepening the richness and balancing the sweetness beautifully. Whisk these in fully for that irresistible aroma and perfectly rounded taste.
Step 4: Pour into Molds and Customize
Pour your chocolate mixture into silicone molds shaped like bars or into a parchment-lined baking dish. Don’t hesitate to sprinkle on your favorite add-ins like nuts, dried fruit, or even a little sea salt on top, pressing them lightly so they stick.
Step 5: Chill Until Set
Pop the molds or dish into the refrigerator for 1 to 2 hours. Patience here rewards you with firm, glossy bars that snap perfectly when broken. Once set, simply remove from the molds or slice the slab into bars.
Step 6: Store Properly
To keep your homemade chocolate bars fresh, store them in an airtight container either at room temperature or in the fridge if you prefer them extra firm. This final step ensures every bite is just as delightful as the first.
How to Serve Homemade Chocolate Bars Recipe

Garnishes
Even after chilling, you can add a little extra flair by garnishing with a light dusting of cocoa powder or a few flakes of sea salt on top. These simple touches elevate presentation and tease your senses before the very first bite.
Side Dishes
Homemade chocolate bars are perfect alongside a cup of freshly brewed coffee or a warming tea. Pairing them with fruit like ripe berries or a handful of roasted nuts makes for a balanced snack that delights your taste buds.
Creative Ways to Present
If you’re sharing at a party or gifting these bars, wrap them in parchment paper tied with twine for that rustic, handmade charm. You can also layer bars in a pretty box with parchment separators, making every unwrapping feel like a mini celebration.
Make Ahead and Storage
Storing Leftovers
Your homemade chocolate bars will stay delicious in an airtight container for up to two weeks at room temperature, keeping their smooth texture and fresh flavor intact. For a firmer bite, refrigeration is a great option that extends shelf life.
Freezing
If you want to prepare in advance or keep bars for longer, freezing is your friend. Wrap individual bars tightly in plastic wrap and place them in a freezer-safe container. When you want a treat, simply thaw at room temperature for 10 to 15 minutes before enjoying.
Reheating
Because these bars are best eaten chilled or at room temperature, reheating is not necessary. If your chocolate softens too much, just pop it back in the fridge for a while to regain its satisfying snap and cool texture.
FAQs
Can I use a sweetener other than powdered sugar or maple syrup?
Absolutely! You can experiment with honey, agave syrup, or coconut sugar. Just keep in mind that liquid sweeteners like honey or maple syrup will affect the consistency slightly, so adjust the amount carefully to maintain a smooth texture.
What if I don’t have cocoa butter? Is there a substitute?
Cocoa butter is key to that perfect melt and texture, but if you’re in a pinch, you can substitute with coconut oil. The bars will be slightly less firm but still delicious, with a hint of coconut flavor that many find delightful.
Can I make these bars vegan and dairy-free?
Yes! The recipe is naturally dairy-free as it uses cocoa butter and plant-based sweeteners like maple syrup. Just be sure any added ingredients, like chocolate chips or nuts, are vegan-friendly to keep it completely plant-based.
How long do homemade chocolate bars last?
Stored properly in an airtight container, these bars can last up to two weeks at room temperature or longer if refrigerated. Freezing extends their lifespan to several months without compromising flavor or texture.
Can I add flavors like mint or orange zest?
Definitely! Adding a few drops of peppermint extract or a teaspoon of finely grated orange zest during the mixing stage gives your bars a fresh twist. These natural flavorings pair wonderfully with the rich chocolate base.
Final Thoughts
Making your own chocolate at home with this Homemade Chocolate Bars Recipe is not only fun but incredibly rewarding. It’s a chance to experiment, personalize, and enjoy a treat that feels truly special. I can’t recommend enough giving it a try—you might just find your new favorite way to satisfy chocolate cravings!
Print
Homemade Chocolate Bars Recipe
- Total Time: 1 hour 10 minutes
- Yield: 10 servings 1x
- Diet: Vegetarian
Description
This recipe for Homemade Chocolate Bars offers a simple and customizable way to create delicious, creamy chocolate at home. Made with cocoa butter, unsweetened cocoa powder, and your choice of sweetener, these chocolate bars can be tailored with optional add-ins like nuts, dried fruit, or sea salt. Perfect for chocolate lovers seeking a cleaner, homemade treat without preservatives or artificial ingredients.
Ingredients
Chocolate Base
- 1 cup cocoa butter, chopped
- 3/4 cup unsweetened cocoa powder (or cacao powder for raw chocolate)
- 1/4 cup powdered sugar or maple syrup (for sweetness)
- 1/2 teaspoon vanilla extract
- Pinch of salt
Optional Add-ins
- Chopped nuts
- Dried fruit
- Shredded coconut
- Sea salt
Instructions
- Melt the Cocoa Butter: In a double boiler or a heatproof bowl set over a saucepan of simmering water, gently melt the chopped cocoa butter while stirring continuously until it becomes smooth and fully melted.
- Combine Ingredients: Remove the melted cocoa butter from the heat. Whisk in the unsweetened cocoa powder, powdered sugar or maple syrup, vanilla extract, and a pinch of salt until the mixture is fully combined and smooth, ensuring no lumps remain.
- Pour into Molds: Pour the smooth chocolate mixture into silicone chocolate bar molds or a parchment-lined baking dish, spreading it evenly for consistent thickness.
- Add Optional Toppings: Sprinkle your choice of optional add-ins such as chopped nuts, dried fruits, shredded coconut, or a light dusting of sea salt onto the surface. Gently press them into the chocolate to help them adhere.
- Chill to Set: Place the molds or baking dish into the refrigerator and let the chocolate bars chill for 1-2 hours, or until they are completely firm and set.
- Unmold or Slice: Once set, carefully pop the chocolate bars out of the silicone molds. If you used a baking dish, slice the chocolate into bars of your preferred size.
- Store Properly: Store the homemade chocolate bars in an airtight container. They can be kept at room temperature for a softer texture or refrigerated for a firmer bite.
Notes
- Use high-quality cocoa butter and cocoa powder for the best flavor and texture.
- Maple syrup can be used as a natural sweetener instead of powdered sugar for a vegan option.
- If you don’t have silicone molds, a parchment-lined baking dish works well for shaping.
- Adjust sweetness according to your preference by increasing or decreasing powdered sugar or maple syrup.
- Store bars in a cool, dry place to prevent melting and preserve freshness.
- Feel free to experiment with add-ins like chili flakes or espresso powder for unique flavor twists.
- Prep Time: 10 minutes
- Cook Time: 10 minutes
- Category: Dessert
- Method: No-Cook
- Cuisine: International


