Hawaiian Butter Mochi Recipe
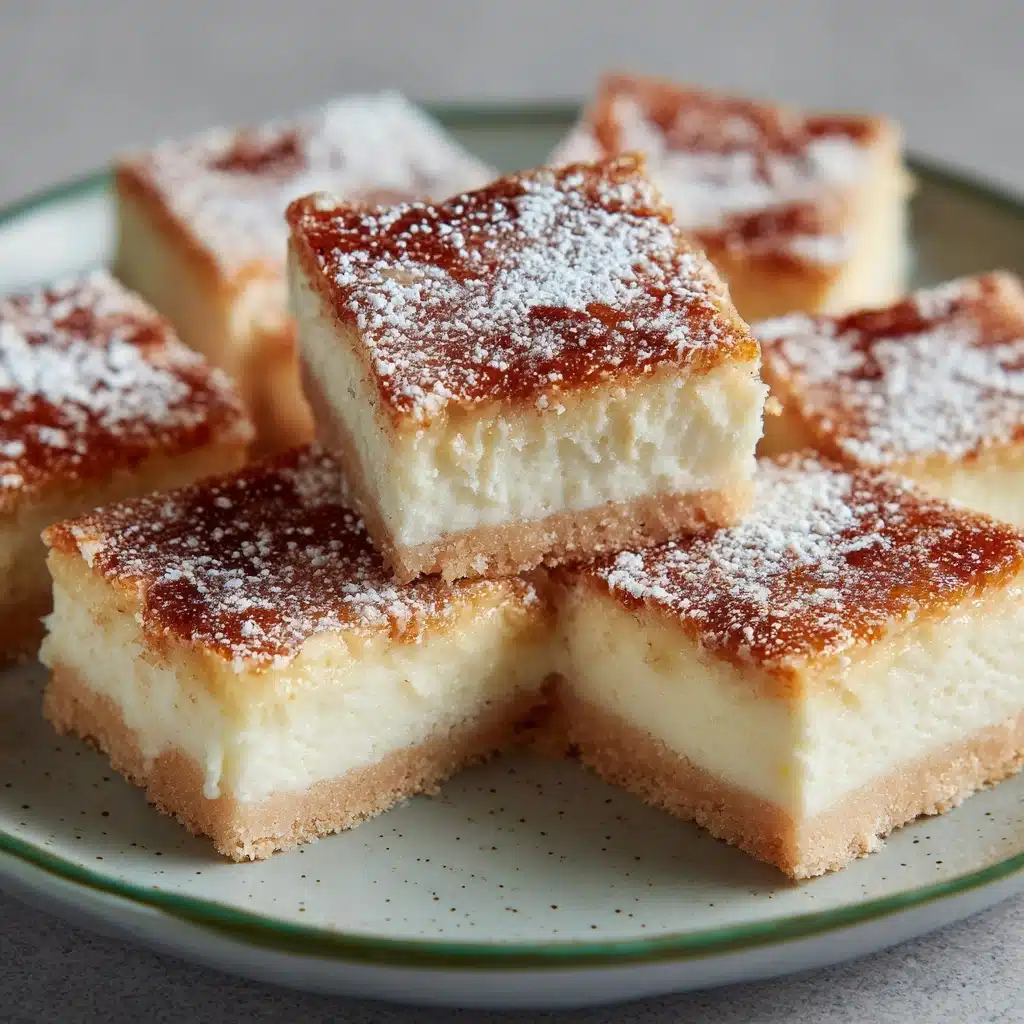
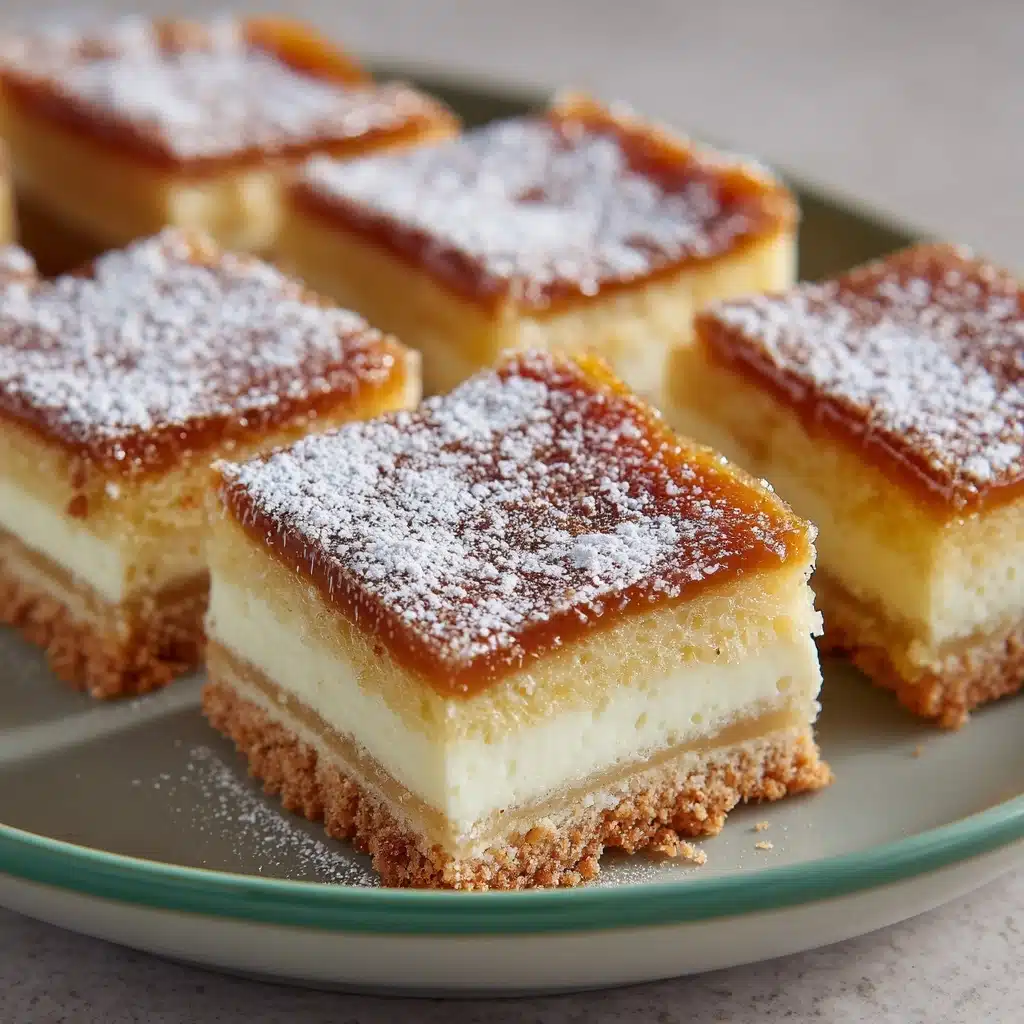
If you’ve never tasted Hawaiian Butter Mochi, you’re in for a treat that’ll quickly become a favorite! This irresistible dessert is a beloved staple in Hawaii, featuring a chewy, custardy texture and a rich buttery flavor with a hint of coconut. Its golden top and soft, mochi-like base make it the perfect snack to share at gatherings or to enjoy with a cup of tea. With just a handful of pantry staples, you can whip up a batch of Hawaiian Butter Mochi that’s guaranteed to disappear in record time.
Ingredients You’ll Need
Every ingredient in this recipe plays a starring role in creating the flavor and texture that makes Hawaiian Butter Mochi so special. Don’t worry—these are all easy-to-find groceries, but together, they bake up into something truly unforgettable.
- Mochiko sweet rice flour: This is the secret to the classic chewy, bouncy texture you expect from mochi desserts.
- Granulated sugar: Adds just the right amount of sweetness to balance the coconut and butter flavors.
- Baking powder: Helps the mochi rise and gives it a light, tender lift.
- Salt: A pinch brings out all the other flavors and keeps the sweetness in check.
- Eggs: Bind everything together and add a subtle richness.
- Full-fat coconut milk: Adds moisture and a delicate coconut flavor that’s absolutely essential for authentic Hawaiian Butter Mochi.
- Whole milk: Keeps the batter silky smooth and helps with the custardy texture.
- Vanilla extract: Adds warm, aromatic depth—don’t skip it!
- Unsalted butter, melted: This gives the mochi its signature richness and that golden, slightly crisp top.
How to Make Hawaiian Butter Mochi
Step 1: Preheat and Prep
Start by preheating your oven to 350°F (175°C). Lightly grease a 9×13-inch baking dish with butter or nonstick spray. This ensures your Hawaiian Butter Mochi won’t stick and makes cleanup a breeze later on.
Step 2: Mix the Dry Ingredients
In a large bowl, whisk together the mochiko sweet rice flour, granulated sugar, baking powder, and salt. Mixing these dry ingredients first means your leavening agent and sugar will be evenly distributed, setting you up for mochi success.
Step 3: Blend the Wet Ingredients
In a separate bowl, beat the eggs thoroughly. Then pour in the coconut milk, whole milk, vanilla extract, and melted butter. Give everything a good whisk until the mixture is smooth and well blended—this is where all the flavor magic starts to happen!
Step 4: Combine Everything
Pour the wet ingredients into the bowl with the dry ingredients. Stir gently but thoroughly until you have a smooth, lump-free batter. It should look glossy and pourable—don’t worry if it seems thin, that’s exactly what you want for a custardy mochi.
Step 5: Bake to Perfection
Pour the batter into your prepared baking dish and smooth the top with a spatula so it bakes up evenly. Pop it in the oven and bake for 50–60 minutes, until the top is beautifully golden and a toothpick inserted into the center comes out mostly clean (a few moist crumbs are perfect!).
Step 6: Cool and Slice
Resist the urge to cut in right away! Let your Hawaiian Butter Mochi cool completely in the pan to set that signature chewy texture. Once cool, slice it into squares and get ready for rave reviews.
How to Serve Hawaiian Butter Mochi
Garnishes
A sprinkle of toasted shredded coconut on top before baking adds extra texture and a boost of coconut flavor. For a festive touch, you can also dust the finished squares with powdered sugar or serve each piece with a fresh berry on top. A little whipped cream on the side never hurts, either.
Side Dishes
Hawaiian Butter Mochi pairs beautifully with fresh fruit like pineapple, mango, or kiwi, adding a bright, tangy contrast to its sweet richness. For a traditional Hawaiian dessert spread, serve it alongside haupia (coconut pudding) or fresh malasadas.
Creative Ways to Present
Try cutting your mochi into fun shapes using cookie cutters, or serve mini squares in colorful cupcake liners for parties. For a tropical flair, arrange slices on a platter with edible flowers or tuck a little Hawaiian Butter Mochi into lunchboxes for a sweet midday surprise.
Make Ahead and Storage
Storing Leftovers
Butter mochi stays fresh for up to 2 days at room temperature. Just cover the pan tightly with foil or transfer the squares to an airtight container to keep them soft and chewy. If you have any left after that, move them to the fridge where they’ll keep for up to 5 days.
Freezing
If you want to make Hawaiian Butter Mochi in advance, you can freeze individual squares. Wrap each piece tightly in plastic wrap and place them in a freezer bag. They’ll keep for about a month—just thaw at room temperature when you’re ready to enjoy.
Reheating
While Hawaiian Butter Mochi is delicious at room temperature, if you like it warm and extra gooey, pop a square in the microwave for about 10–15 seconds. This brings back that fresh-from-the-oven softness.
FAQs
Can I make Hawaiian Butter Mochi dairy-free?
Absolutely! Simply swap the whole milk for any unsweetened non-dairy milk (like almond or oat), and use a plant-based butter. The coconut milk provides plenty of richness, so flavor won’t be compromised.
What if I don’t have mochiko flour?
Unfortunately, mochiko sweet rice flour is essential for the authentic chewy texture of Hawaiian Butter Mochi. Other flours, even regular rice flour, just won’t give you the same result—but mochiko is often available in Asian markets or online.
Can I add different flavors or mix-ins?
Yes! Try folding in matcha powder, chocolate chips, or chopped nuts for a fun twist. You can even swirl in a bit of fruit jam before baking. Just be careful not to overload the batter so it still bakes up evenly.
Why is my butter mochi too soft or too firm?
If it’s too soft, it may have needed a few more minutes in the oven. If it’s too firm, double-check your measurements—too much flour or too little liquid can affect the texture. Always let it cool completely before slicing for the perfect chew.
Is Hawaiian Butter Mochi gluten-free?
Yes, it’s naturally gluten-free since it’s made with mochiko sweet rice flour instead of wheat flour. It’s a wonderful dessert to share with friends who avoid gluten, without sacrificing any flavor or texture.
Final Thoughts
There’s something truly special about sharing a plate of Hawaiian Butter Mochi with friends and family—the chewy texture, the sweet coconut aroma, the buttery golden top. If you haven’t tried making it yet, now’s the perfect time. Grab your ingredients, turn on some island tunes, and give this recipe a go. You’ll be hooked after the very first bite!
Print
Hawaiian Butter Mochi Recipe
- Total Time: 1 hour 10 minutes
- Yield: 24 squares 1x
- Diet: Vegetarian
Description
Hawaiian Butter Mochi is a chewy, custard-like gluten-free dessert made with mochiko sweet rice flour, coconut milk, and butter. This rich and flavorful treat is a popular Hawaiian favorite, perfect for serving at room temperature and enjoyed by all ages.
Ingredients
Dry Ingredients
- 1 box (16 oz) mochiko sweet rice flour
- 1 ½ cups granulated sugar
- 2 teaspoons baking powder
- ¼ teaspoon salt
Wet Ingredients
- 4 large eggs
- 1 can (13.5 oz) full-fat coconut milk
- 1 ½ cups whole milk
- 1 teaspoon vanilla extract
- ½ cup unsalted butter, melted and slightly cooled
Instructions
- Preheat Oven and Prepare Pan: Preheat your oven to 350°F (175°C) and lightly grease a 9×13-inch baking dish to prevent sticking.
- Mix Dry Ingredients: In a large bowl, whisk together the mochiko sweet rice flour, granulated sugar, baking powder, and salt until well combined.
- Combine Wet Ingredients: In a separate bowl, beat the eggs thoroughly. Then add the full-fat coconut milk, whole milk, vanilla extract, and melted butter, mixing until smooth.
- Combine Wet and Dry Mixtures: Gradually stir the wet ingredients into the dry ingredients, mixing until you achieve a smooth, well incorporated batter without lumps.
- Pour Batter and Smooth: Pour the batter into the prepared baking dish and use a spatula to smooth out the top evenly.
- Bake: Bake for 50 to 60 minutes, or until the top is golden brown and a toothpick inserted in the center comes out mostly clean with only a few moist crumbs attached.
- Cool: Allow the butter mochi to cool completely in the pan before slicing into 24 squares.
- Serve: Serve the butter mochi at room temperature. Optionally, you can sprinkle shredded coconut on top before baking for extra coconut flavor and texture.
Notes
- For a more pronounced coconut flavor, sprinkle shredded coconut on top of the batter before baking.
- This dessert has a chewy, custard-like texture that is characteristic of mochi.
- Butter mochi keeps well at room temperature for up to 2 days or refrigerated for up to 5 days.
- To reheat, warm slices gently in a microwave or oven to restore softness.
- Prep Time: 15 minutes
- Cook Time: 55 minutes
- Category: Dessert
- Method: Baking
- Cuisine: Hawaiian
Nutrition
- Serving Size: 1 square
- Calories: 170
- Sugar: 14g
- Sodium: 85mg
- Fat: 7g
- Saturated Fat: 5g
- Unsaturated Fat: 1.5g
- Trans Fat: 0g
- Carbohydrates: 25g
- Fiber: 0g
- Protein: 2g
- Cholesterol: 30mg


