Grilled Cheese Chaffles Recipe
If you are craving a low-carb twist on a beloved comfort food, the Grilled Cheese Chaffles Recipe is here to delight your taste buds and keep things exciting in the kitchen. These crispy, golden waffles made primarily from cheese and eggs create the perfect base for a melt-in-your-mouth grilled cheese experience. Whether you’re looking for a quick snack or a satisfying meal, this recipe combines simplicity with flavor in such an irresistible way that it will surely become one of your favorites to whip up anytime.
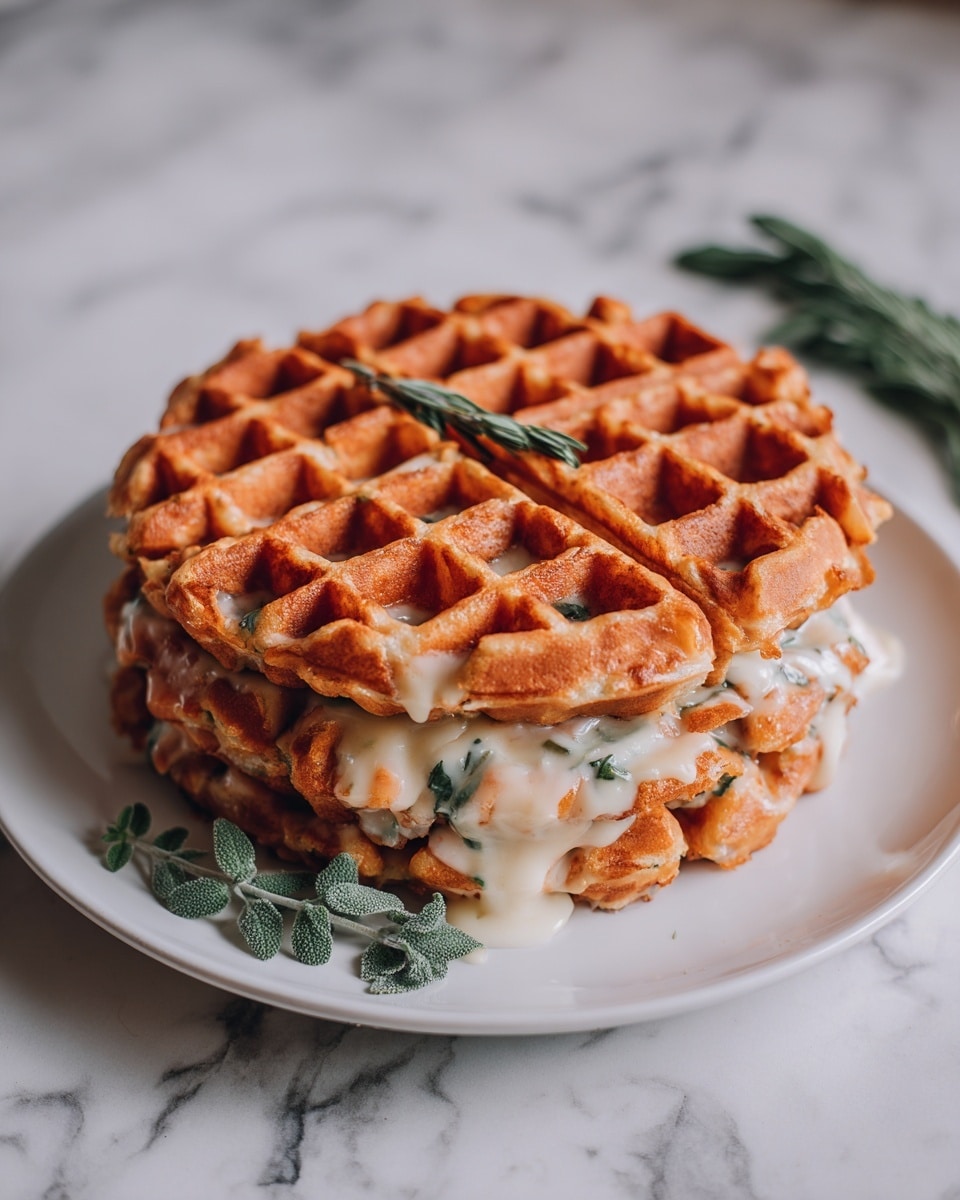
Ingredients You’ll Need
This Grilled Cheese Chaffles Recipe relies on just a handful of simple, straightforward ingredients that each have an essential role in making those chaffles crispy, fluffy, and utterly delicious. Every element contributes not only to the texture but also to the wonderful cheesy aroma and golden color you expect from the perfect grilled cheese.
- 2 large eggs: They provide structure and help bind the ingredients together.
- 1 cup shredded cheese (cheddar or mozzarella): The star of the dish, it melts beautifully and forms the crispy exterior of the chaffle.
- 1/2 cup almond flour: Adds slight nuttiness and ensures a tender crumb while keeping this low-carb.
- 1 tsp baking powder: Gives the chaffle a light fluffiness without overpowering the texture.
- 1/4 tsp salt: Enhances all the flavors and balances the cheese’s richness.
- Non-stick cooking spray: Prevents sticking and helps achieve that perfect golden crust.
How to Make Grilled Cheese Chaffles Recipe
Step 1: Prep Your Waffle Maker
Start by preheating your waffle maker—this ensures that your chaffles cook evenly and develop that sought-after crispy exterior. Spraying the waffle iron generously with non-stick cooking spray is key so your chaffles slide right out without falling apart.
Step 2: Mix the Batter
In a bowl, whisk together the eggs, shredded cheese, almond flour, baking powder, and salt. The cheese should be well distributed to make sure every bite is cheesy and perfect. This simple batter comes together quickly and sets the stage for that delicious grilled cheese flavor.
Step 3: Cook the Chaffles
Pour half of the batter into your preheated waffle maker, spreading it evenly so it cooks uniformly. Close the lid and let the magic happen for about 3 to 5 minutes, until the chaffle turns a beautiful golden brown shade and develops a crispy texture on the outside with a gooey, cheesy inside.
Step 4: Finish Cooking and Serve
Carefully remove your chaffle from the waffle maker to avoid any tearing. Repeat the process with the remaining batter, remembering to spray the waffle maker again before cooking. For those who love extra cheese, sprinkle more layers of cheese or your favorite toppings before cooking to up the indulgence factor.
How to Serve Grilled Cheese Chaffles Recipe
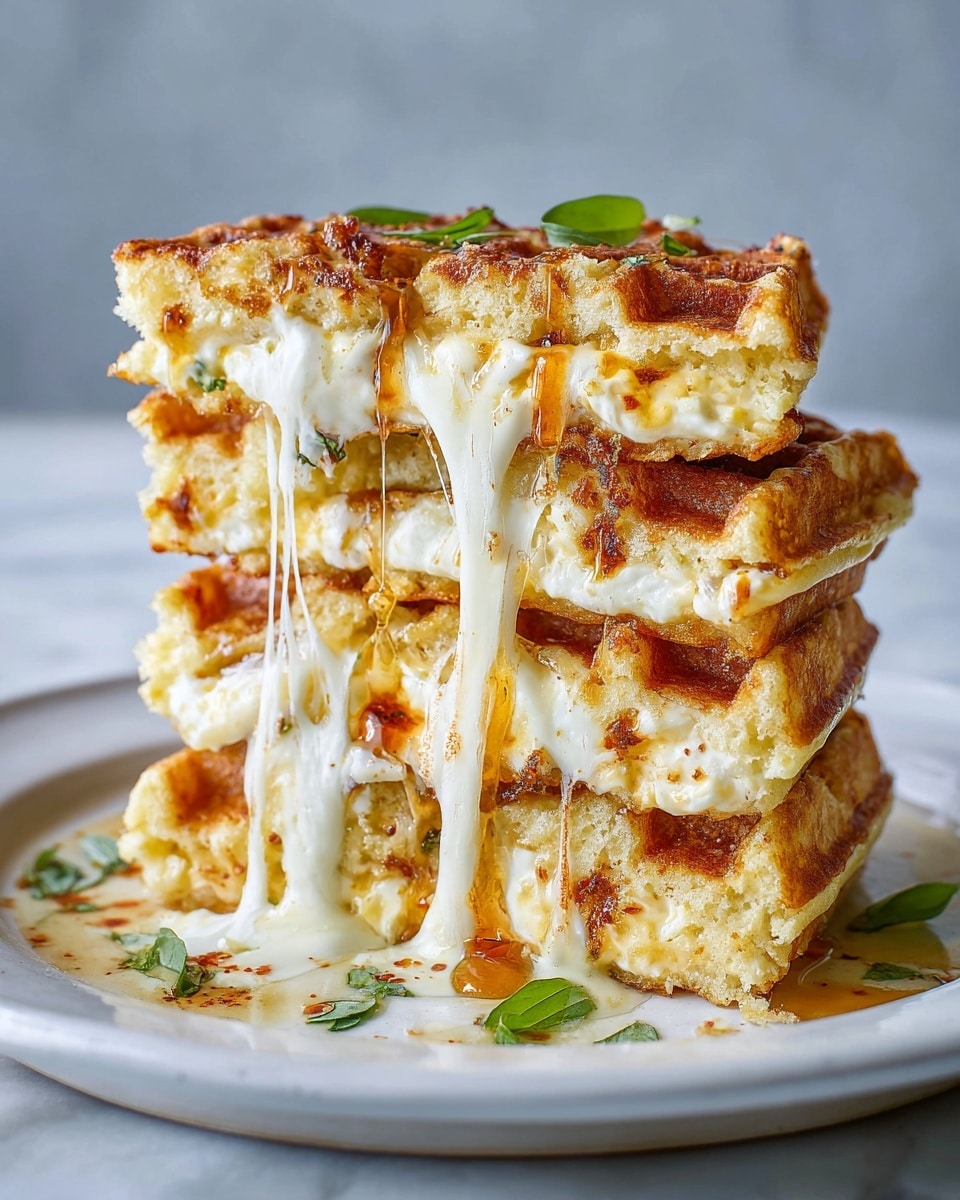
Garnishes
Add a sprinkle of fresh herbs like chopped chives or parsley on top for a burst of color and fresh flavor that complements the cheesiness perfectly. A little dollop of sour cream or a swipe of garlic butter can elevate every bite and make your chaffles extra special.
Side Dishes
This recipe pairs beautifully with simple side salads or crisp, fresh vegetables to brighten up the plate. A warm bowl of tomato soup alongside your grilled cheese chaffles creates a classic and comforting duo that everyone will adore.
Creative Ways to Present
Think beyond the ordinary by using the chaffles as sandwich buns for your favorite fillings like bacon, avocado, or even a fried egg for breakfast-inspired sandwiches. Layering them with additional cheeses and sliced tomatoes before grilling adds a gourmet touch and makes every serving feel like a fancy treat.
Make Ahead and Storage
Storing Leftovers
If you happen to have any leftover grilled cheese chaffles, store them in an airtight container in the refrigerator. They should stay fresh for up to 2 days, maintaining much of their crispness and flavor for quick snacking later on.
Freezing
To keep chaffles ready for busy days, freeze them flat in a single layer on a baking sheet before transferring to a freezer bag. This way, you can easily grab one or two whenever hunger strikes, without worrying about them sticking together.
Reheating
The best way to reheat chaffles and keep their crunch is in a toaster or oven. Avoid microwaving if possible, as it tends to make them soggy. A few minutes at a medium heat restores their crisp exterior and melty middle wonderfully.
FAQs
Can I use other types of cheese for this Grilled Cheese Chaffles Recipe?
Absolutely! While cheddar and mozzarella are popular choices, feel free to experiment with cheeses like gouda, pepper jack, or even a blend. Just keep in mind that cheeses with higher moisture might affect the chaffle texture slightly.
Is almond flour necessary, or can I substitute it?
Almond flour is great for that light, tender texture without adding carbs. However, if you prefer, you can substitute it with coconut flour, but use less as it absorbs more moisture. Regular flour will work too but will increase the carb content.
Can I make these chaffles dairy-free?
Since cheese is key to this recipe’s flavor and structure, making it fully dairy-free is tricky. You might try vegan cheese alternatives, but results may vary depending on the brand’s melt and taste qualities.
How do I prevent my chaffles from sticking to the waffle maker?
Spraying the waffle maker thoroughly with a non-stick cooking spray before each batch is essential, and preheating it fully helps form that crispy crust that releases easily.
Can I add fillings to the chaffles?
Definitely! You can add herbs, cooked bacon bits, or spices directly into the batter for extra flavor, or layer cheese and other toppings between batches as the recipe suggests for an extra cheesy surprise.
Final Thoughts
There is something incredibly satisfying about making and enjoying the Grilled Cheese Chaffles Recipe—a perfect balance of crispy, cheesy goodness that feels indulgent without being complicated. If you haven’t tried these yet, I wholeheartedly encourage you to give them a go. They’re fast, flavorful, and versatile enough to customize to your heart’s content, making them an instant staple you’ll want to share with friends and family over and over again.
Print
Grilled Cheese Chaffles Recipe
- Total Time: 20 minutes
- Yield: 2 servings 1x
- Diet: Low Carb
Description
This Grilled Cheese Chaffles recipe offers a low-carb, delicious twist on traditional grilled cheese using a waffle maker. With a crispy exterior and melty cheese inside, these chaffles are quick to make and perfect for a satisfying snack or light meal.
Ingredients
Chaffle Batter
- 2 large eggs
- 1 cup shredded cheese (cheddar or mozzarella)
- 1/2 cup almond flour
- 1 tsp baking powder
- 1/4 tsp salt
Others
- Non-stick cooking spray
Instructions
- Preheat Waffle Maker: Preheat your waffle maker to ensure it reaches the proper temperature for cooking the chaffles evenly and getting a crispy exterior.
- Prepare Batter: In a mixing bowl, whisk together the eggs, shredded cheese, almond flour, baking powder, and salt until the mixture is well combined and smooth.
- Spray Waffle Maker: Spray the preheated waffle maker with non-stick cooking spray to prevent sticking and promote easy removal of the chaffles.
- Cook Chaffles: Pour half of the batter into the waffle maker, spreading it evenly over the surface. Close the lid and cook for 3-5 minutes or until the chaffle is golden brown and crispy.
- Remove and Repeat: Carefully remove the cooked chaffle and repeat the process with the remaining batter, reapplying non-stick spray as needed to avoid sticking.
- Optional – Add Cheese or Toppings: For an extra cheesy or flavorful experience, add additional cheese or your favorite toppings between layers of batter before cooking.
Notes
- Use a good quality waffle maker for best results.
- Cheddar provides a sharper flavor while mozzarella yields a milder taste.
- Allow chaffles to cool slightly before handling to avoid breaking.
- Customize with herbs or spices to taste.
- Chaffles can be reheated in a toaster or oven for crispiness.
- Prep Time: 5 minutes
- Cook Time: 15 minutes
- Category: Breakfast
- Method: Baking
- Cuisine: American
