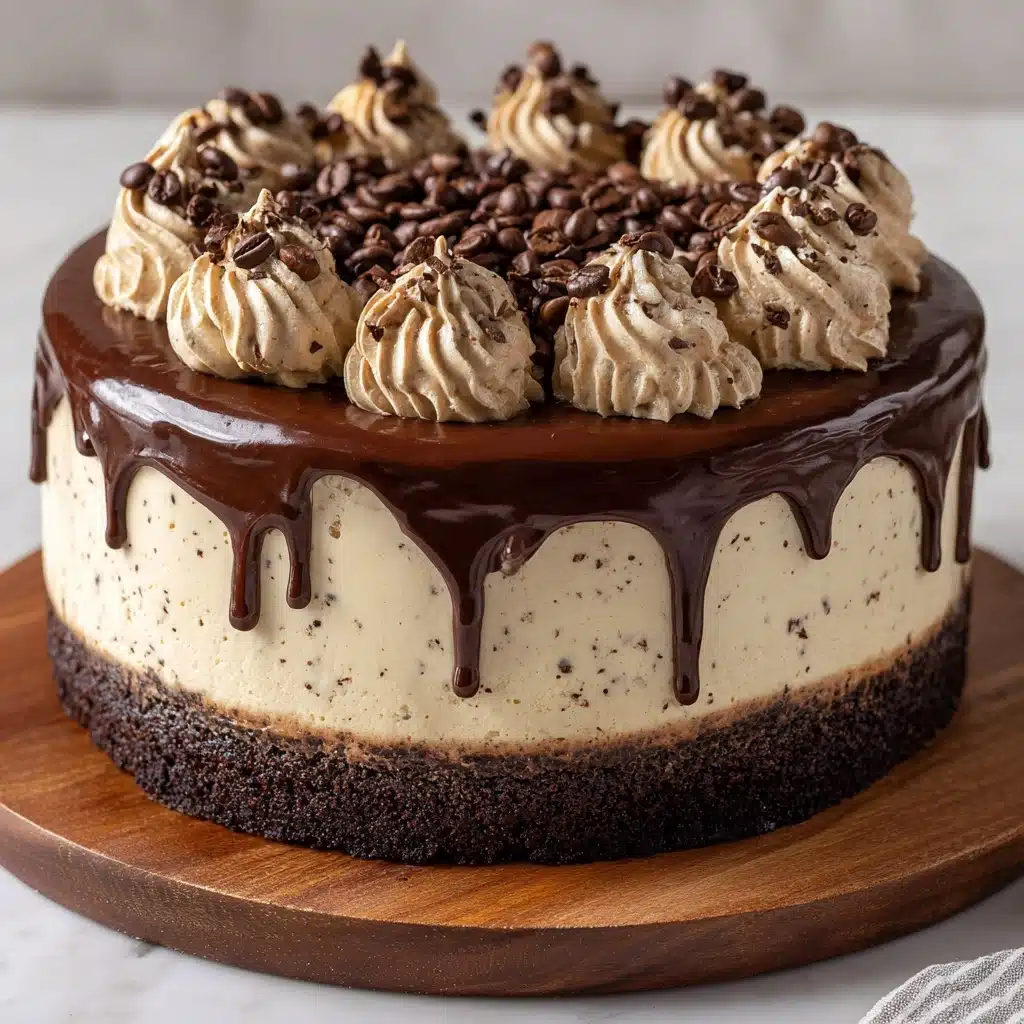
Coffee Ice Cream Cake Recipe
If you’ve ever dreamed of combining your two true loves—bold coffee and creamy ice cream—this Coffee Ice Cream Cake will make your dessert dreams come true. It layers rich coffee ice cream, a decadent chocolate cookie crust, and luscious hot fudge for the ultimate no-bake treat that’s cool, comforting, and absolutely show-stopping. Whether you’re celebrating something special or just want to treat yourself after a long week, this cake hits every note, balancing deep coffee flavor with a sweet, fudgy finish. Trust me, this will quickly become your go-to dessert for all occasions!
Ingredients You’ll Need
-
Coffee Ice Cream Layer:
- 1½ quarts coffee ice cream (slightly softened)
Crust:
- 1 package (14 oz) chocolate sandwich cookies (crushed)
- ¼ cup melted butter
Fudge Layer:
- 1 cup hot fudge sauce (warmed slightly)
Topping:
- 1½ cups whipped topping
- 1 tablespoon instant espresso powder (optional)
- Chocolate shavings or cocoa powder for garnish (optional)
How to Make Coffee Ice Cream Cake
Step 1: Prepare the Pan
Start by lining a 9-inch springform or deep cake pan with parchment paper or plastic wrap. This simple step ensures you can lift out your Coffee Ice Cream Cake with absolute ease later—no sticking, no mess, just dessert success!
Step 2: Make the Cookie Crust
In a medium bowl, combine the crushed chocolate sandwich cookies with the melted butter. Stir until all the crumbs are glistening and well coated. Tip this mixture into your prepared pan and press it firmly and evenly across the bottom, making sure you have a solid, level crust. Pop it in the freezer for 15 minutes to set—this is your foundation for all the creamy goodness to come.
Step 3: Add the First Layer of Coffee Ice Cream
Spoon half of the slightly softened coffee ice cream onto your chilled crust. Use a spatula to spread it out into a smooth, even layer. Don’t worry if it’s not perfect—what matters is the love you’re putting into every scoop! Return the pan to the freezer for 20 minutes so the ice cream can firm up.
Step 4: Add the Fudge Center
Once your first ice cream layer is set, pour the warmed hot fudge sauce all over. Gently spread it so it covers the coffee ice cream from edge to edge, creating that luscious, gooey middle every Coffee Ice Cream Cake deserves. Freeze again for 10 to 15 minutes to make sure the fudge doesn’t swirl into the next layer.
Step 5: Top with the Final Ice Cream Layer
Spoon the rest of the coffee ice cream on top, smoothing it to the edges for a beautiful finish. At this point, your cake looks nearly complete—but the magic happens in the freezer! Leave it there for at least 4 hours (overnight is even better!) so the layers get perfectly firm and sliceable.
Step 6: Finish and Serve
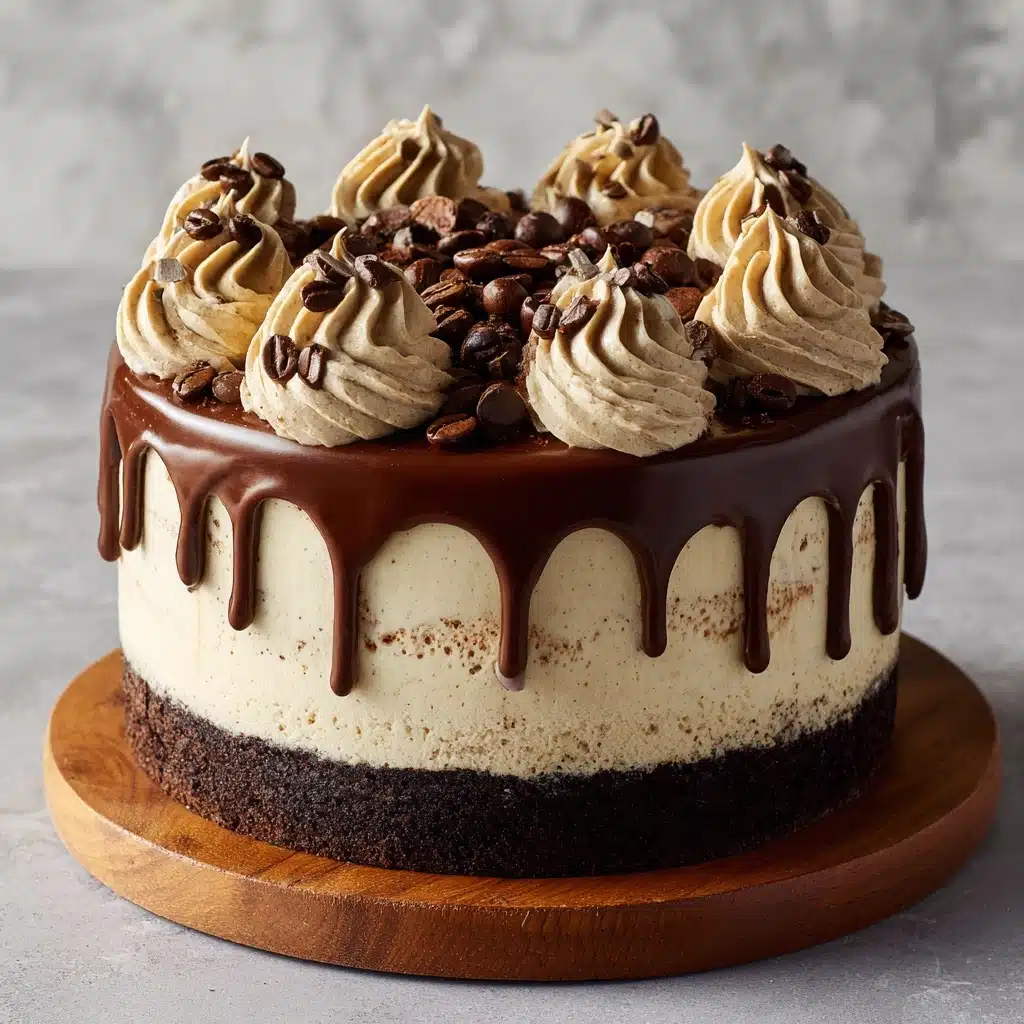
Right before serving, release your Coffee Ice Cream Cake from the pan and peel away the parchment or plastic. Swirl whipped topping generously over the top, then finish with chocolate shavings or a dusting of cocoa powder for that “wow” factor. All that’s left is to slice, serve, and enjoy!
How to Serve Coffee Ice Cream Cake
Garnishes
When it comes to garnishing this cake, a little flourish goes a long way. Sprinkle chocolate shavings, dust with cocoa powder, or even add chocolate-covered espresso beans for extra flair. A drizzle of hot fudge or caramel just before serving will make each slice look (and taste) like a masterpiece.
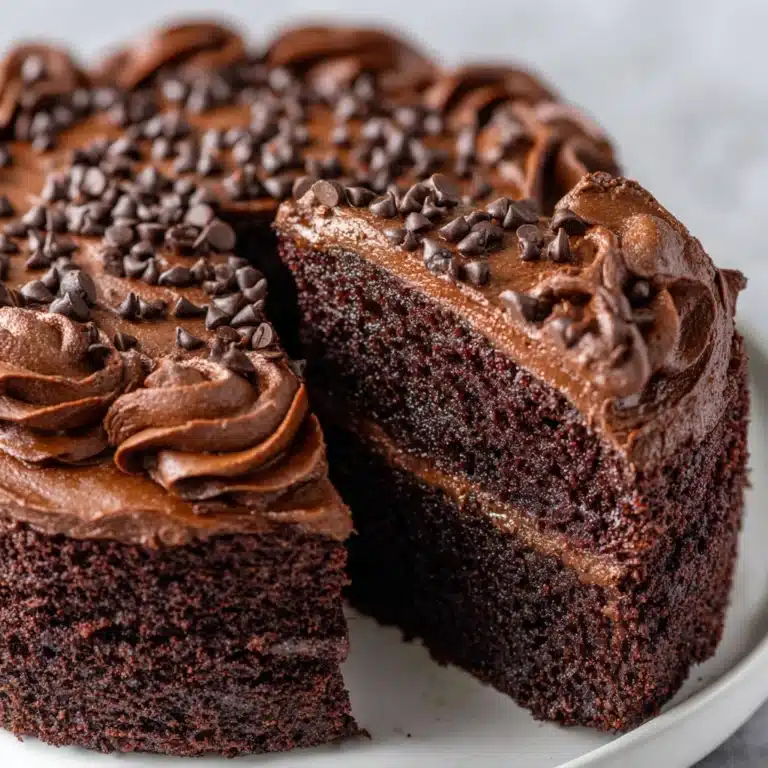
Side Dishes
This Coffee Ice Cream Cake is the star of any dessert spread, but it also pairs fabulously with fresh berries, a bowl of mixed nuts, or delicate almond biscotti on the side. Want to double down on the coffee flavor? Serve with shot glasses of espresso or affogato for a truly grown-up treat.
Creative Ways to Present
For a party, slice the cake into small squares and serve on a platter for finger-friendly eating. You can also freeze in individual ramekins for single-serve Coffee Ice Cream Cake minis. If you’re feeling artistic, try a checkerboard pattern of cocoa powder and powdered sugar on top for stunning visual appeal.
Make Ahead and Storage
Storing Leftovers
If you somehow end up with leftovers (good luck!), simply transfer slices to an airtight container and keep them in the freezer. The texture stays dreamy for several days, making it a perfect make-ahead dessert option.
Freezing
The entire Coffee Ice Cream Cake can be made 2–3 days in advance. Just assemble, freeze, and wrap it well with plastic to avoid freezer burn. Don’t add the whipped topping or garnishes until right before you plan to serve for the freshest finish.
Reheating
Since this is a frozen dessert, “reheating” isn’t required. If the cake is especially firm, simply let it sit at room temperature for 8–10 minutes before slicing. This softens it just enough for perfect presentation and easy serving.
FAQs
Can I use homemade coffee ice cream instead of store-bought?
Absolutely! Homemade coffee ice cream brings an even richer, more personalized flavor to your Coffee Ice Cream Cake. Just make sure it’s softly churned before spreading so it’s easy to work with.
How strong is the coffee flavor?
The coffee flavor is pleasantly robust but not overwhelming. For a bolder kick, simply add the optional instant espresso powder to your fudge or whipped topping, or use a darker roast in your homemade ice cream.
Can I make this cake gluten-free?
Yes! Swap in your favorite gluten-free chocolate sandwich cookies for the crust, and ensure that your other ingredients (like hot fudge) are gluten-free. The result will be just as luscious and satisfying.
What’s the best way to crush the cookies?
A food processor makes crushing cookies quick and easy, but you can also pop them into a zip-top bag and smash them with a rolling pin for more homemade charm and extra texture in your crust.
How long does Coffee Ice Cream Cake keep in the freezer?
If stored properly, your cake will taste fantastic for at least 5–7 days. Just make sure it’s tightly wrapped or in an airtight container to avoid absorbing other freezer odors.
Final Thoughts
If you love coffee and crave easy, swoon-worthy desserts, this Coffee Ice Cream Cake will have a permanent place in your recipe box. It’s cool, creamy, and loaded with flavor—honestly, it’s hard to stop at just one slice. Go on and treat yourself or someone you love; you’ll be amazed at how simple it is to create something so special right in your own kitchen!
Print
Coffee Ice Cream Cake Recipe
- Total Time: 4 hours 20 minutes (includes freezing time)
- Yield: 10 servings 1x
- Diet: Vegetarian
Description
Indulge in the rich and creamy goodness of this Coffee Ice Cream Cake. Layers of coffee ice cream, chocolate sandwich cookie crust, and hot fudge sauce create a decadent frozen dessert perfect for any occasion.
Ingredients
Coffee Ice Cream Layer:
- 1½ quarts coffee ice cream (slightly softened)
Crust:
- 1 package (14 oz) chocolate sandwich cookies (crushed)
- ¼ cup melted butter
Fudge Layer:
- 1 cup hot fudge sauce (warmed slightly)
Topping:
- 1½ cups whipped topping
- 1 tablespoon instant espresso powder (optional)
- Chocolate shavings or cocoa powder for garnish (optional)
Instructions
- Prepare the Crust: Line a 9-inch springform pan or deep cake pan with parchment paper or plastic wrap. Combine crushed cookies with melted butter, press into the bottom of the pan, and freeze.
- Layer the Ice Cream: Spread half of the coffee ice cream over the crust, freeze. Pour hot fudge sauce over, freeze. Add remaining ice cream, freeze until solid.
- Finish and Serve: Top with whipped topping, garnish as desired. Slice and serve.
Notes
- For a stronger coffee flavor, mix instant espresso powder into the hot fudge sauce or whipped topping.
- This cake can be made 2–3 days in advance and kept frozen until ready to serve.
- Prep Time: 20 minutes
- Cook Time: 0 minutes
- Category: Dessert
- Method: No-Bake
- Cuisine: American
Nutrition
- Serving Size: 1 slice
- Calories: 380
- Sugar: 28g
- Sodium: 230mg
- Fat: 22g
- Saturated Fat: 12g
- Unsaturated Fat: 8g
- Trans Fat: 0g
- Carbohydrates: 40g
- Fiber: 1g
- Protein: 4g
- Cholesterol: 45mg


