Christmas Poke Cake Recipe
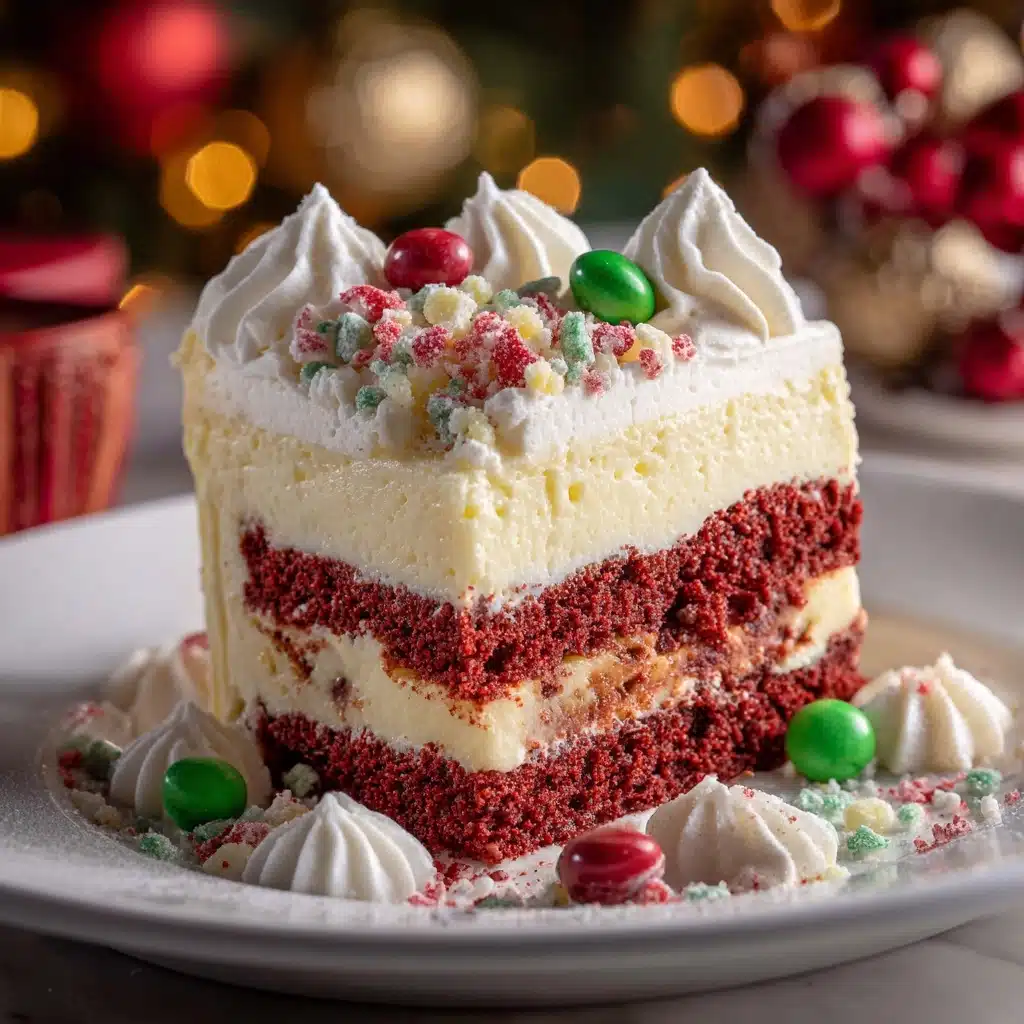
If you’re looking for a show-stopping holiday dessert that’s as easy as it is festive, this Christmas Poke Cake is about to become your new favorite tradition. Imagine a tender white cake, playfully streaked with brilliant red and green gelatin, then crowned with a billowy cloud of whipped topping and a scattering of holiday sprinkles. Every slice reveals a cheerful surprise, making it irresistible at family gatherings, potlucks, or any Christmas celebration. Whether you’re a seasoned baker or just in it for the fun, this Christmas Poke Cake is guaranteed to add some jolly magic to your table!
Ingredients You’ll Need
Don’t you love a dessert that gets all its magic from simple, reliable ingredients? Each item in this recipe brings something special — from the moist cake base to the colorful gelatin and creamy topping. Here’s what you’ll need (plus a few tips to make it extra memorable):
- White cake mix: The perfect blank canvas for our merry colors; use your favorite brand and follow the back-of-box instructions for a guaranteed fluffy crumb.
- Egg whites, water, and oil (as called for by cake mix): These are usually needed to bring your cake mix to life — be sure to check your box for exact measurements!
- Red gelatin (cherry or strawberry, 3-ounce box): Adds a vibrant pop of color and sweet, fruity flavor to half the cake.
- Green gelatin (lime, 3-ounce box): The other half of our Christmas palette, bringing a zesty tang and that classic holiday look.
- Boiling water (2 cups, divided): Essential for dissolving the gelatins completely; make sure it’s truly boiling for best results.
- Cold water (1 cup, divided): Helps cool the gelatin mixtures and sets the colorful stripes just right.
- Whipped topping (8 ounces, thawed): Spreads easily, looks snowy and festive, and tastes deliciously light atop every piece.
- Holiday sprinkles or crushed peppermint (optional): For that final touch of sparkle and crunch — totally customizable to your holiday theme!
How to Make Christmas Poke Cake
Step 1: Bake the Cake
Preheat your oven to 350°F. Prepare the white cake batter according to your cake mix’s instructions, using the egg whites, water, and oil as directed. Pour the batter into a greased 9×13-inch baking pan and bake for 25–30 minutes, or until a toothpick poked into the center comes out clean. Let the cake cool for about 15 minutes — just until it’s warm but not hot.
Step 2: Poke the Holes
Using the handle of a wooden spoon (or anything similar), gently poke holes all over the surface of your cooled cake. Space them about an inch apart so the gelatin soaks in everywhere, making every slice a colorful surprise. Don’t poke all the way through to the bottom, just about two-thirds deep is perfect!
Step 3: Mix and Pour the Gelatin
In two separate bowls, dissolve each box of gelatin in 1 cup boiling water. Stir until completely dissolved, then add 1/2 cup cold water to each bowl. Now, carefully spoon or pour the red gelatin into half the holes, and the green gelatin into the remaining holes, letting the colors alternate for a festive effect. If you want a truly show-stopping Christmas Poke Cake, take your time and aim for a fun, patchwork look!
Step 4: Chill and Set
Cover the cake and pop it in the refrigerator for at least 4 hours, or until the gelatin is completely set and the cake is thoroughly chilled. This resting time lets the colors saturate the cake, giving you those bright, merry stripes in every slice.
Step 5: Frost and Decorate
Once your cake is chilled and ready, spread the whipped topping evenly over the entire surface. For the grand finale, sprinkle holiday sprinkles or crushed peppermint on top — get as creative as you like! The more festive, the better. Your Christmas Poke Cake is ready to slice and serve chilled.
How to Serve Christmas Poke Cake
Garnishes
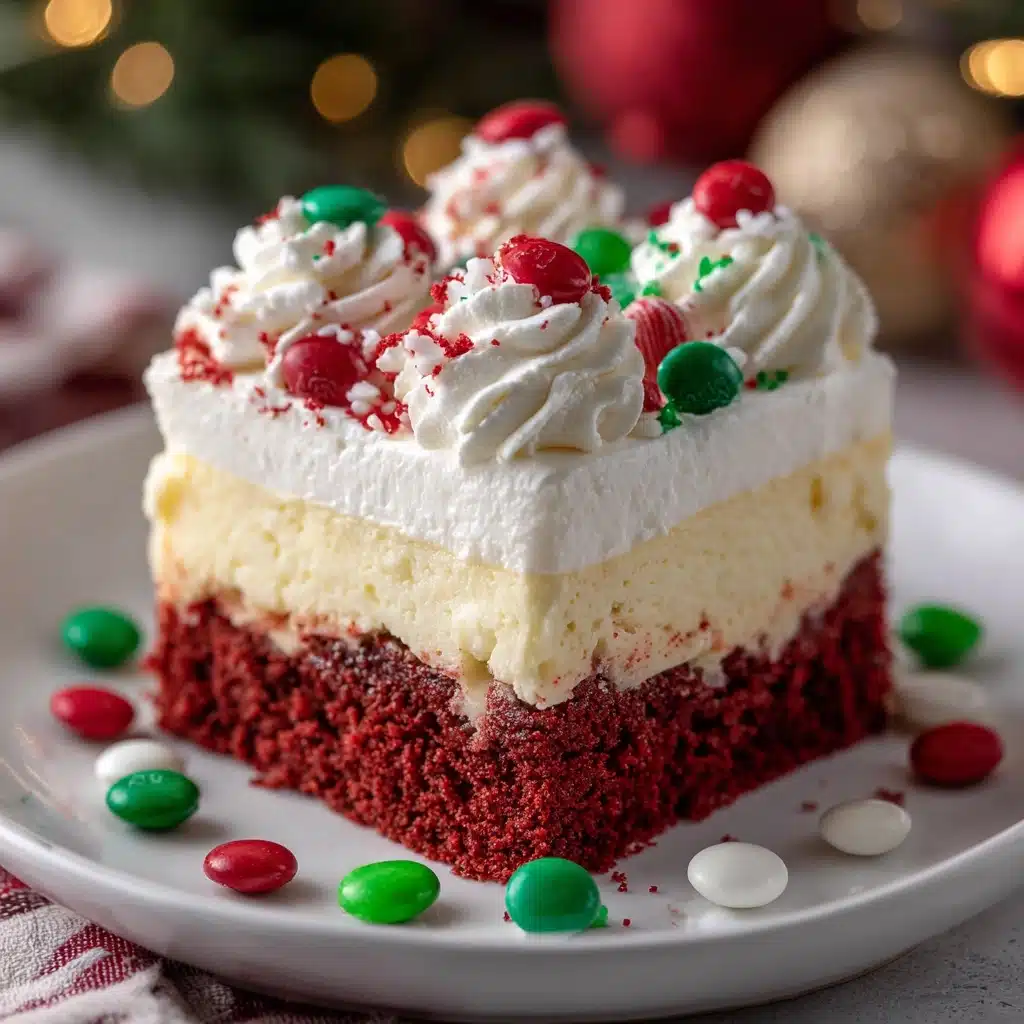
A Christmas Poke Cake truly shines with a little extra glam on top. Think classic holiday sprinkles, a sprinkle of edible glitter, or crushed peppermint for a peppermint bark vibe. If you’re feeling fancy, pipe on colored whipped cream in red and green swirls or tuck a few mini candy canes into each slice just before serving. It’s the season to be playful!
Side Dishes
Pair this delightful cake with a mug of hot cocoa, steamy coffee, or a frothy eggnog for the ultimate holiday treat. A fresh fruit salad with berries and citrus can balance out the sweetness, or serve alongside a platter of assorted Christmas cookies for a dessert spread everyone will remember.
Creative Ways to Present
Serve your Christmas Poke Cake in its classic pan for easy slicing at casual gatherings, or cut into festive shapes using cookie cutters for a kid-friendly dessert table. Small squares look charming in cupcake liners for grab-and-go treats, while a dollop of extra whipped topping and a sprig of mint transforms each piece into a plated showpiece. However you present it, this cake is always a conversation starter!
Make Ahead and Storage
Storing Leftovers
Store any leftover Christmas Poke Cake covered tightly in the refrigerator for up to 3 days. The whipped topping keeps the cake moist, and the flavors actually deepen as it sits — making tomorrow’s slice even better!
Freezing
While you can freeze the cake itself (without whipped topping or decorations), the gelatin’s texture may change if frozen and thawed. If you do freeze, wrap slices well and add fresh whipped topping and garnishes after thawing for the best texture and appearance.
Reheating
This cake is meant to be enjoyed chilled, so there’s no need to reheat. Simply remove from the fridge, let it sit for a couple minutes to take the chill off, and serve. You’ll love how refreshing and light it tastes straight from the fridge!
FAQs
Can I use homemade cake instead of cake mix?
Absolutely! If you have a favorite homemade white cake recipe, use that instead of the box mix. Just make sure the cake is sturdy enough to handle the poking and gelatin soaking process.
What other flavors of gelatin can I try?
Get creative! While red (cherry or strawberry) and green (lime) are classic for a Christmas Poke Cake, you can experiment with raspberry, watermelon, or even blue raspberry for other occasions or color themes.
How far in advance can I make this cake?
You can prepare Christmas Poke Cake up to 2 days ahead and keep it covered in the fridge. Just wait to add the whipped topping and sprinkles until a few hours before serving for the freshest look and taste.
Can I use homemade whipped cream instead of whipped topping?
Yes! Homemade whipped cream is delicious here. Whip heavy cream with a little powdered sugar until soft peaks form, then spread it over the chilled cake right before serving.
What’s the best way to cut and serve this cake?
Use a sharp, clean knife (wipe between cuts for the neatest slices) and serve with a cake server or spatula. Small squares or rectangles are perfect for parties, and don’t forget a little extra sprinkle of toppings for each piece!
Final Thoughts
There’s just something magical about slicing into a Christmas Poke Cake and seeing those bright, merry stripes hiding inside. It’s simple, nostalgic, and always a hit with family and friends. Give it a try this holiday season — you’ll love how fun and festive it makes your celebration!
Print
Christmas Poke Cake Recipe
- Total Time: 4 hours 45 minutes
- Yield: 12 servings 1x
- Diet: Non-Vegetarian
Description
This festive Christmas Poke Cake features a moist white cake infused with red and green gelatin, creating vibrant pockets of flavor perfect for holiday celebrations. Topped with whipped cream and optional festive sprinkles or crushed peppermint, it’s a cheerful and delicious dessert that’s easy to make and sure to impress.
Ingredients
Cake Ingredients
- 1 box white cake mix (plus ingredients listed on box: usually egg whites, water, and oil)
Gelatin Mixture
- 1 (3-ounce) box red gelatin (cherry or strawberry)
- 1 (3-ounce) box green gelatin (lime)
- 2 cups boiling water (divided)
- 1 cup cold water (divided)
Topping
- 1 (8-ounce) container whipped topping (thawed)
- Holiday sprinkles or crushed peppermint (optional)
Instructions
- Prepare and Bake Cake: Preheat the oven to 350°F. Prepare the cake batter according to the package instructions, typically mixing the cake mix with egg whites, water, and oil. Pour the batter into a greased 9×13-inch baking pan and bake for 25–30 minutes or until a toothpick inserted in the center comes out clean. Let the cake cool for 15 minutes.
- Poke Holes in Cake: Use the handle of a wooden spoon to poke holes evenly all over the surface of the warm cake, creating pockets for the gelatin.
- Prepare Gelatin: In two separate bowls, dissolve each 3-ounce box of gelatin in 1 cup boiling water. Stir until completely dissolved. Add 1/2 cup cold water to each bowl and mix gently.
- Add Gelatin to Cake: Carefully spoon or pour the red gelatin into half of the holes and the green gelatin into the other half, ensuring the gelatin fills the holes without overflowing.
- Chill the Cake: Cover the cake with plastic wrap and refrigerate for at least 4 hours or until the gelatin is fully set and the cake is chilled.
- Add Whipped Topping: Spread the thawed whipped topping evenly over the top of the chilled cake.
- Garnish and Serve: Decorate with holiday sprinkles or crushed peppermint if desired. Slice and serve chilled for best flavor and texture.
Notes
- For an extra festive touch, pipe colored whipped cream on top or add candy canes as decoration.
- This cake can be made ahead of time and stored covered in the refrigerator for up to 3 days.
- Use egg whites instead of whole eggs to keep the cake light and to match the original instructions on the box.
- To avoid gelatin runoff, ensure the cake is fully cooled before poking holes and adding gelatin.
- Prep Time: 15 minutes
- Cook Time: 30 minutes
- Category: Dessert
- Method: Baking
- Cuisine: American
Nutrition
- Serving Size: 1 slice
- Calories: 280
- Sugar: 30g
- Sodium: 270mg
- Fat: 9g
- Saturated Fat: 3g
- Unsaturated Fat: 5g
- Trans Fat: 0g
- Carbohydrates: 45g
- Fiber: 0g
- Protein: 2g
- Cholesterol: 0mg
