Christmas Cake Pops Recipe
If you’re searching for a festive, crowd-pleasing treat that’s as fun to make as it is to eat, you’ve landed in the right spot. This Christmas Cake Pops Recipe brings together moist cake crumbs and luscious frosting, all wrapped in a glossy, chocolatey coating and sprinkled with holiday cheer. These bite-sized delights are perfect for sharing around the table or gifting, and they elegantly combine tradition with playful creativity to make your holiday season even sweeter.
Ingredients You’ll Need
These ingredients are wonderfully simple but absolutely essential to crafting perfect Christmas cake pops. Each one plays a vital role in achieving the ideal texture, flavor, and festive look that will impress both kids and adults alike.
- Cake mix (1 box, vanilla or chocolate): The cake provides the base flavor and crumb structure that makes these pops so moist and delicious.
- Frosting (1/2 cup): Acts as the glue that binds the crumbs to form dense, moldable balls; choose your favorite flavor or keep it classic.
- White or dark chocolate candy melts (12 ounces): Essential for coating the cake balls in a smooth, shiny layer that hardens perfectly for dipping and decorating.
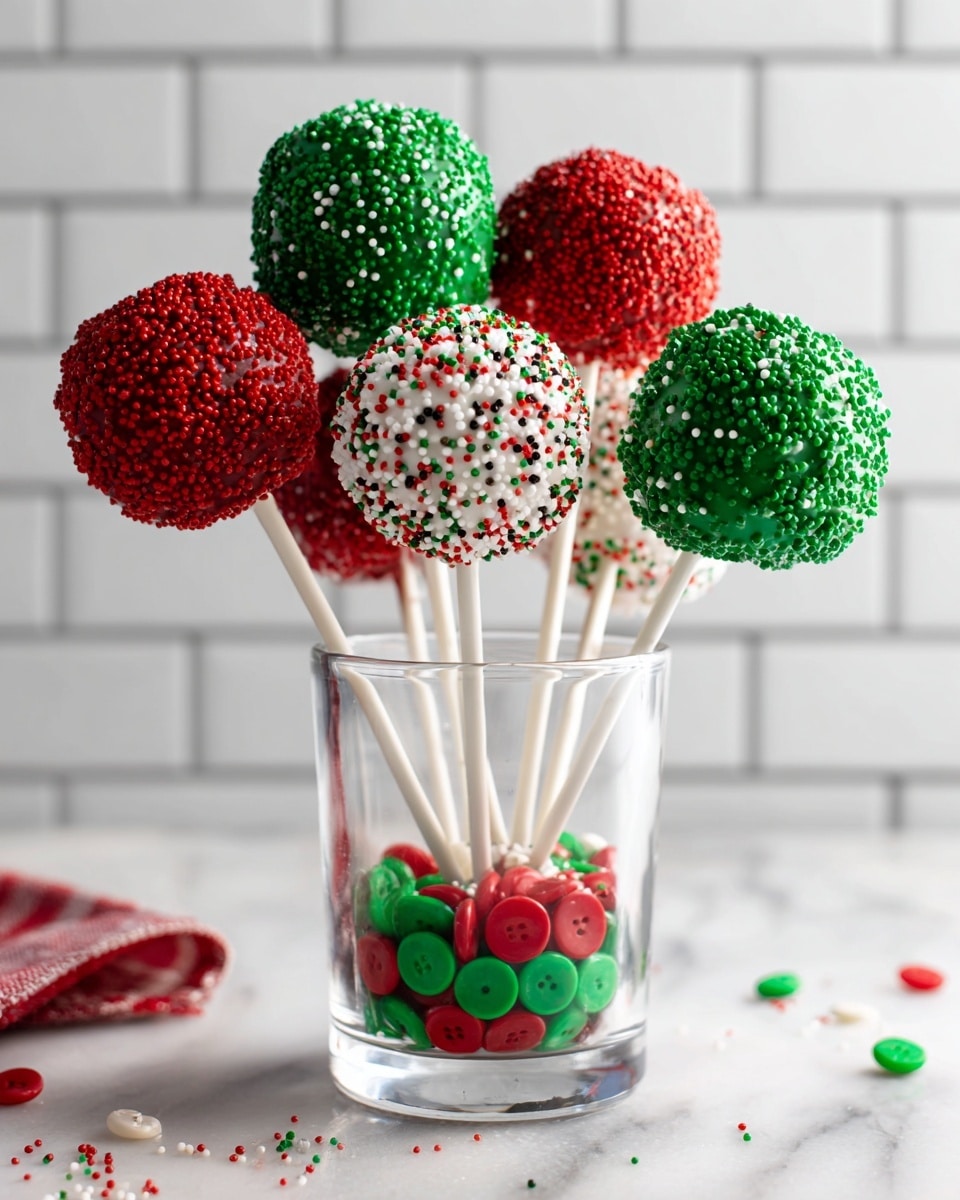
- Assorted sprinkles and decorations: Red, green, white sprinkles plus any festive shapes add a joyful holiday touch that’s eye-catching and fun.
- Lollipop sticks: These hold your cake pops upright and make them easy to serve and enjoy without mess.
- Optional gel food coloring or edible glitter: Great for adding pops of festive color or glimmer that make your cake pops truly shine under the holiday lights.
How to Make Christmas Cake Pops Recipe
Step 1: Bake and Crumble the Cake
Begin by baking the cake according to the package directions and then let it cool completely. This cooling step is crucial to prevent the frosting from melting when combined. Once cooled, crumble the cake into fine, even crumbs using your hands or a fork. The finer the crumbs, the smoother your cake pops will be.
Step 2: Mix Cake Crumbs and Frosting
Add the frosting gradually to the cake crumbs, mixing thoroughly with your hands or a spoon until the mixture holds together like dough. Take your time here; if it’s too dry, a little extra frosting helps, but be careful not to add too much or the balls won’t set properly.
Step 3: Shape and Chill the Cake Balls
Roll the mixture into 1-inch balls with clean hands and place them on a parchment-lined baking sheet. To ensure they hold their shape during dipping, chill the balls in the refrigerator for at least one hour or freeze them for 20 minutes until firm.
Step 4: Prepare the Candy Coating
Melt your candy melts in a microwave-safe bowl, stirring every 30 seconds until perfectly smooth and glossy. Smooth melts coat better and make your cake pops look professionally finished.
Step 5: Insert Sticks and Dip
Dip the tip of each lollipop stick into the melted chocolate and then insert it halfway into each cake ball; the chocolate acts as glue to keep the stick securely in place. Dip each cake pop into the coating, gently tapping off excess chocolate to avoid drips or globs.
Step 6: Decorate and Dry
Before the coating sets, generously sprinkle with your chosen festive decorations. Place the cake pops upright in a styrofoam block or cake pop stand to dry completely. This ensures a smooth, hard shell that’s ready for the holiday spotlight.
How to Serve Christmas Cake Pops Recipe
Garnishes
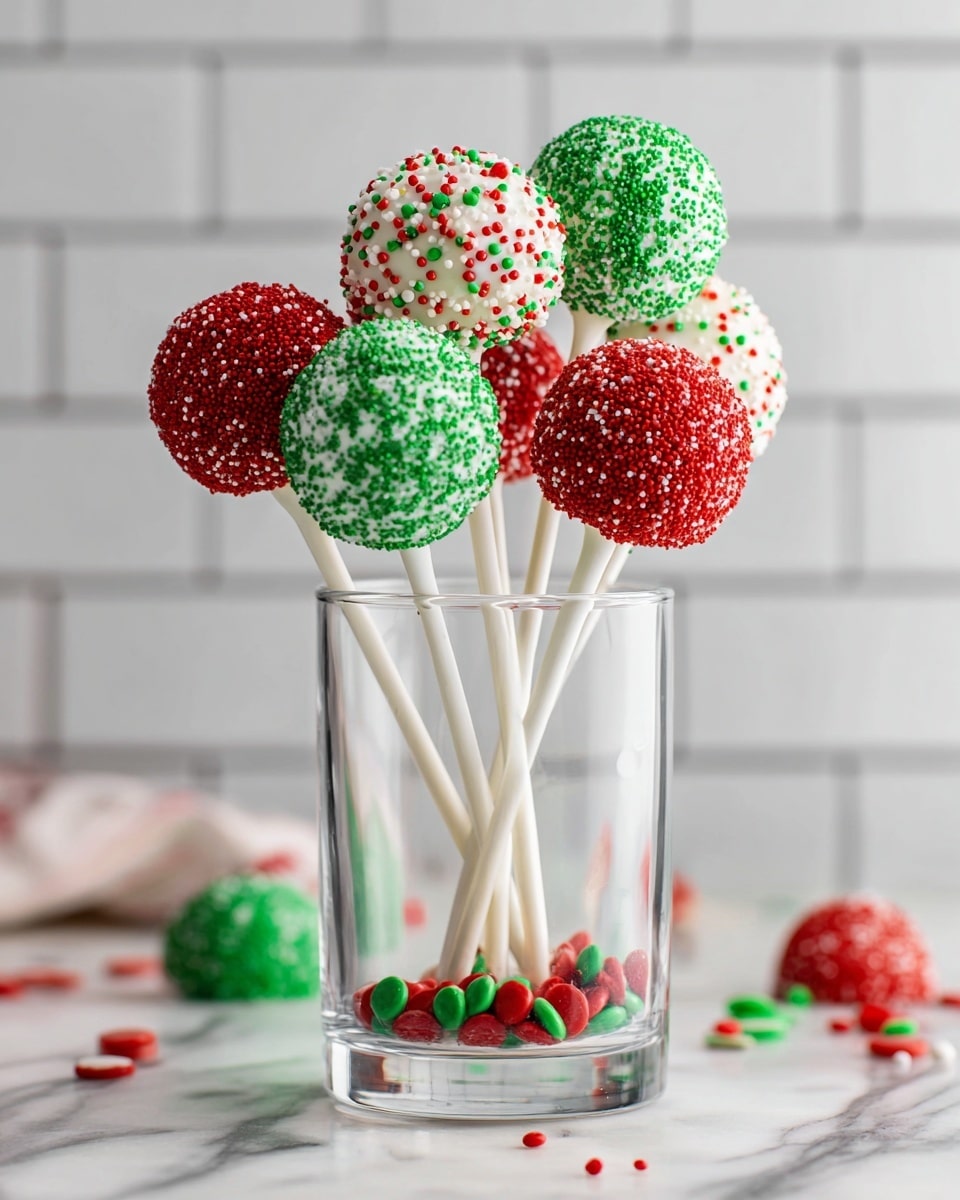
Sprinkles are just the beginning—consider adding edible glitter, crushed candy canes, or even tiny sugar snowflakes to elevate the festive vibe. A little extra color or sparkle goes a long way to make these cake pops feel as special as the occasion.
Side Dishes
These cake pops shine as standalone treats but pair beautifully with hot cocoa, mulled wine, or a light fruit salad to balance sweetness. Their bite-sized nature also makes them perfect alongside coffee or tea for a holiday gathering full of warmth and joy.
Creative Ways to Present
Think beyond the plate: arrange your Christmas cake pops recipe in a large mason jar filled with colorful candies, or nestle them in a festive foam block wrapped with ribbon. For gifting, wrap a set in cellophane with a cheerful tag to spread holiday cheer far and wide.
Make Ahead and Storage
Storing Leftovers
If you find yourself with extra cake pops, keep them fresh by storing them in an airtight container at room temperature for up to three days, or refrigerate for up to a week. Just remember to bring them to room temperature before serving for the best texture.
Freezing
You can freeze these festive treats by placing them upright on a tray first to harden, then transferring them to a freezer-safe bag or container. They’ll keep well for up to one month. Thaw overnight in the fridge, then bring them to room temperature before enjoying.
Reheating
Reheating isn’t necessary or recommended since cake pops are best served cool or room temperature. If they’ve lost some crispness in the coating, simply let them sit at room temperature out of the fridge for a bit to regain that lovely texture.
FAQs
Can I use homemade cake instead of box mix for the Christmas Cake Pops Recipe?
Absolutely! Homemade cake works wonderfully as long as it’s moist and fully cooled. Adjust the frosting amount as needed to achieve the right dough-like consistency.
What frosting flavors work best for these cake pops?
Classic vanilla or chocolate frosting are reliable choices, but feel free to experiment with cream cheese or flavored frostings like peppermint for a festive twist.
How do I prevent the cake pops from falling off the sticks?
Dipping the stick tip into melted chocolate before inserting helps “glue” it firmly. Also, chilling the cake balls well before dipping is essential for maintaining stability.
Can I tint the white chocolate coating different colors?
Yes! Using gel food coloring designed for candy melts allows you to create festive reds, greens, or any shade you desire while keeping the coating smooth and shiny.
Are these cake pops safe to make ahead for holiday parties?
Definitely. The Christmas Cake Pops Recipe can be made 1-2 days ahead if stored properly—making party prep less stressful and letting you enjoy the festivities more.
Final Thoughts
Making this Christmas Cake Pops Recipe is like crafting tiny edible ornaments brimming with holiday spirit and sweetness. They’re a perfect project to enjoy with family or to impress guests at your next celebration. So gather your ingredients, roll up your sleeves, and dive into this fun, festive treat that’s sure to become a treasured tradition year after year.
Print
Christmas Cake Pops Recipe
- Total Time: 1 hour 15 minutes
- Yield: 24 cake pops 1x
- Diet: Vegetarian
Description
These festive Christmas Cake Pops are a delightful holiday treat featuring moist vanilla or chocolate cake balls dipped in smooth white or dark chocolate and decorated with colorful sprinkles. Perfect for holiday parties or gifting, these bite-sized desserts combine the fun of cake and candy on a stick with customizable decorations to brighten up any celebration.
Ingredients
For the Cake Pops
- 1 box vanilla or chocolate cake mix (plus ingredients listed on the box)
- 1/2 cup frosting (store-bought or homemade)
For the Coating and Decoration
- 12 ounces white or dark chocolate candy melts
- Assorted sprinkles and decorations (red, green, white)
- Lollipop sticks
- Optional: gel food coloring or edible glitter
Instructions
- Bake the Cake: Prepare the cake according to the package directions and allow it to cool completely to room temperature before proceeding to ensure easy crumbling and handling.
- Prepare the Cake Mixture: Crumble the cooled cake into fine crumbs inside a large mixing bowl. Gradually add the frosting and mix well with your hands or a spoon until the mixture has a dough-like consistency that holds together when shaped.
- Shape Cake Balls: Roll the cake mixture into 1-inch balls using your hands, then place them on a parchment-lined baking sheet to prevent sticking.
- Chill the Cake Balls: Refrigerate the cake balls for at least 1 hour or freeze them for 20 minutes until they are firm enough for dipping, which helps maintain their shape during the coating process.
- Melt the Candy Coating: In a microwave-safe bowl, melt the candy melts by heating in 30-second intervals, stirring each time until the chocolate is smooth and fully melted.
- Insert Lollipop Sticks: Dip the tip of each lollipop stick into the melted chocolate, then insert the stick halfway into each chilled cake ball to secure it in place.
- Coat the Cake Pops: Dip each cake pop completely into the melted chocolate, gently tap off any excess coating to achieve an even layer, and work quickly to prevent hardening.
- Decorate: Immediately after coating, decorate the cake pops with sprinkles, edible glitter, or gel food-colored chocolate before the coating sets.
- Dry and Set: Place the cake pops upright in a styrofoam block or a specialized cake pop stand and allow the coating to dry completely at room temperature.
Notes
- Use gel food coloring to tint white chocolate into festive colors for customized decoration.
- Try different cake flavors like peppermint or red velvet for variety.
- Store cake pops in an airtight container at room temperature for up to 3 days, or refrigerate for up to a week to maintain freshness.
- Prep Time: 45 minutes
- Cook Time: 30 minutes
- Category: Dessert
- Method: Baking
- Cuisine: American
