Chocolate Hazelnut Thumbprint Cookies Recipe
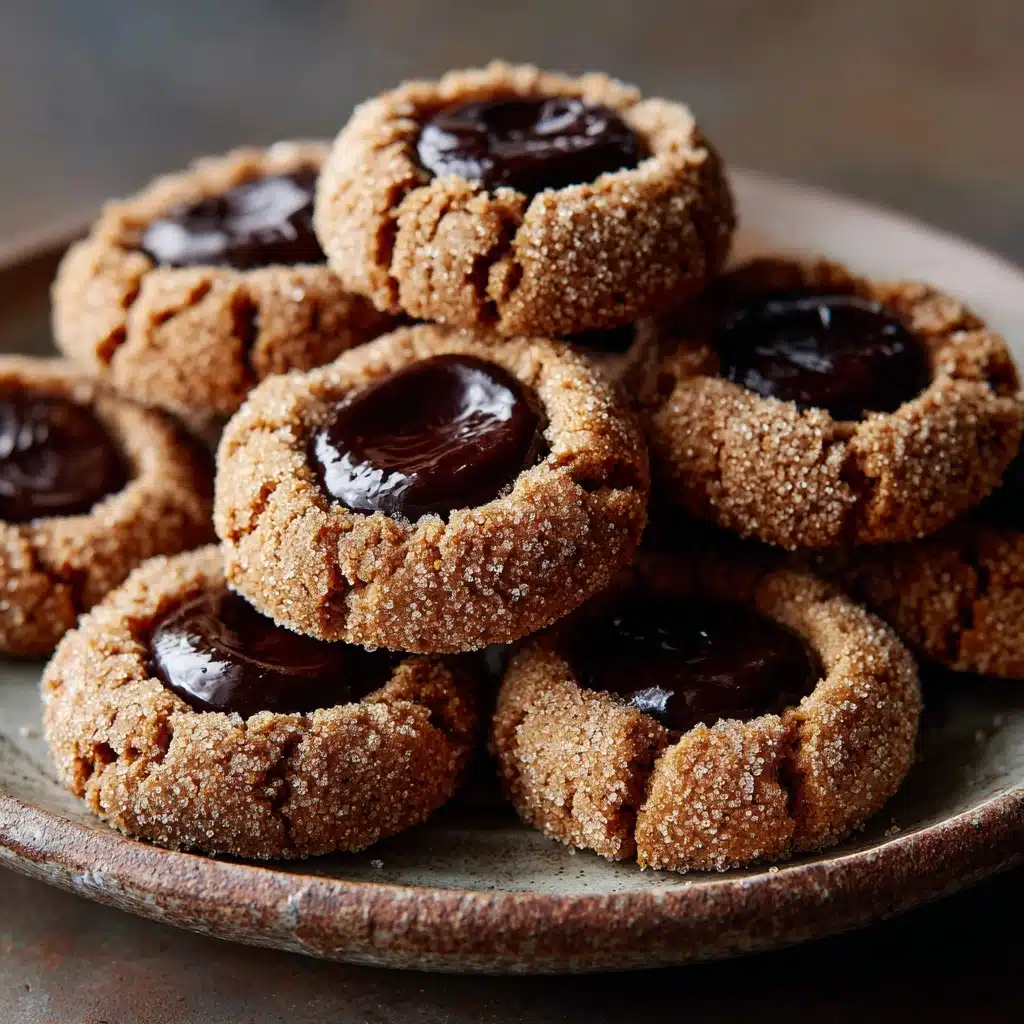
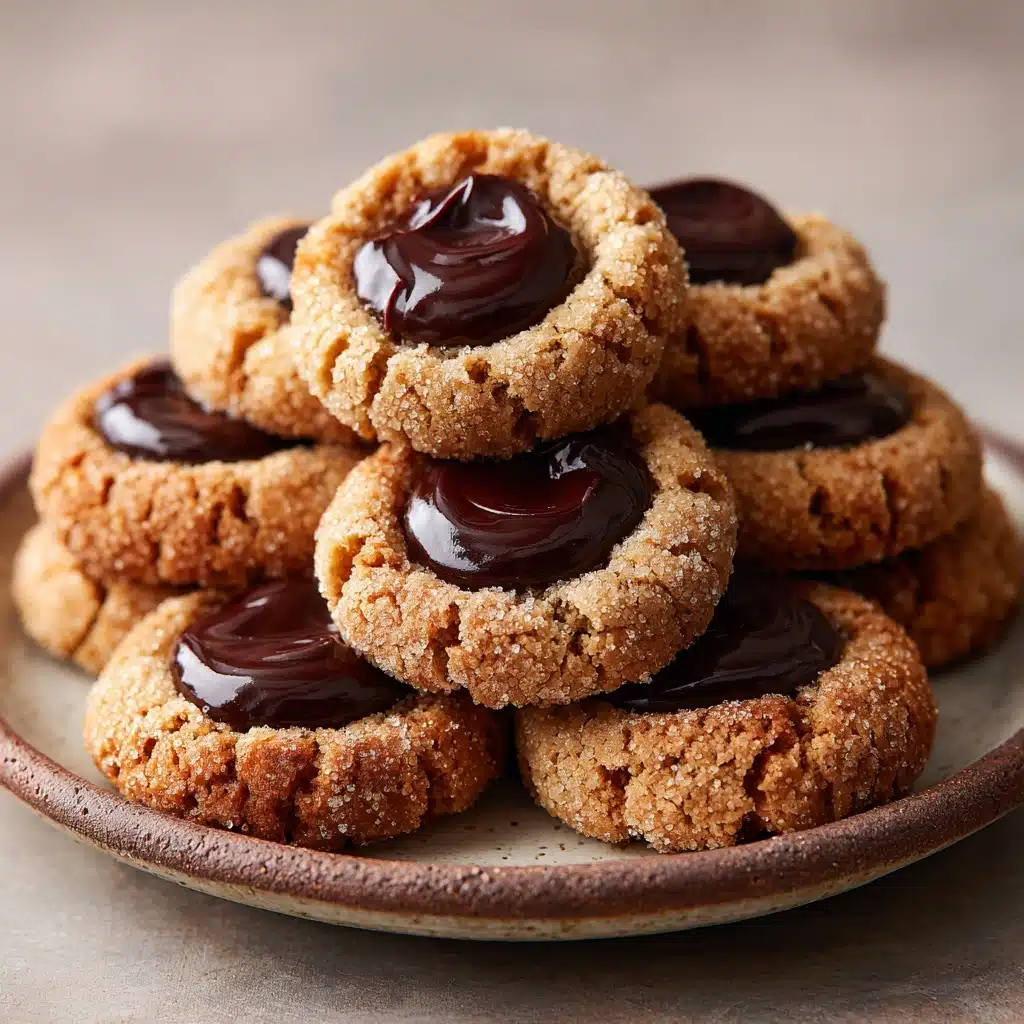
If you’re a fan of rich, nutty flavors and the decadent allure of chocolate, this Chocolate Hazelnut Thumbprint Cookies Recipe is exactly what you need in your life. Each buttery cookie boasts a crisp, golden exterior with a tender crumb, perfectly contrasted by a creamy dollop of chocolate hazelnut spread nestled in its center. Whether you’re craving a sweet treat with your afternoon coffee or looking for a delightful addition to your holiday cookie platters, these cookies never disappoint. They’re as fun to make as they are to eat and, honestly, disappear just as quickly!
Ingredients You’ll Need
You’ll be amazed by how a shortlist of familiar ingredients can create something so irresistibly elegant! Each ingredient plays its part: building soft texture, adding depth of flavor, and lending that oh-so-important nutty crunch.
- Unsalted butter: Softened butter is the backbone for that melt-in-your-mouth texture, ensuring cookies bake up rich and tender.
- Granulated sugar: Brings classic sweetness and helps create a delicate crumb.
- Brown sugar: Adds a dose of caramel-like depth, boosting both flavor and moisture.
- Vanilla extract: A splash goes a long way to round out aromas and make these cookies utterly aromatic.
- All-purpose flour: The sturdy structure that keeps your cookies together, providing that perfect blank canvas for the filling.
- Salt: Just enough to balance sweetness and highlight all the rich flavors.
- Finely chopped toasted hazelnuts: For texture and unbeatable toasty flavor — be sure to toast them for the best results!
- Chocolate hazelnut spread: The finishing touch; Nutella or your favorite brand gives these cookies their signature center.
- Optional garnishes (extra hazelnuts or sea salt): Sprinkle for crunch or a salty-sweet pop if you’re feeling extra fancy.
How to Make Chocolate Hazelnut Thumbprint Cookies Recipe
Step 1: Prep Your Oven and Pan
Begin by preheating your oven to 350°F (175°C). Line a baking sheet with parchment paper—this guarantees your cookies won’t stick and makes cleanup a breeze. Gathering your ingredients and setting up your workspace now will let you focus on the fun part: mixing and shaping the dough!
Step 2: Cream the Butter and Sugars
In a large mixing bowl, beat together the softened butter, granulated sugar, and brown sugar. Aim for a pale, fluffy mixture—this step is essential for creating those luxuriously tender cookies. Once creamed, blend in the vanilla extract for a warm, fragrant base.
Step 3: Mix in Dry Ingredients
Gradually add the all-purpose flour and salt, mixing just until combined. Don’t overwork the dough; stop as soon as the flour disappears. Now, gently fold in your finely chopped toasted hazelnuts, distributing all that lovely crunch throughout the batter.
Step 4: Shape the Cookies
Scoop out tablespoon-sized portions of dough and roll each between your palms to make even balls. Arrange them on your prepared baking sheet, leaving about two inches between cookies. Press your thumb (or the back of a spoon) into the center of each ball to create that signature “thumbprint” well—it’s all about making space for the chocolate-hazelnut goodness to come!
Step 5: Bake to Perfection
Slide the tray into your preheated oven and let the cookies bake for 12 to 14 minutes. You’re looking for edges that are just turning golden while the centers stay pale and soft. If the thumbprints lose some depth during baking, gently press the centers again as soon as they come out—careful, they’ll be hot but pliable!
Step 6: Cool and Fill
Carefully transfer cookies to a wire rack to cool completely. Patience pays off—filling warm cookies can get messy! Once cool, spoon about a teaspoon of chocolate hazelnut spread into each thumbprint well. If you want to go above and beyond, scatter on extra chopped hazelnuts or a pinch of flaky sea salt for a bakery-worthy finish.
How to Serve Chocolate Hazelnut Thumbprint Cookies Recipe
Garnishes
Top these cookies with a sprinkle of chopped toasted hazelnuts for added crunch, or a flurry of sea salt if you’re partial to that sweet-salty combo. Decorative edible glitter or gold leaf can give your Chocolate Hazelnut Thumbprint Cookies Recipe a showstopping holiday look, too!
Side Dishes
Pair these rich, nutty cookies with a strong espresso, a creamy cappuccino, or even a scoop of vanilla ice cream for a dreamy dessert plate. They also stand out on a festive cookie tray alongside lighter, citrusy treats for balance.
Creative Ways to Present
Package your Chocolate Hazelnut Thumbprint Cookies Recipe in pretty tins or clear cellophane bags tied with ribbon for charming edible gifts. For parties, arrange cookies in concentric circles on a cake stand and finish with seasonal decorations—think sprigs of rosemary or holly for winter gatherings.
Make Ahead and Storage
Storing Leftovers
Keep leftover cookies fresh by storing them in an airtight container at room temperature. The cookies are best enjoyed within four days to preserve their vibrant flavor and tender texture. Wait to add the chocolate hazelnut filling if you’re storing for more than a day to avoid softening the centers too much.
Freezing
Unfilled cookies freeze beautifully! Once cooled, pop them into a zip-top bag or sealable container, separating layers with parchment. They’ll keep for up to two months. Just thaw and fill with chocolate hazelnut spread when you’re ready to serve for maximum freshness and impact.
Reheating
If your cookies have lost a little crispness, give them a quick refresh in a 300°F oven for a few minutes. This will revive that lovely texture. Be sure to reheat unfilled cookies—chocolate hazelnut spread melts quickly, and you’ll want that luscious center to stay intact.
FAQs
Can I use a different nut instead of hazelnuts?
Absolutely! While hazelnuts are classic for this Chocolate Hazelnut Thumbprint Cookies Recipe, you can substitute with finely chopped almonds, pecans, or even walnuts for a twist—the flavor profile will shift, but the cookies will still be delicious.
Should I toast the hazelnuts myself?
Toasting your hazelnuts at home gives a fresher, deeper flavor. Simply spread them on a baking sheet and toast at 350°F for 8 to 10 minutes, then rub off the skins with a clean towel. Pre-toasted nuts work in a pinch, but fresh toasting really elevates the taste.
Can I make the dough ahead of time?
Yes! You can prepare the dough, roll it into balls, and refrigerate them for up to 24 hours before baking. This makes the Chocolate Hazelnut Thumbprint Cookies Recipe even more convenient for parties or busy schedules.
How do I prevent the cookies from spreading too much?
Make sure your butter is just softened—not melted—and that your dough is well chilled if your kitchen is warm. This helps your cookies hold their shape while baking and gives a nice pronounced thumbprint for the filling.
How should I transport these cookies for gifting?
For best results, fill the cookies just before gifting and layer them between sheets of parchment in a sturdy container or decorative tin. This protects the delicate centers and keeps your Chocolate Hazelnut Thumbprint Cookies Recipe looking as gorgeous as when you made them!
Final Thoughts
I truly hope you give this Chocolate Hazelnut Thumbprint Cookies Recipe a try—whether you’re baking for a cozy gathering or simply indulging at home, these cookies always earn rave reviews. Gather your favorite people, brew a fresh pot of coffee, and get ready to fall in love with your new go-to treat!
Print
Chocolate Hazelnut Thumbprint Cookies Recipe
- Total Time: 34 minutes
- Yield: 24 cookies 1x
- Diet: Vegetarian
Description
Indulge in these delectable Chocolate Hazelnut Thumbprint Cookies for a delightful treat that balances the rich flavors of chocolate and toasted hazelnuts in a buttery cookie base. Perfect for holiday trays or anytime you crave a sweet, nutty delight.
Ingredients
Cookies:
- 1 cup unsalted butter (softened)
- ½ cup granulated sugar
- ¼ cup brown sugar
- 1 teaspoon vanilla extract
- 2 cups all-purpose flour
- ½ teaspoon salt
- ½ cup finely chopped toasted hazelnuts
Filling and Garnish:
- ½ cup chocolate hazelnut spread (such as Nutella)
- Optional: additional chopped hazelnuts or sea salt for garnish
Instructions
- Preheat and Prepare: Preheat the oven to 350°F (175°C) and line a baking sheet with parchment paper.
- Cream Butter and Sugars: In a large bowl, cream together the butter, granulated sugar, and brown sugar until light and fluffy. Mix in the vanilla extract.
- Add Dry Ingredients: Gradually add the flour and salt, mixing until just combined. Fold in the chopped hazelnuts.
- Shape and Bake: Scoop out tablespoon-sized portions of dough, roll into balls, and place on the prepared baking sheet. Press an indentation into each cookie and bake for 12–14 minutes until edges are lightly golden.
- Fill and Garnish: Remove from the oven, reinforce the indentations if needed, let cool, and fill each with chocolate hazelnut spread. Garnish with additional hazelnuts or sea salt.
Notes
- To make ahead, store unfilled cookies in an airtight container and add the filling just before serving.
- These cookies freeze well and are perfect for gifting or holiday trays.
- Prep Time: 20 minutes
- Cook Time: 14 minutes
- Category: Dessert
- Method: Baking
- Cuisine: American, European-Inspired
Nutrition
- Serving Size: 1 cookie
- Calories: 150
- Sugar: 8 g
- Sodium: 60 mg
- Fat: 9 g
- Saturated Fat: 5 g
- Unsaturated Fat: 3.5 g
- Trans Fat: 0 g
- Carbohydrates: 15 g
- Fiber: 1 g
- Protein: 2 g
- Cholesterol: 20 mg


