Chocolate Cherry Cheesecake Bars Recipe
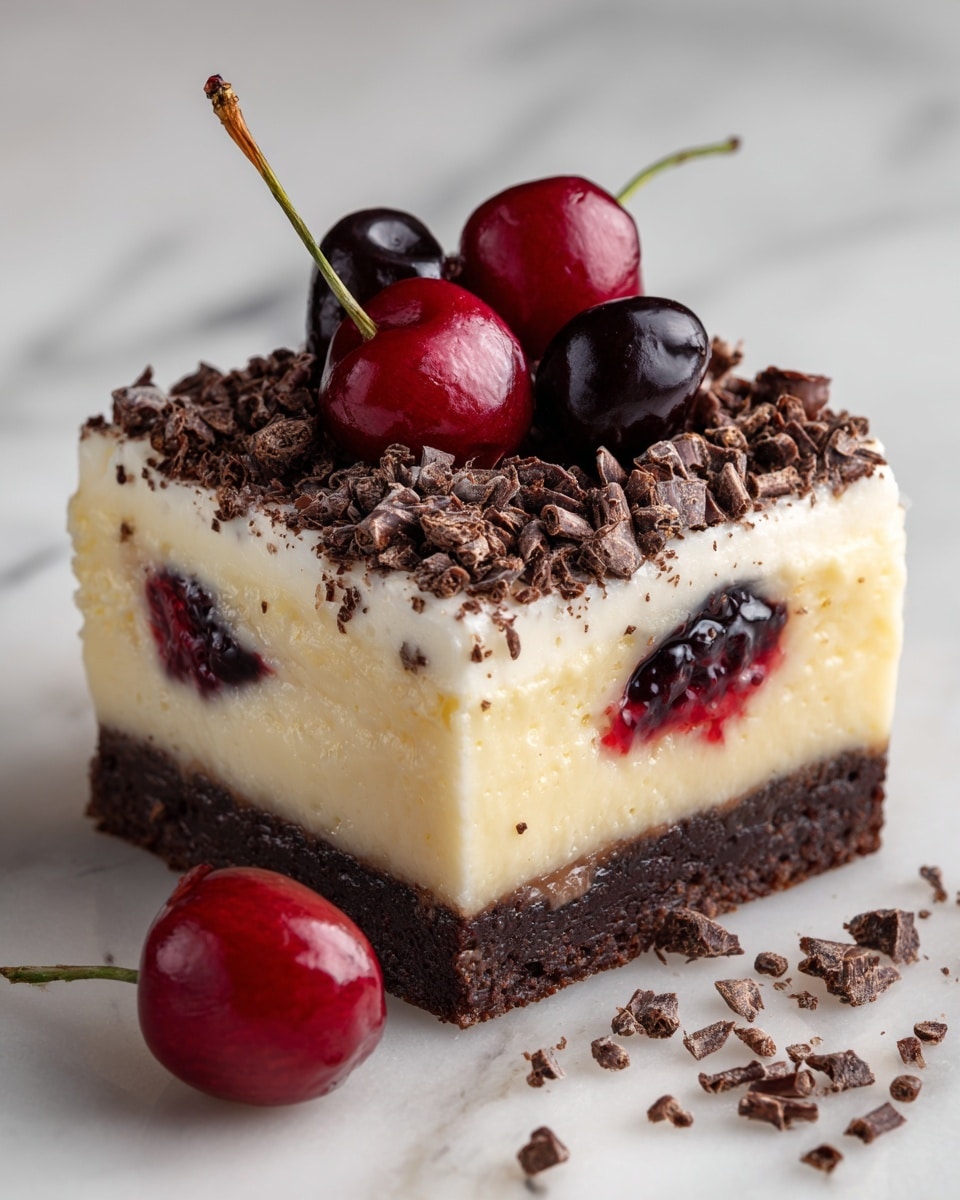
If you love the irresistible combination of rich chocolate and sweet cherries, this Chocolate Cherry Cheesecake Bars Recipe is about to become your new obsession. These bars bring together a fudgy chocolate cookie crust with a creamy, luscious cheesecake layer absolutely bursting with cherry pie filling and chocolate chips. Every bite delivers that perfect balance of tart fruitiness and velvety chocolate decadence, making them an ideal treat to impress guests or simply indulge yourself. Trust me, once you make these bars, they’ll quickly become a dessert staple in your kitchen!
Ingredients You’ll Need
The beauty of this recipe lies in its simple, straightforward ingredients that each play an essential role. From the crunchy chocolate cookie crumbs that form the base to the creamy cream cheese that creates the perfect cheesecake texture, every element helps build layers of flavor and mouthfeel.
- Chocolate cookie crumbs: Provide a rich, chocolaty foundation and crunchy texture for the crust.
- Unsalted butter (melted): Binds the cookie crumbs together and adds a smooth richness to the crust.
- Cream cheese (softened): The superstar of the cheesecake, lending a creamy and tangy base.
- Granulated sugar: Sweetens the cheesecake filling for just the right balance.
- Large eggs: Help the cheesecake set with structure and moisture.
- Vanilla extract: Adds warmth and depth to the cheesecake layer’s flavor.
- Sour cream: Creates a smooth, tangy finish and prevents the filling from cracking.
- Cherry pie filling: Adds a luscious burst of sweet-tart cherry flavor throughout the bars.
- Semi-sweet chocolate chips: Small pockets of melty chocolate that enhance every bite.
- All-purpose flour: Keep the chocolate chips from sinking, ensuring even distribution.
- Pinch of salt: Balances and intensifies all the sweet and chocolate flavors.
How to Make Chocolate Cherry Cheesecake Bars Recipe
Step 1: Prepare the Crust
First things first, preheat your oven to 325 degrees Fahrenheit and line an 8×8-inch pan with parchment paper, leaving a handy overhang for easy removal later. Mix together the chocolate cookie crumbs and melted butter. This mixture will form the rich, crunchy base that perfectly supports your creamy filling. Press it firmly into the pan’s bottom to make sure it holds well during baking.
Step 2: Make the Cheesecake Batter
In a large mixing bowl, beat the softened cream cheese with granulated sugar until the texture is smooth and silky, which usually takes 2-3 minutes. Then, add the eggs one by one, making sure each is fully incorporated before adding the next. Stir in your vanilla extract, sour cream, and a pinch of salt until you have a fully combined smooth mixture. This will be the luscious heart of your bars.
Step 3: Add Chocolate Chips and Cherry Filling
Toss the semi-sweet chocolate chips with the flour in a small bowl. This little trick prevents the chips from sinking to the bottom while baking. Gently fold the chocolate chips and the cherry pie filling into your cheesecake batter, distributing them evenly without overmixing the batter itself.
Step 4: Assemble and Bake
Pour the cheesecake batter over the prepared crust and smooth out the top with a spatula. Place the pan in the oven and bake for 35-40 minutes. You’re aiming for the center to just set with only a slight wiggle. Once out of the oven, let the bars cool completely at room temperature before chilling them in the fridge for at least 4 hours, or even overnight, to help flavors meld beautifully.
Step 5: Slice and Serve
Using the parchment paper overhang, carefully lift the bars out of the pan and place them on a cutting board. Use a sharp knife to cut into 12 even squares. If you want to amp up that cherry goodness, add a dollop of extra cherry pie filling on top of each bar before serving. Get ready for compliments!
How to Serve Chocolate Cherry Cheesecake Bars Recipe
Garnishes
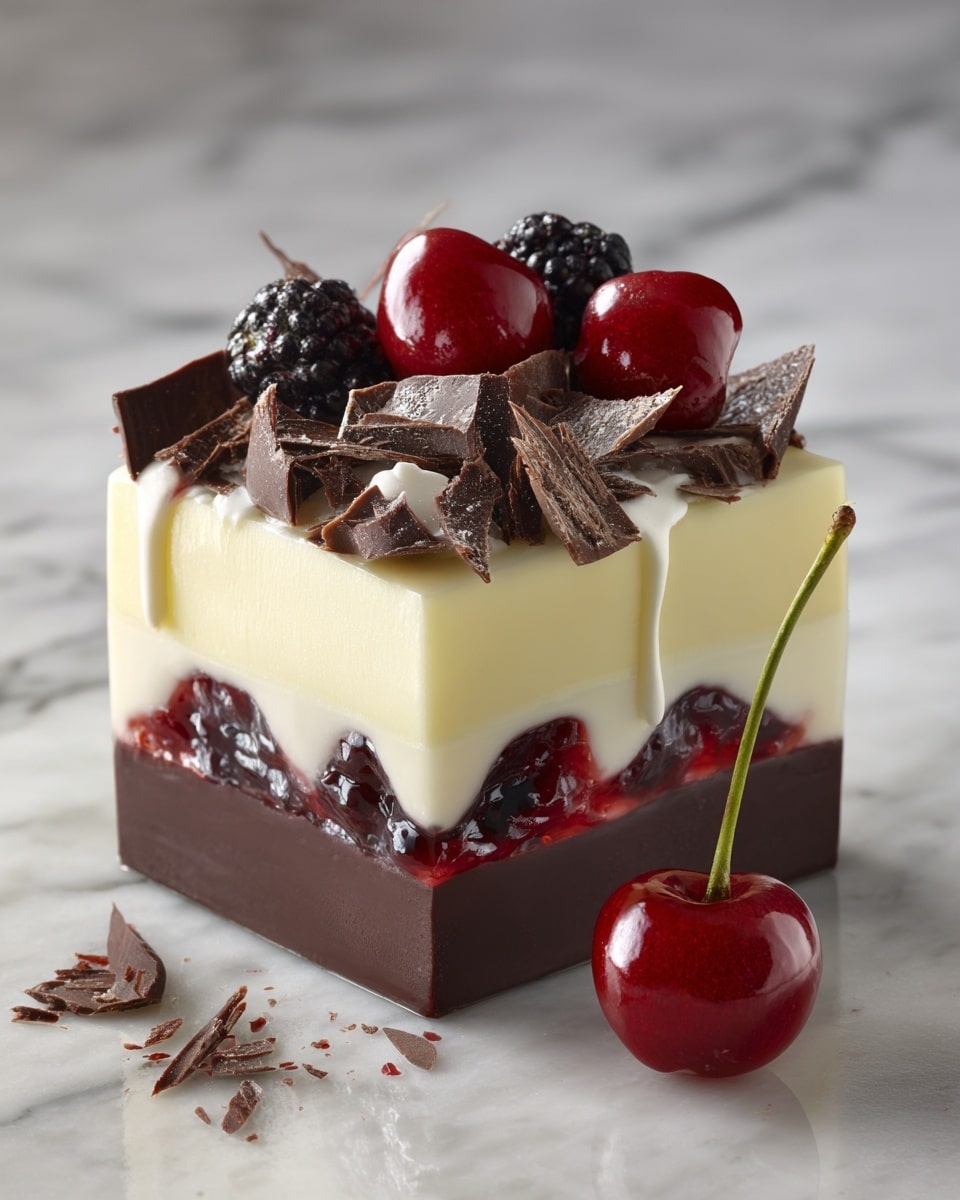
These bars are stunning on their own, but you can elevate their look and taste with a few simple garnishes. A light dusting of powdered sugar or a sprinkle of finely chopped dark chocolate adds elegance. Fresh cherries or a swirl of whipped cream can also bring a fresh and creamy note that complements the dessert beautifully.
Side Dishes
Pair these chocolate cherry cheesecake bars with a scoop of vanilla ice cream or a dollop of freshly whipped cream for contrasting textures that will delight your palate. A hot cup of coffee or a glass of chilled milk also makes a fabulous match to balance the dessert’s richness.
Creative Ways to Present
Why not serve these bars in mini jars layered with whipped cream and a drizzle of cherry sauce for a charming twist? Or stack them up with alternating layers of fresh cherries and chocolate shavings on a dessert platter to wow your guests visually. These creative presentations turn your Chocolate Cherry Cheesecake Bars Recipe into a real centerpiece.
Make Ahead and Storage
Storing Leftovers
Once baked and chilled, these bars keep beautifully in an airtight container in the refrigerator. They’ll stay fresh and luscious for up to 5 days, making them perfect for preparing ahead for parties or sweet cravings later in the week.
Freezing
If you want to enjoy the Chocolate Cherry Cheesecake Bars Recipe long after making them, freezing is a smart option. After baking and cooling completely, wrap the bars tightly in plastic wrap and then foil. They freeze well for up to 2 months. Just thaw in the refrigerator overnight when you’re ready to indulge.
Reheating
While these bars are best enjoyed chilled, if you prefer a slightly softer texture, you can warm them gently in the microwave for about 10-15 seconds. Be careful not to overheat, or the cheesecake layer might become too soft or lose its structure.
FAQs
Can I substitute fresh cherries for the cherry pie filling?
Absolutely! Fresh or frozen cherries cooked down with a bit of sugar make a fantastic homemade alternative. Just simmer them until they get thick and syrupy before folding into the batter.
What is the best type of chocolate cookie crumbs to use for the crust?
Chocolate wafer crumbs or crushed Oreos without filling work wonderfully for a rich crust. They provide the perfect balance of chocolate flavor and crispness without overwhelming the cheesecake.
How do I know when the cheesecake bars are done baking?
You want the center of the cheesecake to be just set but still have a slight jiggle, similar to traditional cheesecake. Overbaking can cause cracks or dry texture, so keep an eye on them around the 35-40 minute mark.
Can I make these bars gluten-free?
Yes! Use gluten-free chocolate cookie crumbs and ensure your flour is a gluten-free blend or substitute with cornstarch for dusting the chocolate chips. The rest of the ingredients are naturally gluten-free.
What’s the best way to cut these bars neatly?
Use a sharp knife warmed under hot water and wiped dry before slicing. Cutting in a single, clean motion helps avoid crumbling and keeps the edges smooth and tidy.
Final Thoughts
There’s nothing quite like the joy of sharing a warm, delightful dessert that pleases every taste bud. This Chocolate Cherry Cheesecake Bars Recipe is an absolute keeper in my collection and will surely be in yours too once you try it. Whether for a casual afternoon treat or a show-stopping dessert, these bars bring comfort and elegance in every bite. Go ahead, bake a batch today and watch them disappear fast!
Print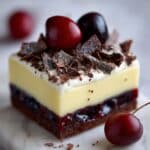
Chocolate Cherry Cheesecake Bars Recipe
- Total Time: 1 hour 20 minutes
- Yield: 12 bars 1x
- Diet: Vegetarian
Description
These Chocolate Cherry Cheesecake Bars combine a rich chocolate cookie crust with a creamy cherry-infused cheesecake layer, baked to perfection for a decadent dessert. Topped with extra cherry pie filling, they offer a luscious blend of chocolate and fruity flavors ideal for dessert lovers.
Ingredients
Crust
- 1 1/2 cups chocolate cookie crumbs
- 1/4 cup unsalted butter (melted)
Cheesecake Batter
- 16 oz cream cheese (softened)
- 1/2 cup granulated sugar
- 2 large eggs
- 1 teaspoon vanilla extract
- 1/4 cup sour cream
- 1 tablespoon all-purpose flour
- pinch of salt
Fillings & Toppings
- 1 cup cherry pie filling (plus extra for topping)
- 1/2 cup semi-sweet chocolate chips
Instructions
- Prepare the crust: Preheat your oven to 325°F (163°C) and line an 8×8-inch baking pan with parchment paper, leaving an overhang on the sides to easily lift the bars later. In a medium bowl, combine the chocolate cookie crumbs and melted butter until well blended. Press the mixture firmly and evenly into the bottom of the pan to form the crust layer.
- Make the cheesecake batter: In a large mixing bowl, beat the softened cream cheese together with granulated sugar until the mixture is smooth and creamy. Add the eggs one at a time, thoroughly incorporating each before adding the next. Then stir in vanilla extract, sour cream, and a pinch of salt until everything is well combined.
- Fold in chocolate and cherries: In a small bowl, toss the semi-sweet chocolate chips with the all-purpose flour to prevent sinking, then gently fold them into the cream cheese batter along with the cherry pie filling, ensuring an even distribution throughout the mixture.
- Assemble and bake: Pour the cheesecake batter over the prepared crust and smooth the top with a spatula. Bake in the preheated oven for 35 to 40 minutes, or until the center is just set but still slightly jiggly. Avoid overbaking to maintain creamy texture.
- Cool and chill: Remove the pan from the oven and allow the bars to cool completely at room temperature. Once cooled, cover and refrigerate for at least 4 hours or overnight to fully set and enhance flavors.
- Serve: Using the parchment paper overhang, lift the chilled cheesecake slab from the pan and cut into 12 equal squares. Optionally, spoon additional cherry pie filling on top of each bar before serving to add extra sweetness and visual appeal.
Notes
- For a richer crust flavor, try using crushed chocolate graham crackers or Oreo cookies instead of chocolate cookie crumbs.
- You can substitute the cherry pie filling with fresh or frozen cherries cooked down with sugar for a homemade cherry topping.
- These bars are best served chilled and can be stored in the refrigerator for up to 5 days to maintain freshness.
- Prep Time: 20 minutes
- Cook Time: 40 minutes
- Category: Dessert
- Method: Baking
- Cuisine: American
