Basic Scones Recipe (Customizable for Any Flavor) Recipe
If you’ve ever dreamed of whipping up a cozy, bakery-worthy treat in your own kitchen, you’re going to fall for this Basic Scones Recipe (Customizable for Any Flavor). These golden, buttery scones are a blank canvas for your imagination—add berries, chocolate, citrus zest, or nuts to make them uniquely yours. Easy enough for novice bakers yet impressive enough to wow your brunch crowd, this recipe is perfect for breakfast, snacks, or sharing with friends over tea.

Ingredients You’ll Need
This isn’t just a list of basics—each simple ingredient in this recipe plays a crucial role, from building a tender crumb to creating that irresistible golden crust. Let’s look at how the essentials work their magic, and how you can tweak a few to suit your taste or pantry.
- All-purpose flour: The sturdy structure behind those soft, fluffy scones, and the best choice for consistent results.
- Granulated sugar: Just enough to add sweetness—feel free to decrease slightly if adding particularly sweet mix-ins.
- Baking powder: The leavening superstar that guarantees lofty scones every single time.
- Salt: Essential for rounding out flavors and balancing the sweetness—don’t skip it!
- Unsalted butter (cold and cubed): The secret to flaky layers and rich flavor, so keep it nice and chilled before mixing in.
- Heavy cream (plus more for brushing): Adds luscious moisture and richness, and gives a beautiful golden finish after baking.
- Large egg: Binds your dough and helps scones rise with a tender crumb.
- Vanilla extract: A splash adds depth of flavor and subtle warmth.
- Optional mix-ins (½–1 cup): Here’s where you make the Basic Scones Recipe (Customizable for Any Flavor) your own—think chocolate chips, berries, dried fruit, citrus zest, or chopped nuts for endless variations!
How to Make Basic Scones Recipe (Customizable for Any Flavor)
Step 1: Prep Your Baking Tools
Start by preheating your oven to 400°F (200°C) and lining a baking sheet with parchment paper. Having everything ready helps you move through the recipe confidently and speeds up clean-up later. The parchment paper means a no-stick, easy transfer of scones—crucial for those tender edges!
Step 2: Combine the Dry Ingredients
In a large bowl, whisk together the flour, sugar, baking powder, and salt. This step disperses the leavening and sweetener evenly, ensuring each scone rises perfectly and tastes just right. Whisking also aerates the flour, setting up that light, not-heavy texture everyone loves in the Basic Scones Recipe (Customizable for Any Flavor).
Step 3: Cut in the Cold Butter
Add the cold, cubed butter to your flour mixture. Use a pastry cutter or your fingertips to gently work the butter into the flour until you see coarse crumbs—think little buttery pebbles. This simple process is what makes scones so incredibly flaky and soft, so don’t rush it, and be careful not to overwork!
Step 4: Mix the Wet Ingredients
In a separate bowl, whisk together the heavy cream, egg, and vanilla extract until smooth and a bit frothy. This mix brings all the other ingredients together and ensures your scones have tenderness and a subtle vanilla aroma in every bite.
Step 5: Bring It All Together
Pour your wet ingredients over the dry mixture and gently stir just until combined. If you’re adding mix-ins—chocolate chips, berries, citrus, or whatever your heart desires—fold them in now. Try not to overmix or knead; scone dough loves a gentle touch for maximum fluffiness.
Step 6: Shape and Slice the Dough
Turn the dough out onto a lightly floured surface. With floured hands, gently shape it into a disc about 1-inch thick. Use a sharp knife or bench scraper to cut the dough into 8 even wedges—much like slicing a pizza. This keeps every scone uniform and ensures they’ll bake evenly.
Step 7: Bake to Golden Perfection
Place your scones onto the prepared baking sheet. Brush the tops with a little extra heavy cream for a glossy, golden finish. Bake for 16–20 minutes until the scones are puffed and gloriously golden brown. Your kitchen will smell amazing—let the scones cool slightly before serving so that crumb sets up just right.
How to Serve Basic Scones Recipe (Customizable for Any Flavor)
Garnishes
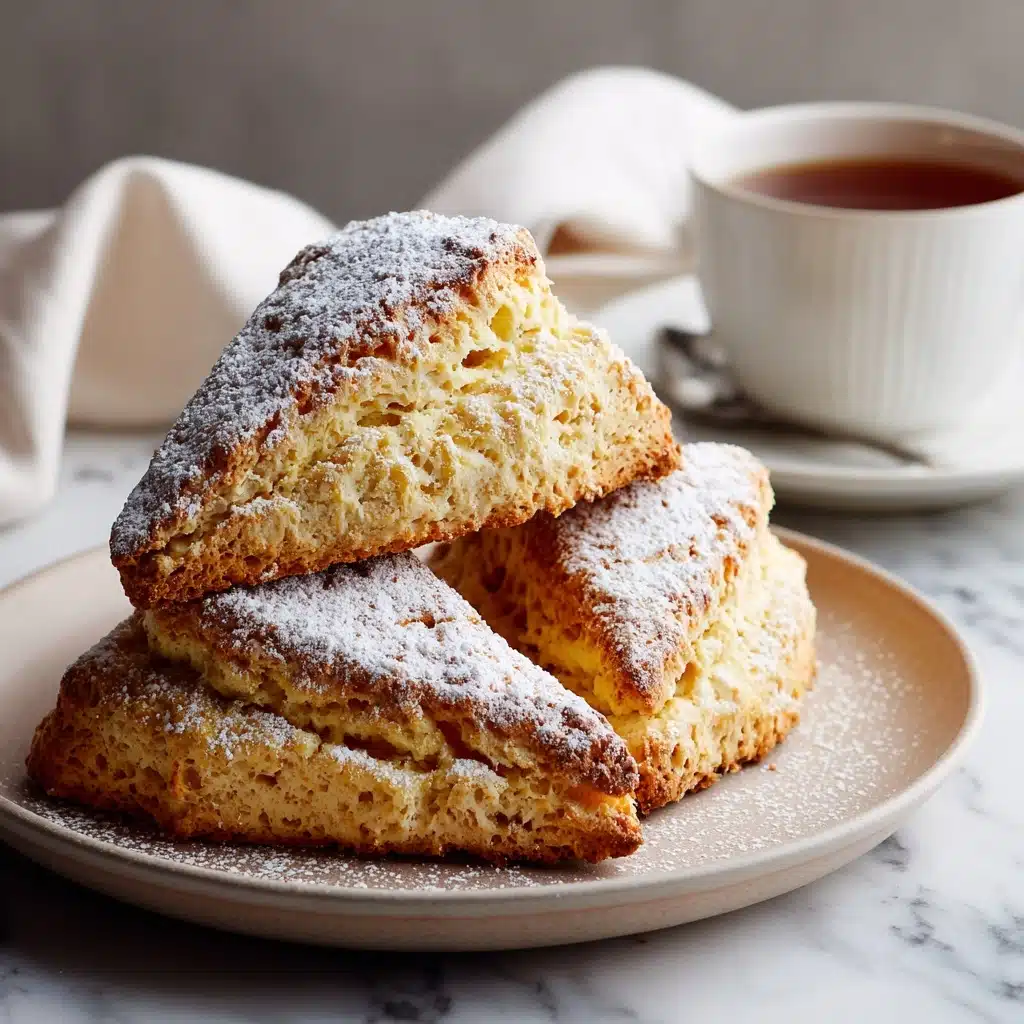
For the finishing touch, dust freshly baked scones with a bit of powdered sugar, drizzle with a simple glaze, or add a dollop of whipped cream. If you’ve used citrus zest or berries, a coordinating jam makes each bite pop with flavor. There’s no wrong way to top the Basic Scones Recipe (Customizable for Any Flavor)—let your mood and mix-ins be your guide!
Side Dishes
Scones are right at home on a brunch spread next to a big fruit salad, tangy yogurt, or softly scrambled eggs. For tea time, serve with clotted cream and a pot of your favorite brew. Whether sweet or savory, the Basic Scones Recipe (Customizable for Any Flavor) pairs perfectly with all your breakfast favorites.
Creative Ways to Present
Bring color to your table by arranging scones in a circle on a pretty cake stand, or wrapping up a few with ribbon for take-home treats. Mini scones make adorable party appetizers, while a big batch of scones in different flavors is a cheerful brunch centerpiece. However you serve them, these scones are made to be shared!
Make Ahead and Storage
Storing Leftovers
Keep leftover scones fresh by storing them in an airtight container at room temperature for up to 2 days. For longer freshness, tuck them into the fridge, but let them come back to room temperature for best flavor and texture before eating. The Basic Scones Recipe (Customizable for Any Flavor) really shines when those delicate crumbs are soft and moist.
Freezing
To freeze, arrange unbaked scones on a lined sheet, freeze until solid, and then transfer to a zip-top bag. Bake them straight from frozen, adding just a couple extra minutes to the baking time. Baked scones can also be frozen—just cool completely, wrap tightly, and freeze for up to 2 months. Warm gently when ready to enjoy!
Reheating
Refresh your scones in a 300°F (150°C) oven for about 8–10 minutes, or zap them in the microwave for a softer texture. The Basic Scones Recipe (Customizable for Any Flavor) comes back to life beautifully after reheating—perfect for that last-minute brunch or tea craving.
FAQs
Can I make these scones dairy-free?
Absolutely! Use a dairy-free butter substitute and swap in full-fat coconut cream or plant-based creamer for the heavy cream. They’ll still be tender and flavorful, though you might notice a hint of coconut if using coconut-based ingredients.
What’s the best way to keep scones flaky?
The secret is keeping your butter cold and working quickly—over-handling melts the butter, which can lead to denser scones. Chilling the dough in the fridge for about 10 minutes before baking can yield even fluffier results!
Which mix-ins work best with the Basic Scones Recipe (Customizable for Any Flavor)?
The sky’s the limit: chocolate chips, fresh or dried berries, chopped nuts, dried cherries, lemon or orange zest, and even savory options like shredded cheese or herbs are fantastic. Just keep the total amount to about 1 cup to prevent the dough from crumbling apart.
How do I make my scones extra moist?
Be careful not to overbake, as that’s the most common culprit for dry scones! Brushing with cream before baking helps lock in moisture, and using mix-ins like berries can add extra juiciness to the Basic Scones Recipe (Customizable for Any Flavor).
Can I use whole wheat flour or gluten-free flour?
Yes! Swap up to half of the all-purpose flour for whole wheat for a heartier, nuttier flavor. For gluten-free versions, use a good-quality gluten-free flour blend designed for baking and add an extra tablespoon of cream if the dough feels too dry.
Final Thoughts
This Basic Scones Recipe (Customizable for Any Flavor) might just become your new go-to treat for weekend mornings or cozy gatherings. With endless ways to personalize and such a simple method, there’s no reason not to bake up a batch soon—so tie on your apron and have fun making these tender, delicious scones your own!
Print
Basic Scones Recipe (Customizable for Any Flavor) Recipe
- Total Time: 33 minutes
- Yield: 8 scones 1x
- Diet: Vegetarian
Description
This basic scones recipe is highly customizable, allowing you to tailor the flavors to your liking. These tender and buttery scones are perfect for breakfast or as a snack, and they can be easily adapted with various mix-ins for a personalized touch.
Ingredients
Dry Ingredients:
- 2 cups all-purpose flour
- ⅓ cup granulated sugar
- 1 tablespoon baking powder
- ½ teaspoon salt
Wet Ingredients:
- ½ cup unsalted butter (cold and cubed)
- ⅔ cup heavy cream (plus more for brushing)
- 1 large egg
- 1 teaspoon vanilla extract
Optional Add-Ins:
- ½–1 cup of mix-ins such as chocolate chips, berries, dried fruit, citrus zest, or nuts
Instructions
- Preheat the oven: Preheat the oven to 400°F (200°C) and line a baking sheet with parchment paper.
- Mix dry ingredients: In a large bowl, whisk together the flour, sugar, baking powder, and salt.
- Cut in butter: Add the cold butter and cut it into the flour until it resembles coarse crumbs.
- Combine wet ingredients: In a separate bowl, whisk together the heavy cream, egg, and vanilla extract. Pour into the dry ingredients and stir gently.
- Add mix-ins: Fold in any mix-ins if desired.
- Shape and bake: Shape the dough into a disc, cut into wedges, place on the baking sheet, brush with heavy cream, and bake for 16–20 minutes until golden.
- Cool and serve: Let the scones cool slightly before serving.
Notes
- To make ahead, freeze unbaked scones on a tray, then transfer to a bag and store in the freezer. Bake straight from frozen, adding 2–3 minutes to the baking time.
- Glaze or drizzle with icing after baking for extra sweetness.
- Prep Time: 15 minutes
- Cook Time: 18 minutes
- Category: Breakfast, Snack
- Method: Baking
- Cuisine: British-American
Nutrition
- Serving Size: 1 scone
- Calories: 280
- Sugar: 9g
- Sodium: 270mg
- Fat: 14g
- Saturated Fat: 9g
- Unsaturated Fat: 4g
- Trans Fat: 0g
- Carbohydrates: 34g
- Fiber: 1g
- Protein: 5g
- Cholesterol: 55mg


