Baked Chicken Chimichangas Recipe
If you love the idea of crispy, comforting Mexican flavors without the hassle of deep frying, this Baked Chicken Chimichangas Recipe is about to become your new go-to. It’s bursting with tender shredded chicken, melty cheese, and a blend of spices all wrapped in a warm, golden tortilla baked to perfection. The best part is how simple the ingredients come together to create something unbelievably satisfying and kid-friendly, making it perfect for a cozy weeknight or a festive family gathering.
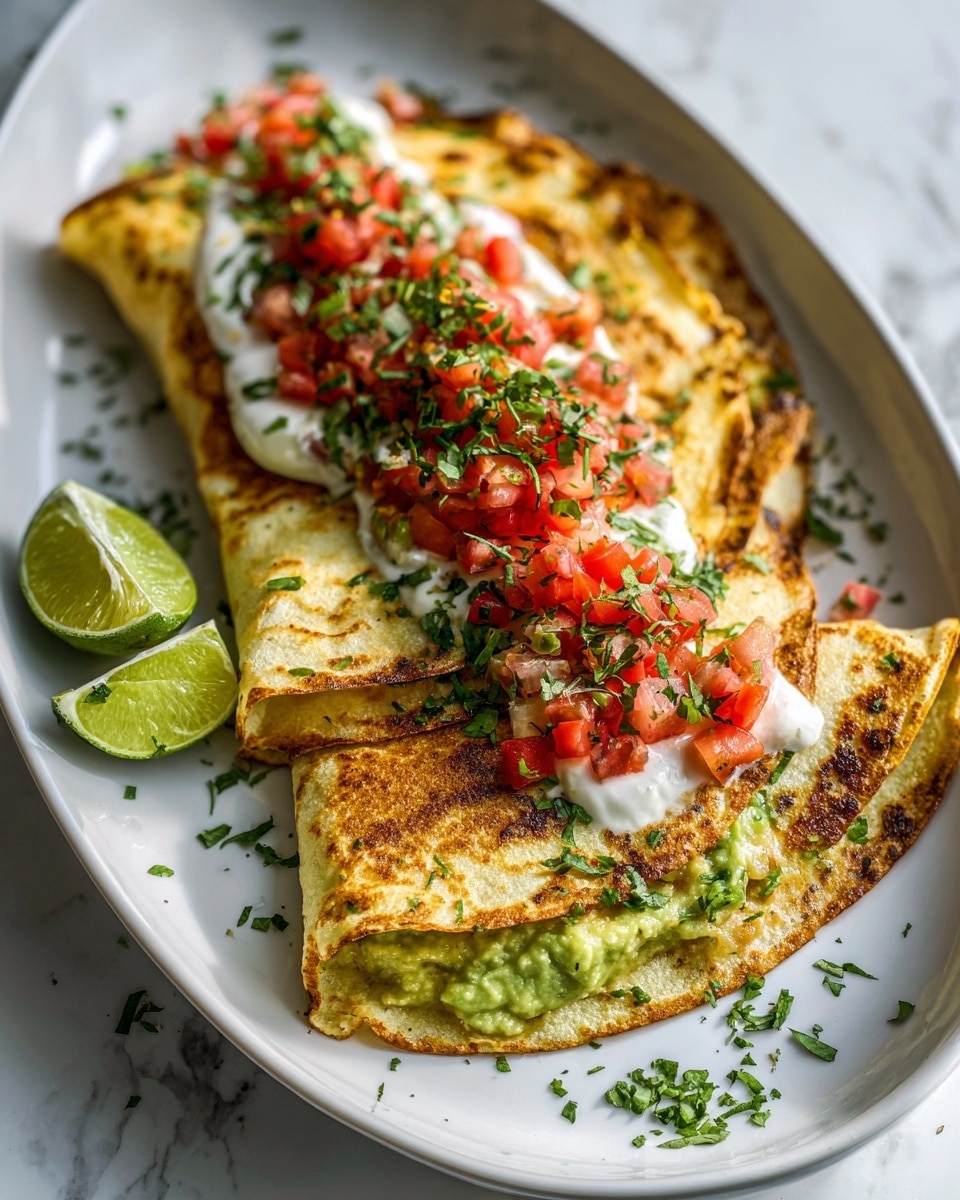
Ingredients You’ll Need
With just a handful of easy-to-find ingredients, this recipe turns ordinary pantry staples into a vibrant, flavorful dish. Each component plays a crucial role — from the tender shredded chicken to the spices that add a warm, smoky touch.
- 2 cups cooked shredded chicken: The hearty protein base that makes these chimichangas satisfying and filling.
- 1 cup shredded Monterey Jack or cheddar cheese: Adds melty, gooey richness that pulls everything together.
- 1/2 cup salsa or enchilada sauce: Brings a tangy, zesty kick to brighten the filling.
- 1/4 cup sour cream: Adds creaminess and balances the spice with a cool texture.
- 1 teaspoon ground cumin: Provides an earthy, smoky depth that elevates the chicken.
- 1/2 teaspoon chili powder: Gives just the right amount of warmth without overpowering.
- 1/2 teaspoon garlic powder: Lends a subtle savory note that complements the filling beautifully.
- Salt and pepper to taste: Essential for seasoning and bringing out all the flavors.
- 6 large flour tortillas: The vessel that holds the delicious filling and crisps up wonderfully in the oven.
- 2 tablespoons melted butter or oil: Brushed on top for a golden, crispy exterior that you’ll love.
How to Make Baked Chicken Chimichangas Recipe
Step 1: Preheat and Prep Your Baking Sheet
Start by warming your oven to 400°F (200°C). Line a baking sheet with parchment paper to ensure easy cleanup and prevent sticking — a small step that makes the process so much smoother.
Step 2: Mix the Filling Ingredients
Grab a large bowl and combine your shredded chicken, cheese, salsa, sour cream, cumin, chili powder, garlic powder, salt, and pepper. Stir everything together until it’s completely combined and bursting with flavor. This filling is the heart of your chimichangas, so mixing well ensures every bite is delicious.
Step 3: Assemble the Chimichangas
Lay each tortilla flat and spoon about 1/3 cup of the filling onto the lower third of the tortilla. Fold in the sides, then roll up the tortilla tightly like a burrito, ensuring the filling is snug inside. Place each chimichanga seam-side down on your prepared baking sheet to keep them perfectly wrapped during baking.
Step 4: Brush with Butter or Oil
Using a brush, lightly coat the tops of each chimichanga with melted butter or oil. This simple step is the secret to crisp, golden exteriors without frying — and the smell as they bake is simply irresistible.
Step 5: Bake to Golden Perfection
Bake the chimichangas for 20 to 25 minutes, or until they’re beautifully golden brown and crispy. Everything inside will be hot, cheesy, and perfectly melded by this point. Let them cool just a bit before serving so everyone can dive in without burning their mouths.
How to Serve Baked Chicken Chimichangas Recipe
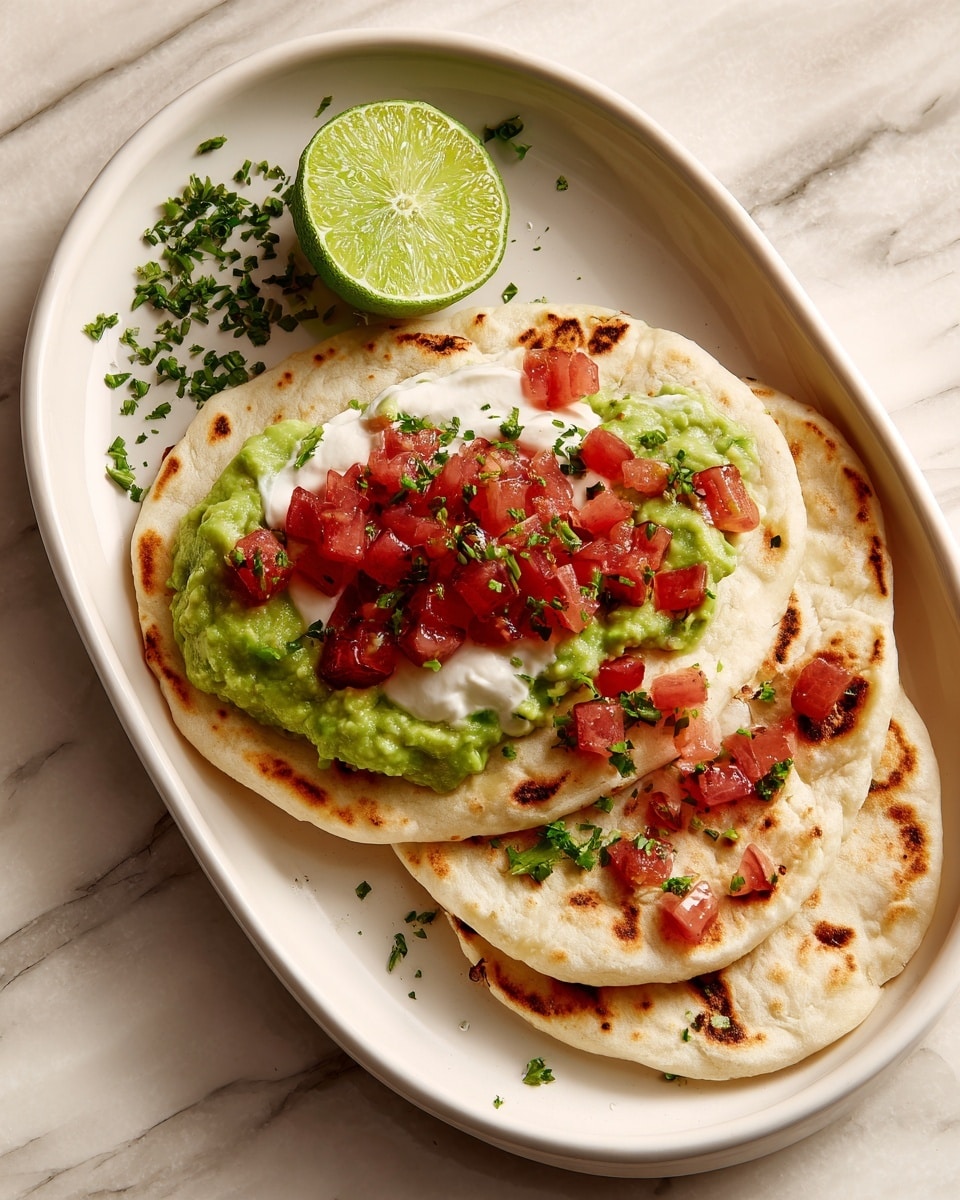
Garnishes
Top your chimichangas with a dollop of sour cream, a scoop of creamy guacamole, fresh salsa, chopped cilantro, or diced tomatoes. These toppings not only add fantastic color and freshness but also elevate each bite with bursts of complementary flavors.
Side Dishes
Pair these chimichangas with a crisp green salad, Mexican-style rice, or refried beans for a balanced and satisfying meal. The combination of textures and flavors makes for an authentic, celebratory plate your family will remember.
Creative Ways to Present
If you want to impress friends or make meal prep a breeze, serve these baked chimichangas sliced into pinwheels as a fun appetizer, or top them with shredded lettuce and cheese for a loaded chimichanga bowl. Customizing the presentation brings a fresh twist every time you make the Baked Chicken Chimichangas Recipe.
Make Ahead and Storage
Storing Leftovers
You can keep any leftover chimichangas in an airtight container in the fridge for up to 3 days. They hold their flavor beautifully and make for a quick, delicious lunch or dinner.
Freezing
This Baked Chicken Chimichangas Recipe freezes wonderfully. Assemble the chimichangas, wrap them individually in foil, and freeze unbaked for up to 3 months. When you want to enjoy, just bake them from frozen, adding about 5-10 minutes to the cooking time.
Reheating
To bring leftovers back to life, reheat chimichangas in a preheated oven at 350°F (175°C) for about 10-15 minutes. This method keeps the tortilla crispy and the filling melty better than a microwave ever could.
FAQs
Can I use rotisserie chicken for this recipe?
Absolutely! Rotisserie chicken works perfectly here, adding wonderful flavor and saving you prep time. Just shred it up, and you’re ready to assemble your chimichangas.
Is it possible to make this recipe vegetarian?
Yes, simply swap the chicken for sautéed vegetables like bell peppers, onions, and mushrooms or use beans for a protein-packed vegetarian version that’s just as delicious.
Why bake instead of fry chimichangas?
Baking delivers the same crispy exterior with much less oil and mess — making it healthier and easier while still achieving that irresistible crunch.
Can I prepare these ahead of time for a party?
Definitely! Assemble them a day in advance and refrigerate, or freeze earlier. They bake up nicely from chilled or frozen, which is a great time-saver.
What cheese is best for the filling?
Monterey Jack melts wonderfully and has a mild flavor, but sharp cheddar adds a nice tang if you prefer bolder cheese notes. Feel free to mix or match based on what you love.
Final Thoughts
There’s something truly special about the crunch and warmth of these golden Baked Chicken Chimichangas Recipe creations. Whether you need a crowd-pleaser or a cozy family dinner, this recipe hits every mark with ease and flavor. Give it a try—you’ll be amazed at how such simple ingredients transform into a crave-worthy dish everyone will ask for again and again.
Print
Baked Chicken Chimichangas Recipe
- Total Time: 40 minutes
- Yield: 6 chimichangas 1x
Description
These Baked Chicken Chimichangas are a delicious, crispy alternative to the traditional fried version, combining tender shredded chicken, melted cheese, and savory spices all rolled in warm flour tortillas. Baked to golden perfection, they make an easy and satisfying Mexican-inspired main course perfect for weeknight dinners or casual gatherings.
Ingredients
Filling
- 2 cups cooked shredded chicken
- 1 cup shredded Monterey Jack or cheddar cheese
- 1/2 cup salsa or enchilada sauce
- 1/4 cup sour cream
- 1 teaspoon ground cumin
- 1/2 teaspoon chili powder
- 1/2 teaspoon garlic powder
- Salt and pepper to taste
Assembly
- 6 large flour tortillas
- 2 tablespoons melted butter or oil for brushing
Optional Toppings
- Sour cream
- Guacamole
- Salsa
- Chopped cilantro
- Diced tomatoes
Instructions
- Preheat oven and prepare baking sheet: Preheat your oven to 400°F (200°C) and line a baking sheet with parchment paper to prevent sticking and make cleanup easier.
- Mix the filling: In a large bowl, combine the cooked shredded chicken, shredded cheese, salsa or enchilada sauce, sour cream, ground cumin, chili powder, garlic powder, salt, and pepper. Stir thoroughly until everything is evenly incorporated.
- Assemble the chimichangas: Spoon about 1/3 cup of the filling onto the lower third of each flour tortilla. Fold the sides in towards the center, then roll tightly from the bottom up like a burrito to seal the filling inside.
- Prepare for baking: Place each chimichanga seam-side down on the prepared baking sheet. Lightly brush the tops with melted butter or oil to help them crisp up during baking.
- Bake until golden and crispy: Bake in the preheated oven for 20 to 25 minutes or until the chimichangas are golden brown and crispy on the outside.
- Serve and garnish: Let the chimichangas cool for a few minutes before serving. Top with your favorite garnishes such as sour cream, guacamole, salsa, chopped cilantro, or diced tomatoes for added flavor and freshness.
Notes
- You can assemble the chimichangas ahead of time and refrigerate them for up to 1 day prior to baking, saving you prep time on serving day.
- For longer storage, freeze assembled chimichangas before baking. When ready to bake, add 5 to 10 minutes to the cooking time and bake them directly from frozen.
- Using melted butter for brushing the tortillas results in a richer flavor, but oil is a good lower-fat alternative that still crisps nicely.
- Feel free to customize the filling by adding beans, rice, or vegetables for additional texture and nutrition.
- Prep Time: 15 minutes
- Cook Time: 25 minutes
- Category: Main Course
- Method: Baking
- Cuisine: Mexican-Inspired
