Cereal Bars Recipe
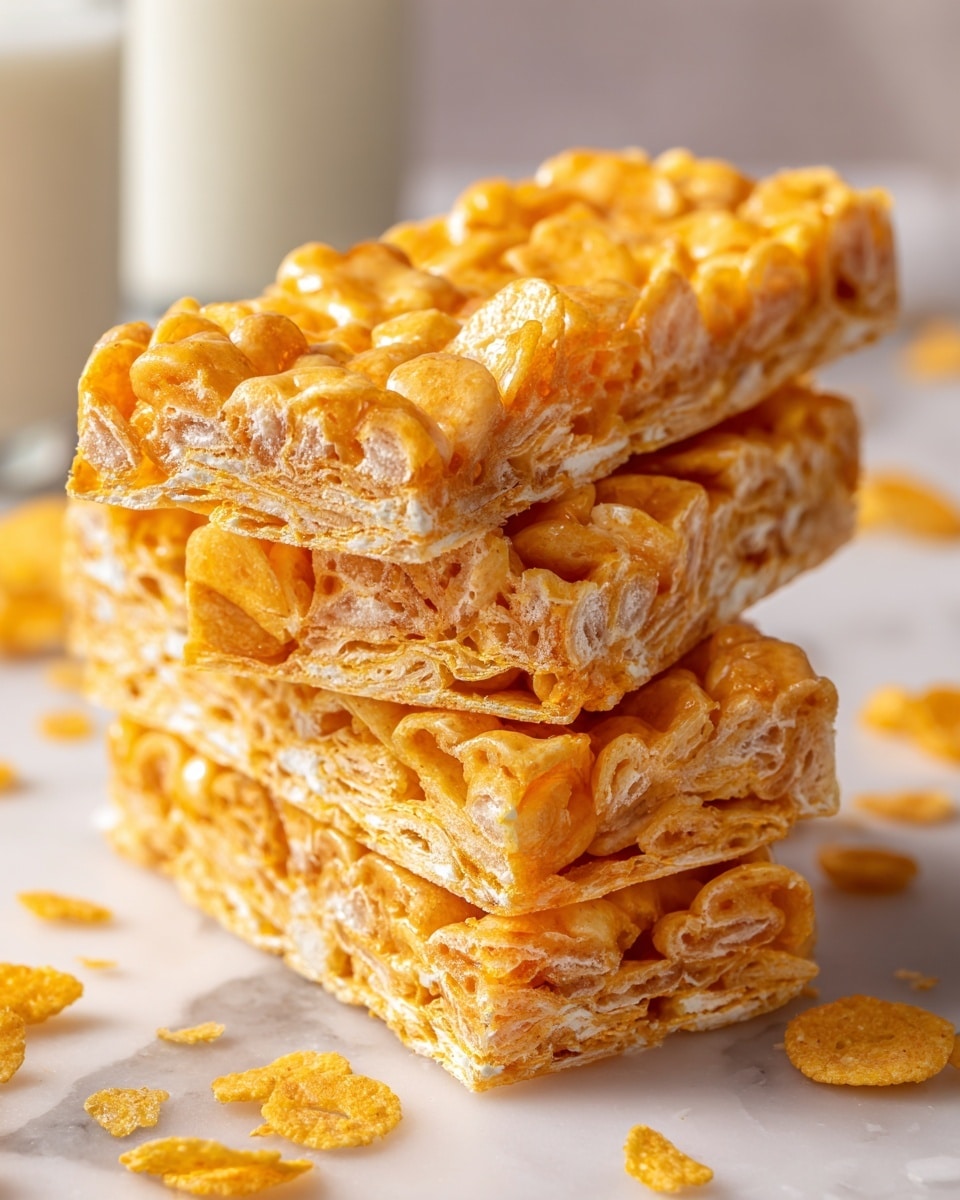
If you’re on the lookout for a quick, delightful treat that brings together nostalgia and simplicity in every bite, this Cereal Bars Recipe is exactly what you need. These bars boast a perfect balance of crispy corn pops cereal lovingly coated with gooey melted marshmallows and butter, creating a snack that’s irresistibly chewy and sweet. Whether you’re packing lunchboxes, hosting a kids’ party, or craving a fun homemade dessert, these cereal bars will impress with their ease and classic flavor. Let me take you through a step-by-step guide so you can whip up these treats without breaking a sweat.
Ingredients You’ll Need
Don’t let the simplicity fool you—each ingredient plays a crucial role in crafting the perfect cereal bars. From the rich butter that adds creaminess to the sticky, sweet marshmallows creating that signature bind, and the crisp corn pops that bring texture, these essentials combine to make magic.
- 6 tablespoons (84 g) unsalted butter: Provides richness and helps melt the marshmallows smoothly.
- 10 ounce (284 g) bag of large marshmallows: The key to that gooey, chewy texture everyone loves.
- 7 cups (196 g) corn pops cereal: Adds a crunchy, crispy base with a fun sweetness that pairs perfectly with the marshmallow mixture.
How to Make Cereal Bars Recipe
Step 1: Prepare the Baking Pan
Start by lining the bottom of a 9×13-inch baking pan with parchment paper. This simple setup ensures your bars won’t stick and makes lifting and cutting them a breeze once they’re set. Setting the pan aside lets you focus fully on the mixture without scrambling later.
Step 2: Melt Butter and Marshmallows
In a large pot over medium-high heat, melt the butter until it’s fully liquid and aromatic. Right after, toss in the marshmallows. Stir constantly to ensure they melt evenly and don’t catch on the bottom of the pan. The stirring is key here—it transforms the marshmallows and butter into the silky, glossy binder that holds your cereal bars together.
Step 3: Mix in Cereal
Once your marshmallows have fully melted and blended with the butter, remove the pot from the heat immediately. Pour in the corn pops cereal and stir thoroughly until every bit is beautifully coated in that shiny marshmallow mixture. If you prefer a slightly crunchier bite and less stickiness, try tossing in an extra half cup of cereal to customize the texture just for you.
Step 4: Spread and Shape
Transfer the mixture into your prepared baking pan. Use the back of a silicone spatula to gently press down and spread the mixture evenly. Be careful not to pack it too tightly; you want the bars to maintain a light, airy crispness rather than becoming overly dense.
Step 5: Cool and Cut
Let the pan sit on your counter and cool for about two hours so the cereal bars can fully set. When ready, gently lift the parchment paper edges to remove the entire slab from the pan. Now, slice into squares that are perfect for snacking or sharing with friends and family.
How to Serve Cereal Bars Recipe
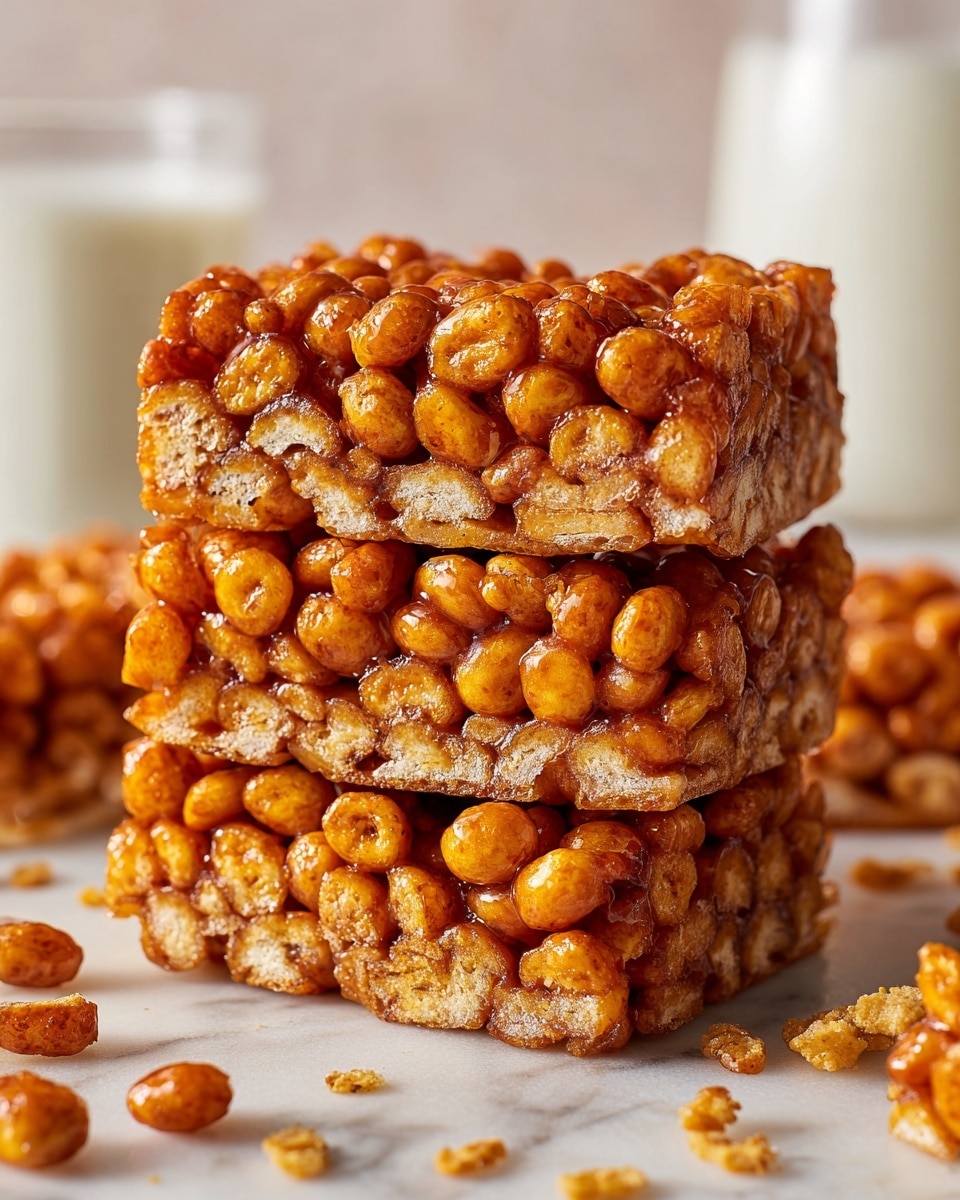
Garnishes
Add a personal touch by sprinkling some colorful mini chocolate chips or rainbow sprinkles on top just before the marshmallow mixture sets. This adds a pop of color and extra flavor that’s especially loved during celebrations or kid-centric gatherings.
Side Dishes
These cereal bars pair beautifully with a glass of cold milk or a warm cup of tea or coffee, making snack time feel like a cozy indulgence. For lunchboxes, pair with fresh fruit slices to balance the sweetness perfectly.
Creative Ways to Present
Try cutting the bars into fun shapes using cookie cutters for themed parties or festive events. Wrapping individual bars in parchment paper tied with twine creates a charming gift or party favor that will have everyone asking for your Cereal Bars Recipe.
Make Ahead and Storage
Storing Leftovers
Keep your cereal bars fresh by placing them in an airtight container at room temperature. Properly stored, they remain chewy and delicious for up to 4 days—perfect if you want to make a batch ahead for the week.
Freezing
If you want to stock up, these bars freeze wonderfully. Wrap individual bars tightly in plastic wrap, then place them in a freezer-safe bag or container. When you want a treat, defrost at room temperature for about 30 minutes before enjoying.
Reheating
Generally, these bars are best enjoyed at room temperature, but if you prefer them a bit warm and gooier, gently microwave a bar for 10-15 seconds. This melts the marshmallow just enough to bring back that freshly made softness without becoming too sticky.
FAQs
Can I use a different type of cereal?
Absolutely! While corn pops give a classic sweetness and crunch, you can experiment with puffed rice, Cheerios, or even granola. Just keep in mind that texture and flavor will vary with each cereal choice.
What if I don’t have unsalted butter?
You can use salted butter if that’s what you have on hand. The salt might add a subtle savory note which can actually complement the sweet marshmallows nicely. Just omit adding any extra salt elsewhere in the recipe.
How do I make these bars less sticky?
To reduce stickiness, add a bit more cereal to the melted marshmallow mixture before spreading. Press the mixture lightly in the pan without compacting it too much, as firm bars can sometimes feel sticky due to the dense marshmallow coating.
Can I add mix-ins like nuts or dried fruit?
Definitely! Feel free to fold in small amounts of chopped nuts, dried cranberries, or even mini chocolate chips once the cereal is mixed in. They’ll add wonderful bursts of flavor and texture.
Is this recipe kid-friendly?
Absolutely. In fact, it’s a great hands-on treat for older kids to help make. Just supervise with the hot melted marshmallows step. The end result is something fun and sweet that kids often love to eat and share.
Final Thoughts
Making your own cereal bars is such a joyful and simple way to bring a homemade snack into your life without fuss. This Cereal Bars Recipe stands as a timeless favorite that’s perfect for every occasion—from after-school treats to party goodies. I hope you give this recipe a try soon and discover just how much fun creating these sweet, chewy bars can be!
Print
Cereal Bars Recipe
- Total Time: 15 minutes
- Yield: 12 servings 1x
Description
This easy-to-make Cereal Bars recipe combines crispy corn pops cereal with melted marshmallow and butter for a sweet, gooey treat. Ready in just 15 minutes and perfect for snacking or kids’ lunchboxes, these bars require no baking and can be customized to your preferred texture.
Ingredients
Ingredients
- 6 tablespoons (84 g) unsalted butter
- 10 ounce (284 g) bag of large marshmallows
- 7 cups (196 g) corn pops cereal
Instructions
- Prepare the Baking Pan: Line the bottom of a 9×13-inch baking pan with parchment paper. Set the pan aside to have it ready for the cereal mixture.
- Melt Butter and Marshmallows: In a large pot over medium-high heat, melt the butter. Add the marshmallows to the butter and stir continually, ensuring the marshmallows melt evenly without burning. Stir frequently until the mixture is smooth and gooey.
- Mix in Cereal: Remove the pot from the heat. Immediately pour in the corn pops cereal and mix thoroughly until all cereal pieces are evenly coated with the melted marshmallow mixture. For a less gooey texture, add an extra half cup of cereal incrementally.
- Spread and Shape: Pour the cereal mixture into the prepared baking pan. Using the back of a silicone spatula, gently press and evenly spread the mixture throughout the pan without compressing it too much to avoid density.
- Cool and Cut: Allow the mixture to cool and set in the pan for about 2 hours. Once firm, lift the set mixture using the parchment paper, transfer to a cutting board, and cut into squares for serving.
Notes
- Line your pan with parchment paper to make removing the bars easier and reduce mess.
- Do not stir the marshmallow mixture too vigorously once it starts melting to avoid burning or sticking.
- Press the mixture gently into the pan to keep the bars light and crispy rather than dense.
- These bars are best enjoyed within 2-3 days stored in an airtight container at room temperature.
- Feel free to add mix-ins like chocolate chips or dried fruit for variety.
- Prep Time: 5 minutes
- Cook Time: 10 minutes
- Category: Snack
- Method: Stovetop
- Cuisine: American


