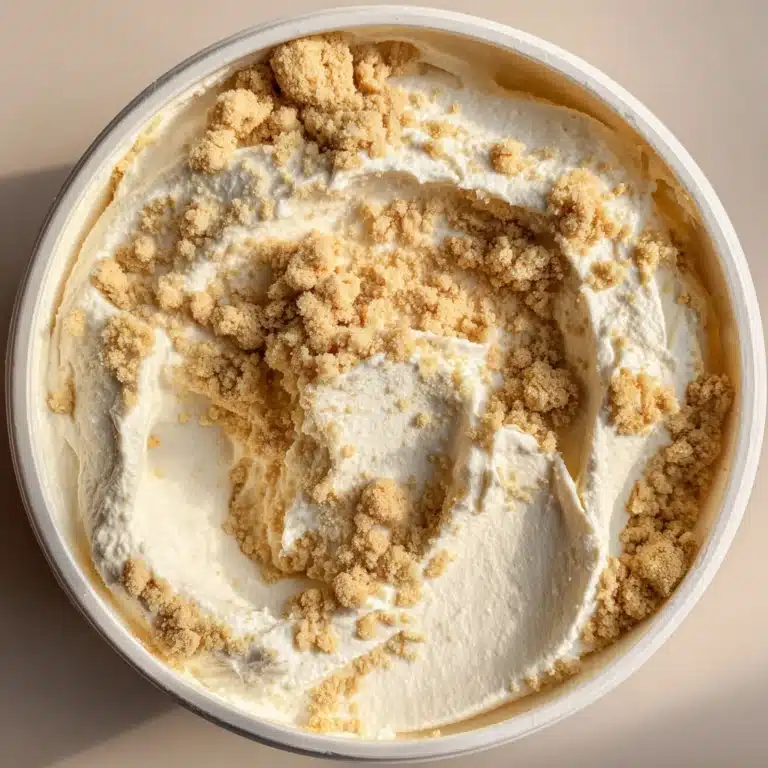
No-Bake Orange Creamsicle Truffles Recipe
If you’re anything like me and can’t resist that nostalgic, creamy citrus flavor of a creamsicle, then let me share a little treasure with you: the No-Bake Orange Creamsicle Truffles Recipe. These bite-sized delights capture all the bright, zesty goodness of a classic orange creamsicle in a rich, creamy truffle form without ever needing an oven. They’re perfect for afternoon treats, summer parties, or whenever you want a little citrus sunshine in your day. The golden Oreo crumbs provide just the right sweetness and texture, while the white chocolate coating brings that luscious, melt-in-your-mouth finish that makes these truffles truly irresistible.

Ingredients You’ll Need
Getting these truffles on your plate is a breeze because the ingredients are straightforward but each one plays an essential role in creating that perfect balance of flavor, texture, and color. From the creamy richness to the light citrus zing, here’s what you’ll be working with:
- Golden Oreos: Crushed into fine crumbs, they form the deliciously sweet and slightly crunchy base of your truffles.
- Cream cheese: Softened to blend smoothly, it adds the creamy texture and tangy balance to the sweetness.
- Orange zest: Fresh zest gives a vibrant citrus punch, boosting the creamsicle flavor perfectly.
- Orange extract: Concentrated and aromatic, this enhances the orange essence without overpowering.
- Vanilla extract: Adds warmth and depth, smoothing out the citrus tang.
- Pinch of salt: Elevates all the flavors and helps balance the sweetness.
- White chocolate or white candy melts: Melted for coating, they provide the creamy, sweet shell that makes these truffles irresistible.
- Optional orange sanding sugar or sprinkles: For a festive, colorful finish and a little added texture.
How to Make No-Bake Orange Creamsicle Truffles Recipe
Step 1: Crush the Oreos
Start by popping your golden Oreos into a food processor and blitzing them until they’re fine crumbs. This step creates a smooth, sandy texture that’s essential for mixing your creamy filling. If you don’t have a food processor, placing the cookies in a sealed bag and crushing them with a rolling pin works just as well!
Step 2: Mix in the Flavors
Transfer those Oreo crumbs to a mixing bowl and add your softened cream cheese, orange zest, orange extract, vanilla extract, and a pinch of salt. Stir everything together until you get a smooth, dough-like consistency that’s easy to shape. This combination creates the perfect base that’s rich and packed with that nostalgic creamsicle vibe.
Step 3: Form the Truffles
Scoop out small portions and roll them into neat 1-inch balls with your hands. Placing them on a parchment-lined baking sheet helps keep everything clean and organized. Once shaped, pop those little beauties into the freezer for about 20 to 30 minutes to firm up and make dipping a breeze.
Step 4: Prepare the Chocolate Coating
While your truffles chill, melt your white chocolate or candy melts according to package directions. This step is crucial because a smooth, glossy coating not only looks fantastic but also creates that irresistible outer shell.
Step 5: Dip and Decorate
Using a fork or dipping tool, coat each truffle in the melted chocolate, gently tapping off any excess. Return them to your lined tray and immediately sprinkle with orange sanding sugar or sprinkles if you want that extra festive touch. Then, let them set in the fridge for about 15 minutes until the coating hardens.
How to Serve No-Bake Orange Creamsicle Truffles Recipe

Garnishes
To keep things festive and fun, orange sanding sugar or tiny orange sprinkles are perfect to add right after dipping. Not only do they add a pop of color that makes these truffles visually stunning, but they also provide a subtle, sweet crunch that complements the creamy center beautifully.
Side Dishes
These truffles stand out on their own, but they also pair wonderfully with a cup of hot tea, a chilled glass of sparkling wine, or even some fresh berries as a refreshing contrast. Their bright citrus flavor complements light and fruity sides perfectly, making your dessert feel like a complete and balanced treat.
Creative Ways to Present
For gifting or special occasions, try arranging your truffles in a decorative box layered with tissue paper, or display them on colorful mini cupcake liners for an eye-catching platter. You can also drizzle some additional melted dark or milk chocolate over the truffles for a pretty two-tone look.
Make Ahead and Storage
Storing Leftovers
If you find yourself with extras (and trust me, you probably will), keep the truffles fresh by storing them in an airtight container in the refrigerator. They’ll stay perfect for up to a week, ready for when you need a quick indulgence or an unexpected guest drops by.
Freezing
These truffles freeze flawlessly! Just arrange them in a single layer on a parchment-lined tray to freeze initially, then transfer to a freezer-safe container. When wrapped well, they can last up to a month in the freezer. To enjoy, simply thaw in the fridge for a few hours before serving, and they’ll taste just like freshly made.
Reheating
No reheating needed here because these truffles are best served cold or at room temperature. Letting them sit out for about 10 minutes after taking from the fridge allows them to soften slightly, making each bite silky smooth and wonderfully creamy.
FAQs
Can I use regular Oreos instead of golden Oreos?
Yes, but keep in mind that using regular Oreos will change the color and slightly alter the flavor profile, giving you a more chocolate-based truffle instead of the bright, citrusy look and taste these No-Bake Orange Creamsicle Truffles Recipe aims for.
Is there a dairy-free option for the cream cheese?
Absolutely! Vegan or dairy-free cream cheese substitutes work well and still provide the smooth texture needed for the mixture. Just be sure to soften it before mixing for the best results.
Can I use different chocolate for coating?
You can experiment with milk or dark chocolate, but keep in mind this will add a different flavor tone. White chocolate best complements the citrus flavors, making the classic creamsicle taste shine through in this recipe.
How do I get a more intense orange flavor?
Try adding a little more orange zest or a few extra drops of orange extract, but add slowly because the extracts can be potent. Fresh zest always packs the brightest, freshest flavor punch!
Can I make the truffles smaller or larger?
You can! Just keep in mind smaller truffles will chill and coat faster, while larger ones will be richer and creamier but take extra time to firm up properly in the freezer.
Final Thoughts
I cannot recommend this No-Bake Orange Creamsicle Truffles Recipe enough if you want a fun, easy dessert that brings a burst of sunshine to your table. Simple ingredients, no oven required, and jaw-dropping flavor make these truffles a total winner for any occasion. Give it a try, and I promise, these delightful little bites will become a cherished staple in your sweet treat repertoire!
Print
No-Bake Orange Creamsicle Truffles Recipe
- Total Time: 40 minutes
- Yield: 24 truffles 1x
- Diet: Vegetarian
Description
Delight in these No-Bake Orange Creamsicle Truffles, a creamy, citrus-infused treat made with crushed golden Oreos and a luscious white chocolate coating. Perfect for summer parties or gifting, these easy-to-make truffles capture that nostalgic creamsicle flavor with the convenience of a no-bake dessert.
Ingredients
Truffle Mixture
- 1 package (14.3 oz) golden Oreos, crushed into fine crumbs
- 6 oz cream cheese, softened
- 1 teaspoon orange zest
- 1/2 teaspoon orange extract
- 1/2 teaspoon vanilla extract
- Pinch of salt
Coating and Garnish
- 12 oz white chocolate or white candy melts (for coating)
- Optional: orange sanding sugar or sprinkles for garnish
Instructions
- Prepare Oreo Crumbs: In a food processor, blend the golden Oreos until they form fine crumbs, ensuring a smooth base for the truffles.
- Mix Ingredients: Transfer the Oreo crumbs to a bowl and combine with softened cream cheese, orange zest, orange extract, vanilla extract, and a pinch of salt. Mix thoroughly until a smooth, dough-like mixture forms.
- Form Truffles: Scoop the mixture and roll into 1-inch balls. Place the balls on a parchment-lined baking sheet to prevent sticking.
- Freeze Truffles: Freeze the truffles for 20–30 minutes or until they are firm enough for coating.
- Melt Coating: While the truffles chill, melt the white chocolate or candy melts according to package instructions, ensuring a smooth and even coating.
- Coat Truffles: Dip each chilled truffle into the melted white chocolate, tapping off excess coating before placing back on the parchment-lined tray.
- Garnish and Set: Immediately sprinkle with orange sanding sugar or sprinkles if desired, then refrigerate for about 15 minutes until the coating sets.
Notes
- Use gel food coloring to tint the white chocolate orange for a bright, festive look.
- Store truffles in an airtight container in the refrigerator for up to one week.
- These truffles make a fantastic gift or a refreshing summer party treat.
- Prep Time: 20 minutes
- Cook Time: 0 minutes
- Category: Dessert
- Method: No-Bake
- Cuisine: American


