Easy Homemade Bread Recipe
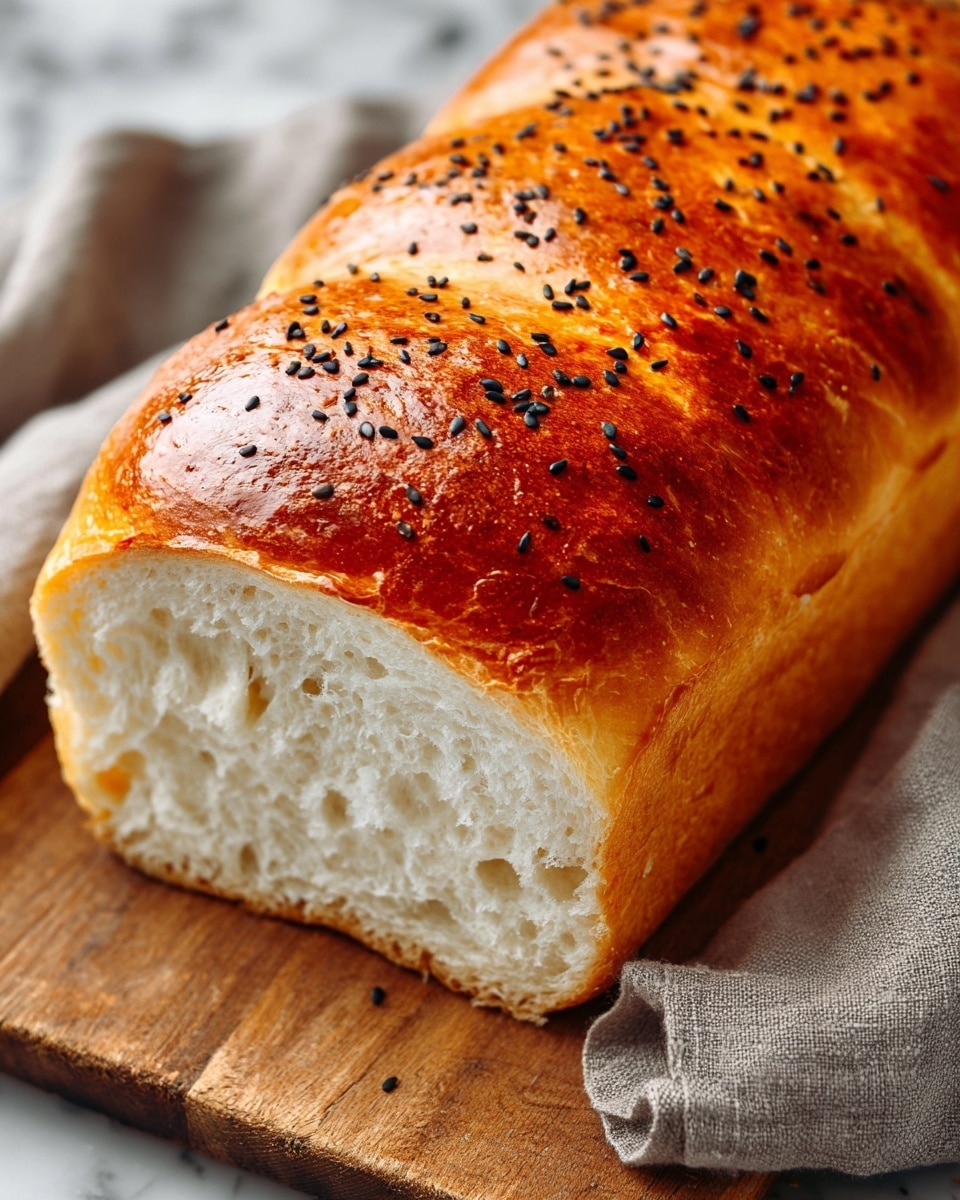
Baking fresh bread at home is such a rewarding experience, and with this Easy Homemade Bread Recipe, you’ll have warm, delicious loaves that fill your kitchen with the most inviting aroma. Whether you’re a seasoned baker or a complete newbie, this recipe breaks down the process into simple, manageable steps so you can create soft, golden, and perfectly textured bread without any fuss. The combination of basic pantry staples and straightforward instructions makes this bread a wonderful go-to for any time you crave something fresh and homemade.
Ingredients You’ll Need
You’ll find that this recipe relies on just a handful of simple ingredients, each playing a crucial role in the bread’s flavor and texture. These everyday staples come together to give you that perfect crust and soft, airy crumb you’re aiming for.
- Dry yeast (10g): This is the magical ingredient that helps your dough rise and become fluffy.
- Warm water (200ml): Activates the yeast and ensures a nicely hydrated dough.
- Flour (720g plus 120g for mixing): Provides the structure; using good-quality flour can really lift your bread.
- Salt (10g): Enhances flavor and controls yeast activity for balanced fermentation.
- Egg yolk: Gives the crust a rich golden color and a slight shine when baked.
- Milk (1 tablespoon): Mixed with the egg yolk, it helps the crust develop a beautiful finish.
How to Make Easy Homemade Bread Recipe
Step 1: Activate the Yeast
Start by combining your warm water with the dry yeast in a small bowl, stirring until fully dissolved. The warmth wakes up the yeast, and you’ll know it’s ready once it becomes foamy, which usually takes about 15 minutes. This step is essential because it ensures your bread will rise nicely and have that airy texture we all love.
Step 2: Make a Starter Dough
Next, add 1 cup of flour to your yeast mixture and stir it well to form a starter dough. Cover this and let it rest for another 15 minutes. This little resting period not only allows the yeast to work its magic but also begins developing flavor and texture right from the start.
Step 3: Knead the Dough
Now it’s time to bring it all together. Add the remaining 6 cups of flour and salt to your starter dough. Knead the mixture for about 3-4 minutes until it’s soft but not sticky. Proper kneading is key because it develops the gluten, giving your bread that wonderful chewy quality.
Step 4: First Rise
Pop your dough into a greased bowl, cover it up, and set it somewhere warm. Let it rise until it has doubled in size, which usually takes about an hour. This rise is where the dough transforms, becoming airy and light – the foundation of delicious bread.
Step 5: Shape and Second Rise
After the dough has risen, gently punch it down to release the gases. Divide the dough into two equal portions, shape each into a loaf, and place them on a greased baking sheet. Cover and allow the loaves to rise again for 20 minutes. This second rise ensures your bread will have a beautiful shape and an even crumb.
Step 6: Bake the Bread
Preheat your oven to 400°F (200°C). Before baking, brush the tops of your loaves with a mixture of egg yolk and milk to create that irresistible golden-brown crust. Bake for 25 to 30 minutes, or until the bread is nicely browned and sounds hollow when you tap the bottom. This baking step seals in flavor while developing a crisp exterior.
Step 7: Cool and Enjoy
Once your loaves come out of the oven, resist the temptation to slice them immediately. Let the bread cool slightly to finish setting the crumb. Then, slice, serve, and enjoy your fresh homemade bread!
How to Serve Easy Homemade Bread Recipe
Garnishes
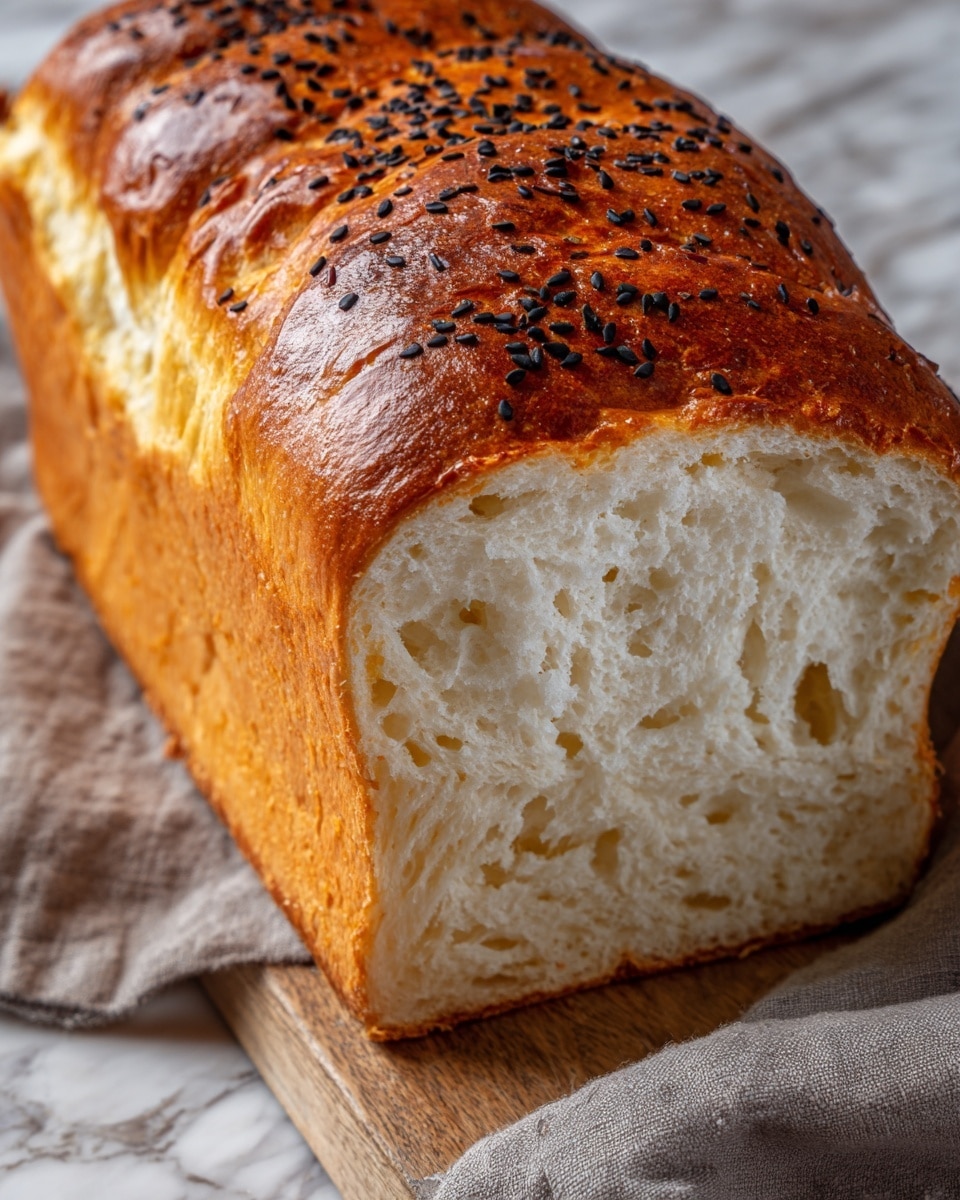
Simple garnishes can elevate your homemade bread experience. Sprinkle a little coarse sea salt or brush with extra melted butter right after baking to add flavor and shine. Fresh herbs like rosemary or thyme can also be pressed into the dough before baking for an aromatic twist.
Side Dishes
This bread pairs wonderfully with soups, stews, or a fresh salad. Imagine dipping your warm bread into creamy tomato soup or wrapping slices around your favorite sandwich fillings. Its soft interior and sturdy crust make it a versatile partner for any meal.
Creative Ways to Present
To make your Easy Homemade Bread Recipe the star of any table, try slicing it thickly for hearty breakfast toast topped with avocado or jam. Or serve small rolls alongside a cheese platter for an elegant appetizer. Toasted cubes also make fantastic croutons, breathing new life into salads and soups.
Make Ahead and Storage
Storing Leftovers
If you have any bread left after the first day, keep it wrapped in a clean kitchen towel or stored in a bread box to maintain its freshness without getting soggy. Bread is best enjoyed within two days to preserve that lovely texture.
Freezing
To store for longer periods, slice your bread and freeze it in an airtight bag. That way, you can pull out exactly what you need and toast it straight from the freezer, ensuring you always have fresh bread on hand without any waste.
Reheating
When ready to enjoy frozen bread, toast slices directly or warm whole loaves wrapped in foil in the oven at 350°F (175°C) for 10-15 minutes. Reheating revives the bread’s warmth and softness without drying it out.
FAQs
Can I use whole wheat flour instead of all-purpose flour?
Absolutely! Whole wheat flour can be used, but it will create a denser loaf. Consider replacing half the flour with whole wheat for a lighter result and adding a little extra water since whole wheat absorbs more moisture.
Why does my bread sometimes not rise properly?
The main reasons could be expired yeast, water that is too hot or too cold, or not giving the dough enough time in a warm place to rise. Make sure your yeast is fresh and your water temperature is around 100°F (38°C) for the best activation.
Can I add flavors or herbs to the dough?
Yes! Adding herbs like rosemary, thyme, or even garlic powder can add a lovely flavor twist. Mix them in with the flour before kneading so the flavors distribute evenly throughout your Easy Homemade Bread Recipe.
Do I need special equipment to make this bread?
Not at all! All you need is a mixing bowl, a baking sheet, and a warm spot for rising. A stand mixer with a dough hook can help, but kneading by hand keeps the process simple and hands-on.
How can I tell when the bread is fully baked?
The best sign your bread is done is a golden-brown crust that sounds hollow when you tap the bottom of the loaf. If you have a kitchen thermometer, the internal temperature should be around 190°F (88°C).
Final Thoughts
There’s nothing quite like pulling fresh, warm bread from your own oven, and this Easy Homemade Bread Recipe makes that dream totally achievable. It’s a simple, satisfying way to bring a little extra love into your kitchen, and I promise once you try it, you’ll want to make it again and again. So grab your ingredients, roll up your sleeves, and enjoy the wonderful journey of baking bread at home!
Print
Easy Homemade Bread Recipe
- Total Time: 1 hour 55 minutes
- Yield: 2 loaves 1x
Description
This easy homemade bread recipe guides you through the steps to create soft, golden loaves with just a few simple ingredients. Perfect for beginners, the bread has a crispy crust and fluffy interior, ideal for sandwiches or to accompany any meal.
Ingredients
Yeast Starter
- 1 packet (10g) dry yeast
- 1 cup (200ml) warm water
- 1 cup (120g) flour
Dough
- 6 cups (720g) flour
- 1 teaspoon (10g) salt
Topping
- 1 egg yolk
- 1 tablespoon milk
Instructions
- Activate the yeast: In a small bowl, combine the warm water and dry yeast. Stir until dissolved and let it sit for about 15 minutes, or until the mixture becomes foamy, indicating the yeast is active.
- Make a starter dough: Add 1 cup of flour to the yeast mixture and stir well to form a starter dough. Cover the bowl and let it rest for 15 minutes to develop flavor and gluten structure.
- Knead the dough: Add the remaining 6 cups of flour and salt to the starter dough. Knead the mixture for 3-4 minutes until a soft, non-sticky dough forms that is elastic enough for rising.
- First rise: Place the dough in a greased bowl, cover it to prevent drying, and let it rise in a warm place until doubled in size, approximately 1 hour. This fermentation develops flavor and texture.
- Shape and second rise: Punch down the risen dough to release excess gas and divide it into two equal portions. Shape each portion into a loaf and place them on a greased baking sheet. Cover and let them rise again for 20 minutes to become fluffy before baking.
- Bake: Preheat your oven to 400°F (200°C). Brush the tops of the loaves with a mixture of egg yolk and milk to create a shiny golden crust. Bake the loaves for 25-30 minutes, or until the bread is golden brown and sounds hollow when tapped underneath.
- Cool and enjoy: Remove the bread from the oven and allow it to cool slightly on a wire rack before slicing. Enjoy fresh for the best texture and flavor.
Notes
- Use warm water (about 110°F/43°C) to activate the yeast properly without killing it.
- Ensure dough is not sticky by adjusting flour quantity slightly if needed during kneading.
- The egg wash is optional but helps achieve a beautiful crust color and slight sheen.
- Allow bread to cool before slicing to maintain structure and avoid gummy texture.
- You can store the bread at room temperature in a plastic bag for up to 3 days or freeze for longer storage.
- Prep Time: 25 minutes
- Cook Time: 30 minutes
- Category: Bread
- Method: Baking
- Cuisine: American
