Russian Blini (Stuffed Pancakes) Recipe
If you’re looking to bring a taste of Russian tradition to your table, Russian Blini (Stuffed Pancakes) are the answer. These delicate, golden crepes wrap around sweet or savory fillings, making every bite a tiny celebration. Whether you’re serving them for breakfast, a cozy brunch, or a festive dinner, this recipe invites you to enjoy the soft, buttery texture and endless flavor combinations of a dish beloved across generations.
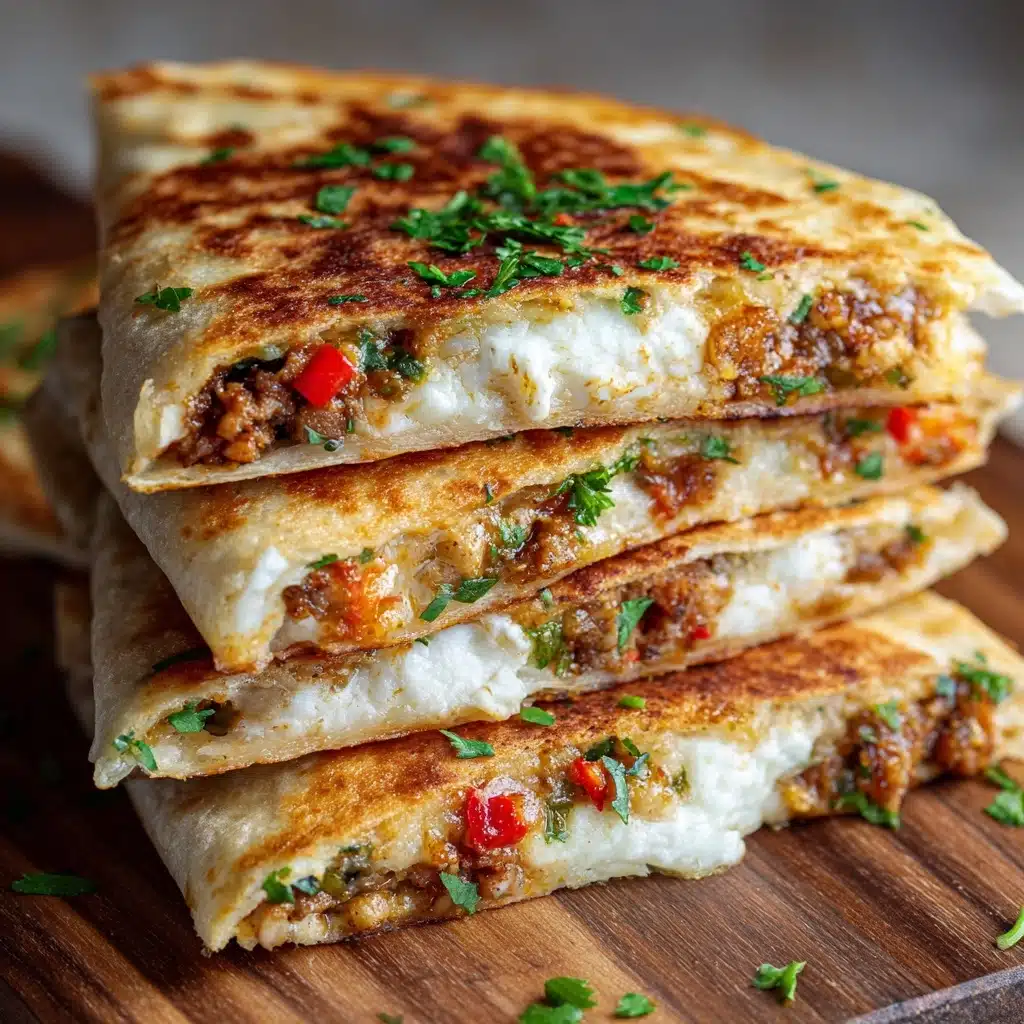
Ingredients You’ll Need
The beauty of Russian Blini (Stuffed Pancakes) is how a handful of everyday ingredients can create something so special. Each component plays its part: from the tender blini base to the savory or sweet fillings, this is comfort food at its most versatile.
- All-purpose flour: Gives the blini their delicate, tender structure—don’t overmix for the softest results.
- Milk (warm): Warms the batter and ensures a smooth texture; room temperature helps keep the blini tender.
- Eggs: Provide richness and help the pancakes hold together.
- Unsalted butter (melted): Adds moisture and a lovely hint of richness to both the batter and the finished pancakes.
- Sugar: Just a touch in the batter enhances flavor and helps the blini brown beautifully.
- Salt: Balances the flavors—never skip it!
- Baking powder (optional): For those who like their blini a bit fluffier, this is your secret weapon.
- Olive oil: Sautéing the onions for the savory filling brings out their sweetness.
- Onion (finely chopped): Adds aromatic depth to the savory filling.
- Cooked ground beef or chicken: The heart of the savory filling; feel free to use leftovers.
- Salt and pepper: Essential for seasoning the filling to taste.
- Farmer’s cheese or ricotta (sweetened): For a creamy, slightly tangy sweet filling.
- Vanilla extract: Elevates the sweet filling with warm aroma.
- Sour cream, fresh dill, fruit preserves: Classic toppings that make each blin shine, whether savory or sweet.
How to Make Russian Blini (Stuffed Pancakes)
Step 1: Whisk the Batter
Start by whisking together the eggs and sugar in a large mixing bowl until the mixture is pale and slightly frothy. Add the warm milk and continue whisking, then gradually sift in the flour, salt, and baking powder if you’re using it. The goal is a smooth batter—no lumps! Stir in the melted butter, which will give your Russian Blini (Stuffed Pancakes) a subtle richness. Let the batter rest for 15 to 20 minutes; this step is essential for that signature tender texture.
Step 2: Cook the Blini
Heat a nonstick skillet over medium heat and lightly grease it with butter or oil. Pour about 1/4 cup of batter into the pan, swirling quickly to coat the bottom in a thin, even layer. Cook for 1 to 2 minutes, until the edges begin to lift and the underside turns a delicate golden brown. Flip gently and cook for another 30 to 60 seconds. Stack the finished blini on a plate and keep them covered with a clean towel so they stay soft and pliable.
Step 3: Prepare the Savory Filling
For the savory filling, heat olive oil in a skillet and sauté the finely chopped onion until it’s soft and fragrant. Add the cooked ground meat—beef or chicken both work wonderfully—and season generously with salt and pepper. Sauté until everything is well combined and heated through. This filling is hearty and perfect for the classic Russian Blini (Stuffed Pancakes) experience.
Step 4: Prepare the Sweet Filling (Optional)
If you’re in the mood for something sweet, simply mix sweetened farmer’s cheese or ricotta with sugar and a splash of vanilla extract until smooth. This creamy filling pairs beautifully with the delicate blini and makes for a delightful breakfast or dessert treat.
Step 5: Assemble and Fill the Blini
Place a generous spoonful of your chosen filling in the center of each blin. Fold the sides over the filling, then roll up into a neat parcel. If you like, you can quickly reheat the filled blini in a skillet with a bit of butter to crisp them up and ensure the filling is piping hot. Now, your Russian Blini (Stuffed Pancakes) are ready to serve!
How to Serve Russian Blini (Stuffed Pancakes)
Garnishes
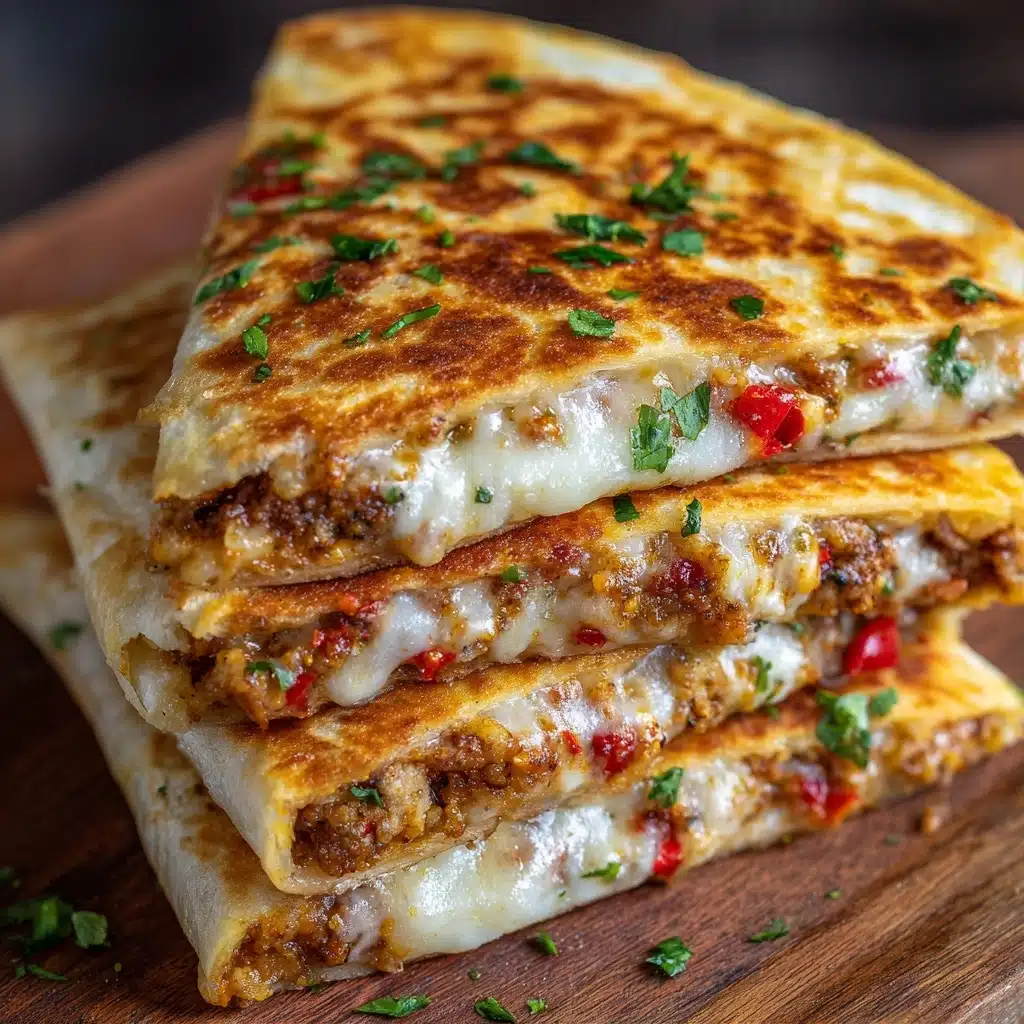
Classic garnishes are what make Russian Blini (Stuffed Pancakes) truly shine. For savory versions, a dollop of sour cream and a sprinkle of fresh dill are timeless. If you’ve gone the sweet route, try fruit preserves, a dusting of powdered sugar, or even a drizzle of honey. These finishing touches add color, flavor, and a touch of luxury to every bite.
Side Dishes
Blini are incredibly versatile, so feel free to get creative with your sides. For a traditional Russian meal, serve your blini alongside pickled vegetables, a crisp cucumber and tomato salad, or even a bowl of borscht. If you’re enjoying them for breakfast, a fresh fruit platter or a pot of strong black tea makes a wonderful pairing.
Creative Ways to Present
Turn your Russian Blini (Stuffed Pancakes) into a showstopper by arranging them on a platter with alternating sweet and savory fillings, each marked with a different garnish. You can also serve them rolled up and sliced into bite-sized pinwheels for an elegant appetizer. For brunch gatherings, set up a blini bar with various fillings and toppings so everyone can build their own culinary masterpiece.
Make Ahead and Storage
Storing Leftovers
If you find yourself with extra Russian Blini (Stuffed Pancakes), simply stack them with a sheet of parchment between each one, wrap tightly, and refrigerate for up to three days. This way, they stay soft and ready for a quick reheat whenever you need a tasty snack or meal.
Freezing
Blini freeze beautifully! Once completely cooled, layer them with parchment paper to prevent sticking, and seal in an airtight container or freezer bag. They’ll keep well for up to two months. You can freeze them plain or already filled, making them a lifesaver for busy mornings or spontaneous guests.
Reheating
To reheat, gently warm your Russian Blini (Stuffed Pancakes) in a nonstick skillet with a tiny dab of butter, or cover and heat in the microwave until just warmed through. If reheating from frozen, let them thaw in the fridge overnight for best results, then reheat as usual. This restores their tender texture and fresh-from-the-pan flavor.
FAQs
Can I use different fillings for Russian Blini (Stuffed Pancakes)?
Absolutely! While the classics are delicious, feel free to get creative. Sautéed mushrooms, smoked salmon with cream cheese and dill, mashed potatoes, or even roasted vegetables make wonderful alternatives to the traditional meat or cheese fillings.
Why does the blini batter need to rest?
Resting the batter allows the gluten to relax and the flour to fully hydrate, resulting in more tender, delicate blini. This step is the secret to achieving the melt-in-your-mouth texture that makes Russian Blini (Stuffed Pancakes) so memorable.
Can I make the batter in advance?
Yes, you can prepare the batter the night before and keep it covered in the fridge. Just give it a gentle stir before cooking, and you’ll be ready to whip up fresh blini for breakfast or brunch in no time.
How do I prevent my blini from sticking to the pan?
Make sure your skillet is well-heated and lightly greased before pouring in the batter. Nonstick pans work best, but a well-seasoned cast iron skillet can also do the job beautifully. If you notice sticking, add a touch more butter or oil between batches.
Are Russian Blini (Stuffed Pancakes) gluten-free?
The classic recipe uses wheat flour, but you can experiment with gluten-free flour blends. The texture may vary a bit, but with the right blend and a little practice, you can still enjoy delicious gluten-free blini.
Final Thoughts
There’s something irresistibly comforting about making and sharing Russian Blini (Stuffed Pancakes) with family and friends. Whether you go savory, sweet, or somewhere in between, this recipe brings the warmth of tradition and the fun of customization right to your kitchen. Give them a try—you might just find your new favorite tradition!
Print
Russian Blini (Stuffed Pancakes) Recipe
- Total Time: 50 minutes
- Yield: 10–12 blini 1x
- Diet: Non-Vegetarian
Description
Russian Blini are thin, delicate pancakes traditionally stuffed with savory or sweet fillings, making them perfect for breakfast or as a main course. This recipe features a tender blini batter enriched with eggs and butter, filled with either a savory ground meat and onion mixture or a sweet farmer’s cheese filling. Served with classic accompaniments like sour cream and fresh dill or fruit preserves, these stuffed blini bring authentic Russian flavors to your table.
Ingredients
For the Blini Batter
- 1 cup all-purpose flour
- 1½ cups warm milk
- 2 large eggs
- 2 tablespoons unsalted butter, melted
- 1 tablespoon sugar
- ¼ teaspoon salt
- ½ teaspoon baking powder (optional for fluffier texture)
For the Savory Filling
- 1 tablespoon olive oil
- 1 small onion, finely chopped
- 1 cup cooked ground beef or chicken
- Salt and pepper to taste
For the Sweet Filling (Optional)
- 1 cup sweetened farmer’s cheese or ricotta
- 2 tablespoons sugar
- 1 teaspoon vanilla extract
For Serving
- Sour cream
- Fresh dill (for savory blini)
- Fruit preserves or jam (for sweet blini)
Instructions
- Prepare the batter: In a mixing bowl, whisk the eggs and sugar together until light and airy. Gradually add the warm milk, then sift in the flour, salt, and baking powder if using. Whisk until the batter is smooth and free of lumps, then stir in the melted butter. Allow the batter to rest for 15–20 minutes to improve texture.
- Cook the blini: Heat a nonstick skillet over medium heat and lightly grease it with butter or oil. Pour about ¼ cup of batter into the pan and swirl to coat the bottom evenly with a thin layer. Cook until the edges lift and the underside is golden brown, about 1–2 minutes. Flip carefully and cook for another 30–60 seconds until just cooked through. Remove and keep warm. Repeat with the remaining batter.
- Make the savory filling: Heat olive oil in a skillet and sauté the finely chopped onion until soft and translucent. Add the cooked ground beef or chicken, season with salt and pepper, and cook together until heated through. Adjust seasoning as needed.
- Make the sweet filling (optional): In a bowl, combine the sweetened farmer’s cheese or ricotta with sugar and vanilla extract. Mix until smooth and well incorporated.
- Assemble the blini: Place a spoonful of your chosen filling in the center of each blin. Fold the sides over the filling, then roll up the pancake into a neat parcel to encase the filling securely.
- Reheat the filled blini: Warm a skillet over medium heat with a small amount of butter. Place the stuffed blini seam-side down and reheat gently until warmed through and slightly crisped on the outside.
- Serve: For savory blini, garnish with sour cream and fresh dill. For sweet blini, serve alongside fruit preserves or dust with powdered sugar for added sweetness.
Notes
- Blini can be made ahead of time and stored in the refrigerator for up to 3 days or frozen for longer storage.
- Reheat gently in a skillet or microwave before serving to maintain softness and flavor.
- Customize the fillings by adding sautéed mushrooms, smoked salmon, mashed potatoes, or your favorite ingredients for variety.
- Use gluten-free flour if you require a gluten-free version, though texture may vary slightly.
- Baking powder is optional but helps create fluffier blini if preferred.
- Prep Time: 20 minutes
- Cook Time: 30 minutes
- Category: Main Course, Breakfast
- Method: Stovetop
- Cuisine: Russian
Nutrition
- Serving Size: 1 blin with filling
- Calories: 190
- Sugar: 3g
- Sodium: 160mg
- Fat: 9g
- Saturated Fat: 4g
- Unsaturated Fat: 4g
- Trans Fat: 0g
- Carbohydrates: 18g
- Fiber: 1g
- Protein: 8g
- Cholesterol: 55mg
